Then I computed the pixel distance d between them for each configuration and its effective reduction to produce the following table, where d = sqrt(dx*dx + dy*dy), dx = ax-bx and dy=ay-by. Reduction is computed by dividing d for each focal reducer by the d of No FR.
The above images of M42 were all captured with the camera sharpness set to 20. Setting sharpness to a lower value will make the stars appear more round like you see in photographs. Here is M42 again using the PD2 and MFR-3 with sharpness set to 3.

SenseUp: Off
AGC: Off
Lens: x512
Brightness: OK
Gamma: 0.6
3D-DNR: 0
Monitor: OK
DPC: Off

- Display Menu
Enter
- Move to Effect
Right 3
- Set sharpness to 3
Down 2
Left 50
Right 3
- Return to Menu
Down
Enter
- Exit and Save
Right 5
Down 2
Enter
And here is a setCustom8.txt preset that changes the sharpness to 20 whenever I want increased sharpness.

- Display Menu
Enter
- Move to Effect
Right 3
- Set sharpness to 20
Down 2
Left 50
Right 20
- Return to Menu
Down
Enter
- Exit and Save
Right 5
Down 2
Enter
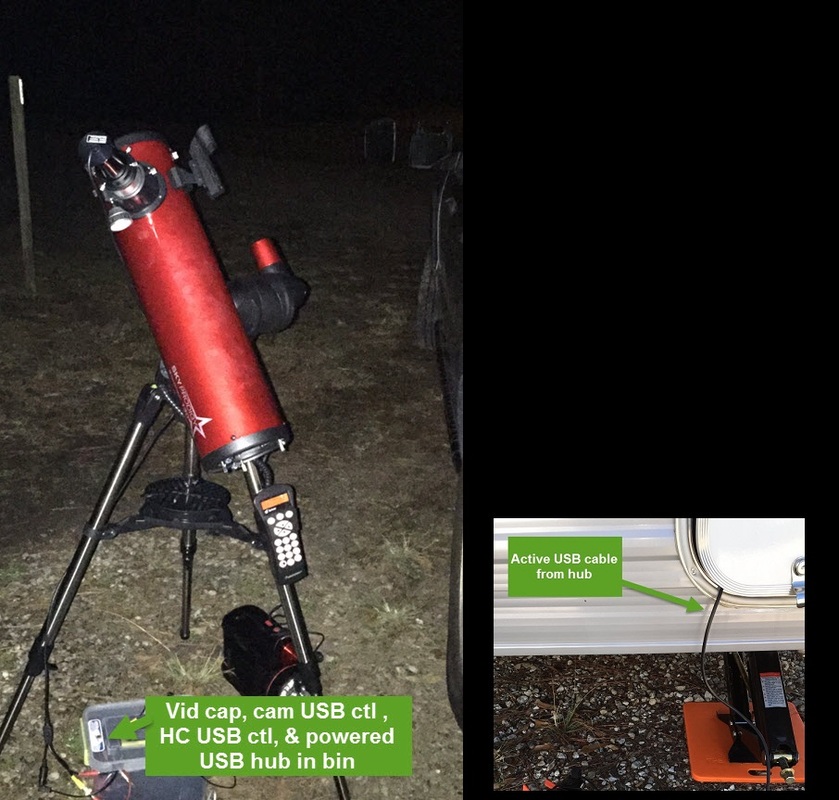
I did a portion of these tests while recently camping using a portable RVA setup. The temperatures each night were below freezing as you can see by the frost beginning to form on the scope. I used a battery power tank to power the mount. I also used a plastic bin to contain a video capture device, camera computer control USB cable, hand controller serial/USB cable, and a battery powered hub at the scope with a single active USB cable run into my camper.
Although it was cold outside, I was a warm happy Astro camper inside. :-)


 RSS Feed