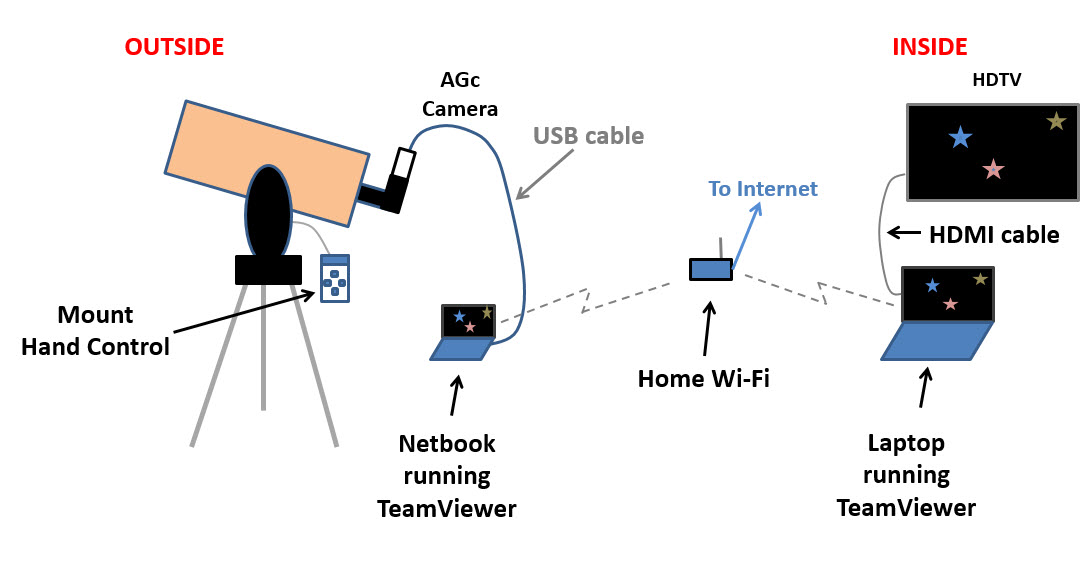
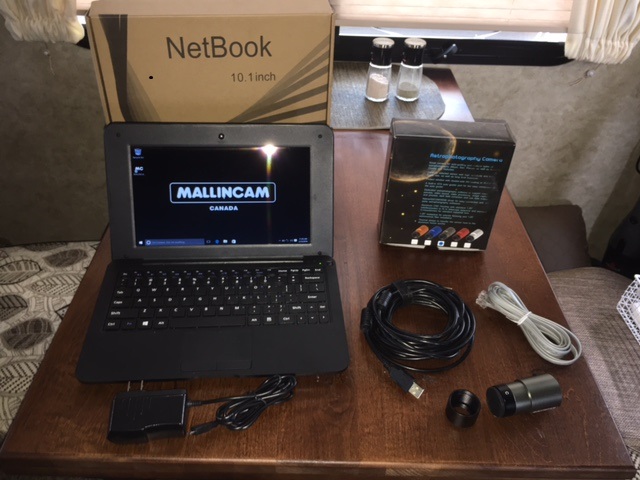
Wireless Remote Video Astronomy (RVA) can be implemented over Wi-Fi by having a computer at your telescope that you can use remotely from inside. However, this requires using two computers. The low cost of the MallinCam SkyRaider Netbook Kit gives you a way of getting a good camera for Video Astronomy and an inexpensive computer at the telescope for this type of RVA. See my 2/16/2016 post for more information about this kit. All you need in addition to the kit and your telescope is a Wi-Fi connection in your home, an inside computer or laptop running Windows 10, and the TeamViewer application (which is free for personal use) as shown in this diagram.
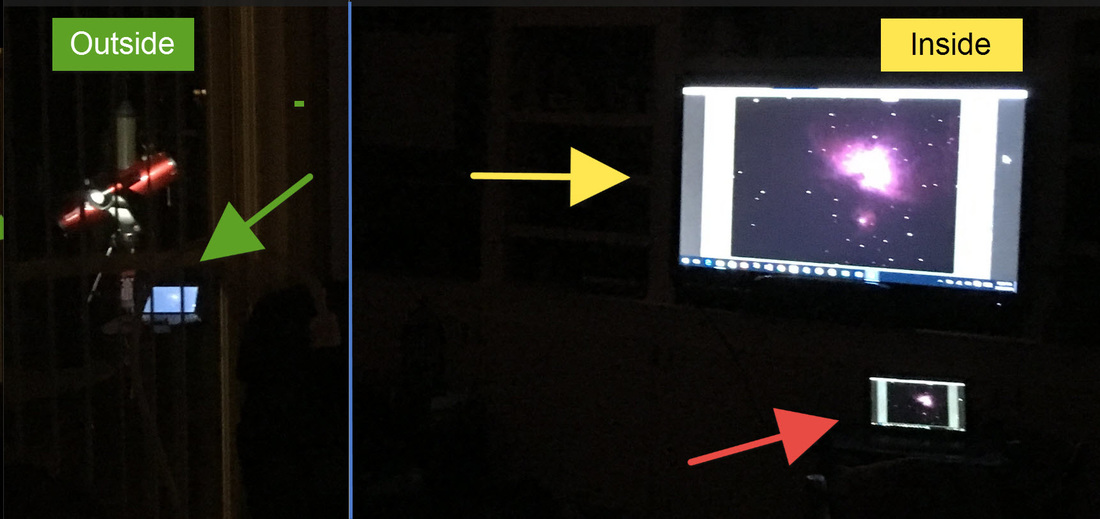
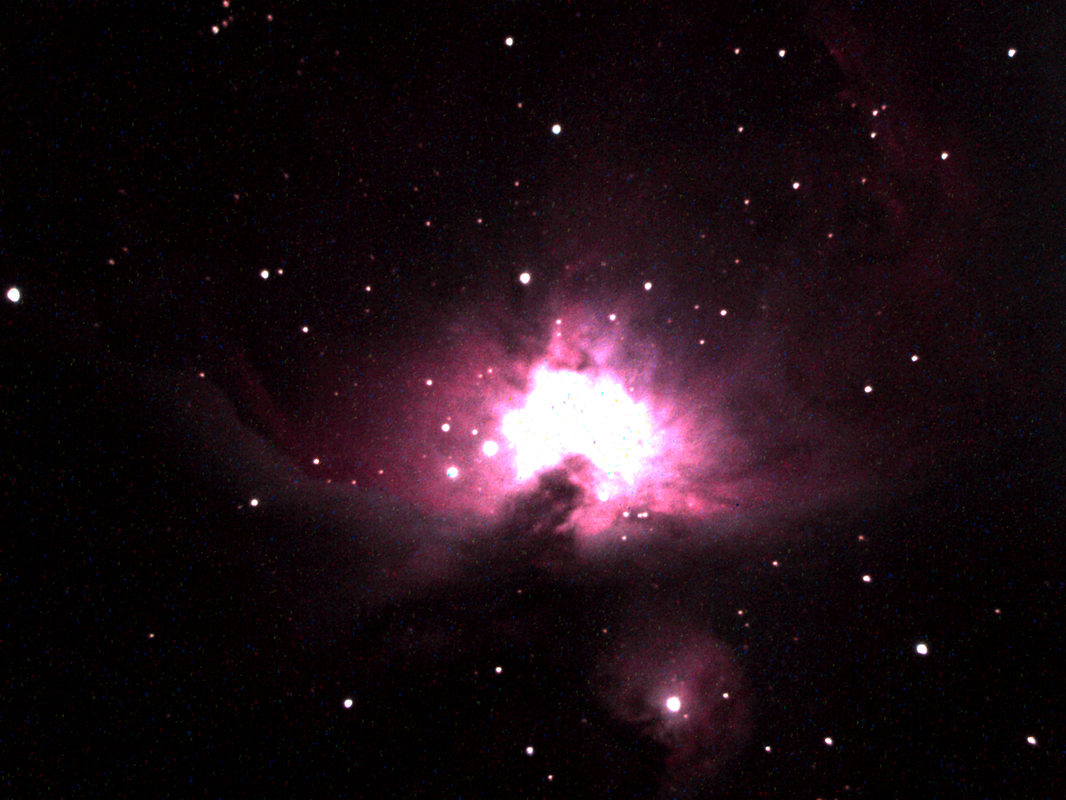
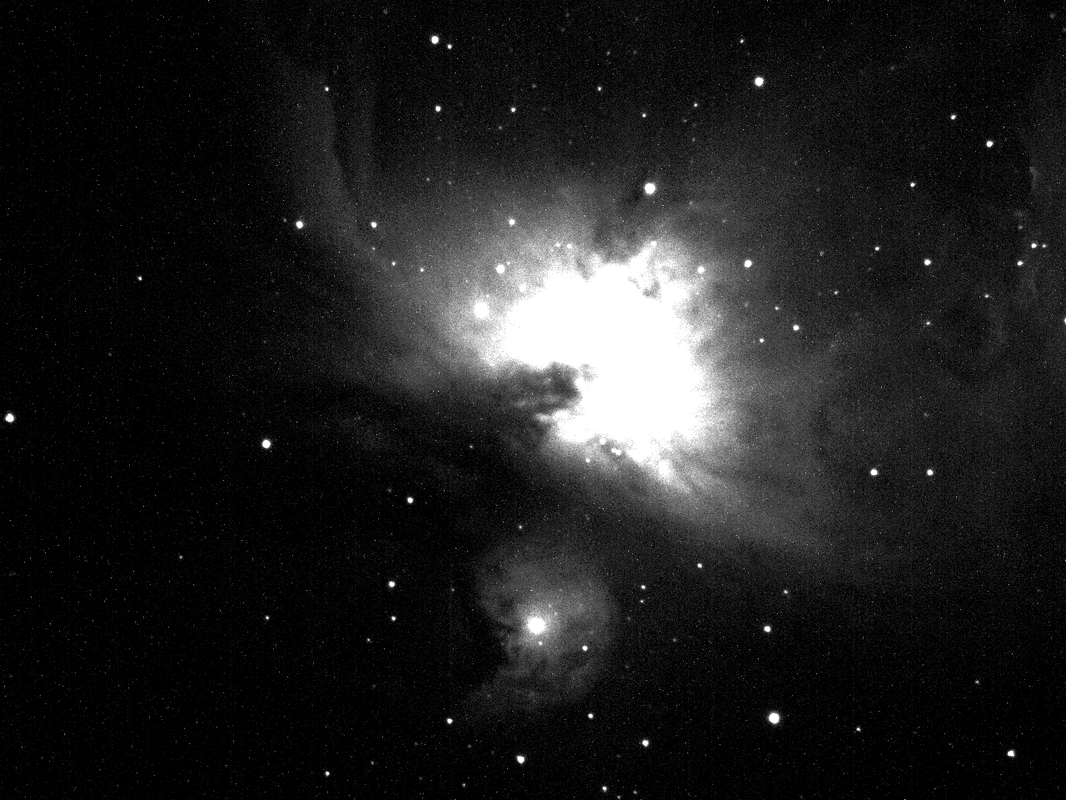
Here you can see my outside setup showing my SkyProdigy mount with the Mallincam AGc inserted into my SkyProdigy 5” Newtonian telescope and connected to the Netbook which is currently displaying the Orion Nebula on its screen.
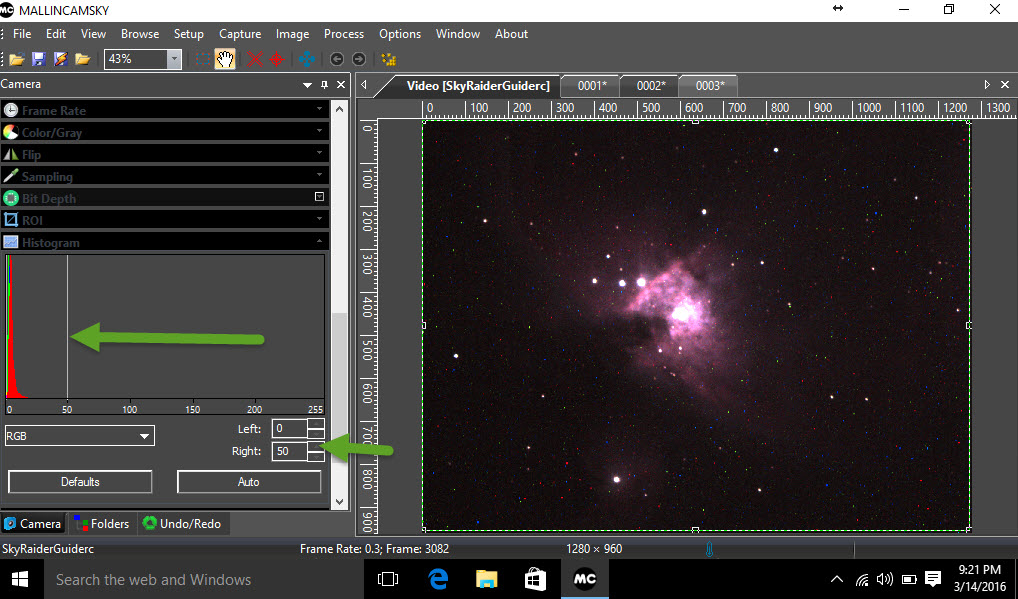
To view a different object, I go back outside and use the hand controller to select and slew to the new target. I mainly use the Netbook screen outside to better center the target, and come back inside to fine tune the camera settings for the new object using MallinCamSky remotely.
Remote Telescope Control
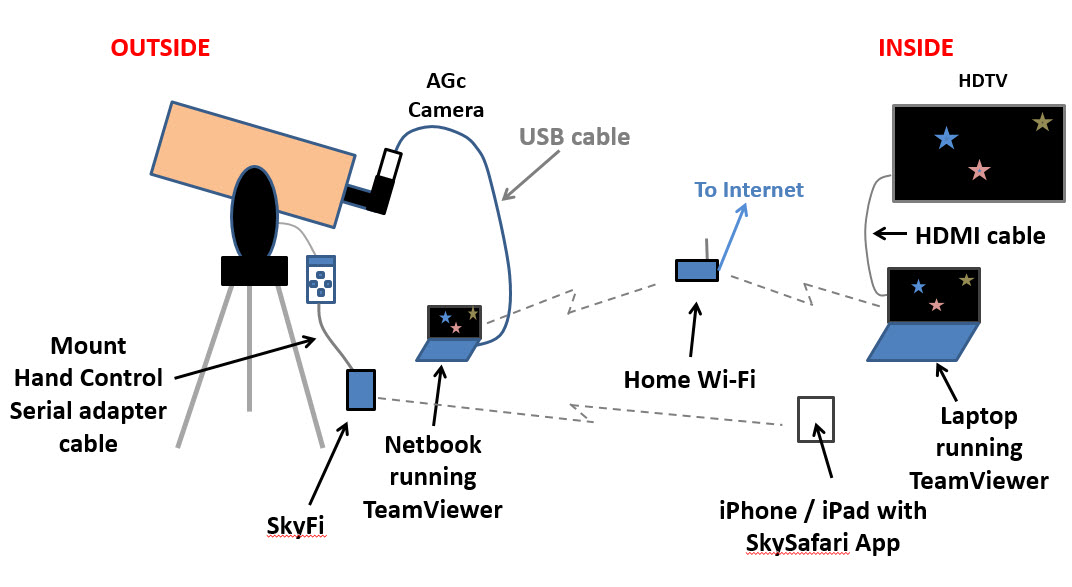
Wouldn’t it be great to be able to control the telescope from inside too and not have to go outside? You can accomplish this by adding a Simulation Curriculum SkyFi Wireless Telescope Adapter to your telescope and using an iPhone or iPad inside running Simulation Curriculum SkySafari as illustrated in this Diagram.

SkySafari Plus (or Pro) is a powerful visual tool for selecting objects and slewing your telescope mount to them. It also allows you to make fine position adjustments to better center your target. It takes a little practice, but you soon learn how to make short adjustments to the mount’s position to center the target and allow the near-real-time image to settle.
I have found it helps to perform a modified GoTo process to improve the accuracy when slewing to fainter deep sky objects since you may need to adjust the camera settings to see them. I first select and slew to a bright star in the region where my target is located (e.g. select Rigel when planning to view the Orion Nebula). You can shorten your camera’s exposure using MallinCamSky to make it easier to center the bright star using SkySafari’s virtual up/down/left/right buttons. Then select SkySafari’s Align button to sync SkySafari to that star. Now when you select and slew to a deep sky object in that region of the sky, it will be better centered in your field of view after the GoTo finishes.
More Outside/Inside Examples
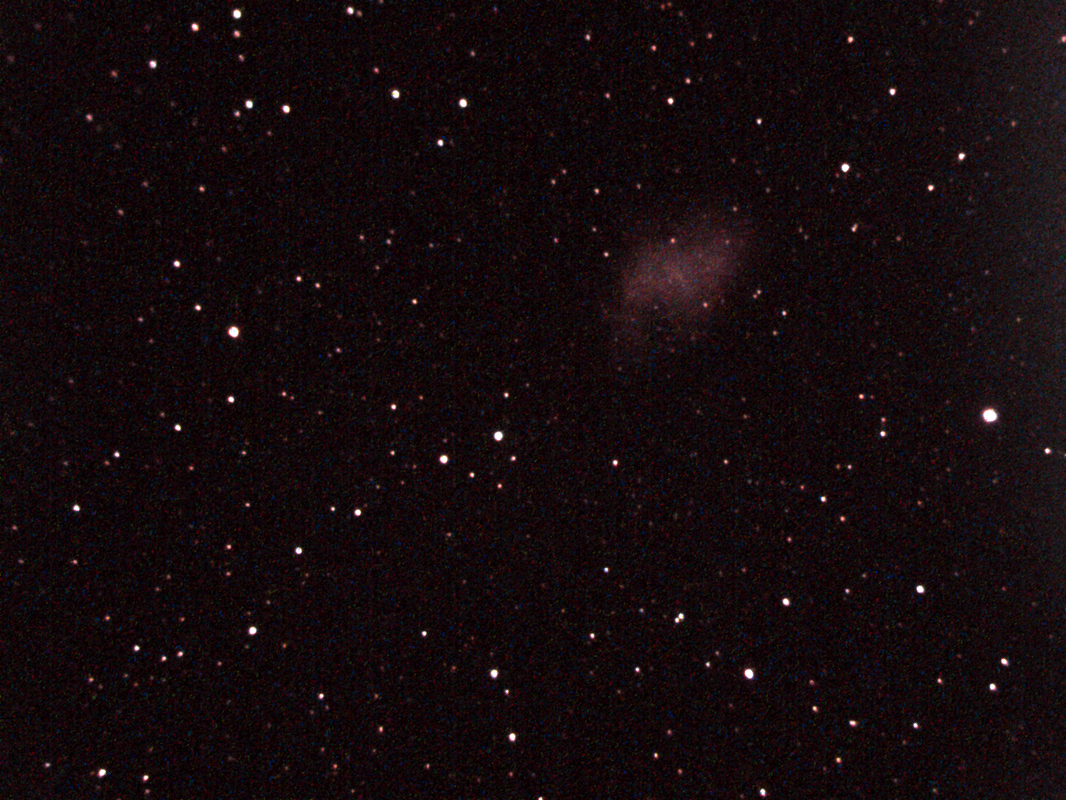
This image shows where I have slewed to the Hercules Cluster and am now viewing it from inside.
Returning to night viewing, here is where I was using my MallinCam MCR-80ED on the SkyProdigy mount with the AGc camera to view the Moon from inside. I had to add a Moon filter to the nosepiece of the AGc to cut down on the brightness level since it was almost a full Moon.
Speaking of moons, the next night I saw Jupiter and 4 of its moons (orange arrows).
Expanded Remote Video Astronomy
I explore several different methods of RVA in my book “Beginning Remote Video Astronomy … So, what’s the matter?” (See http://www.amazon.com/author/jimmeadows). Some of the techniques described can also be used with the Netbook, such as running a single extended USB cable from a powered hub at the telescope to the Netbook inside.







 RSS Feed