The object, exposure, gain, histogram and sharpness settings are noted with each image. I used video mode (rather than looping mode) since all exposure times were less than 5 seconds. After slewing to a target and adjusting the settings for the best image, I turned on live frame averaging and enjoyed viewing the target details unfold!
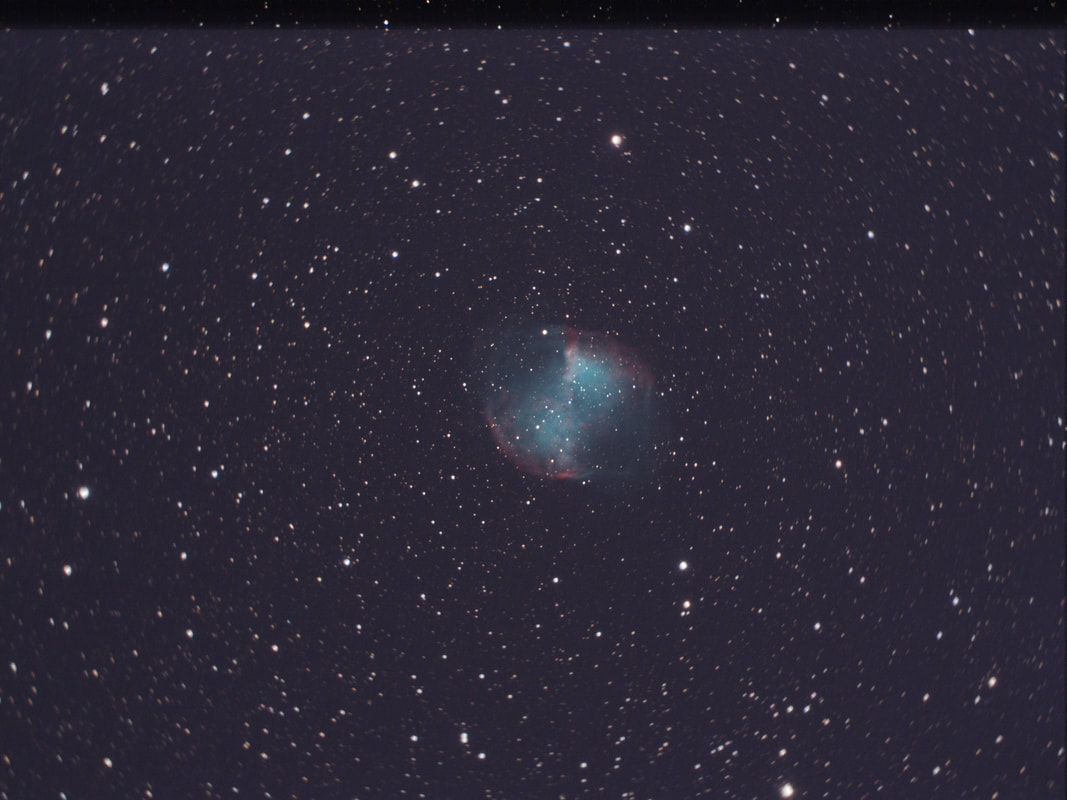
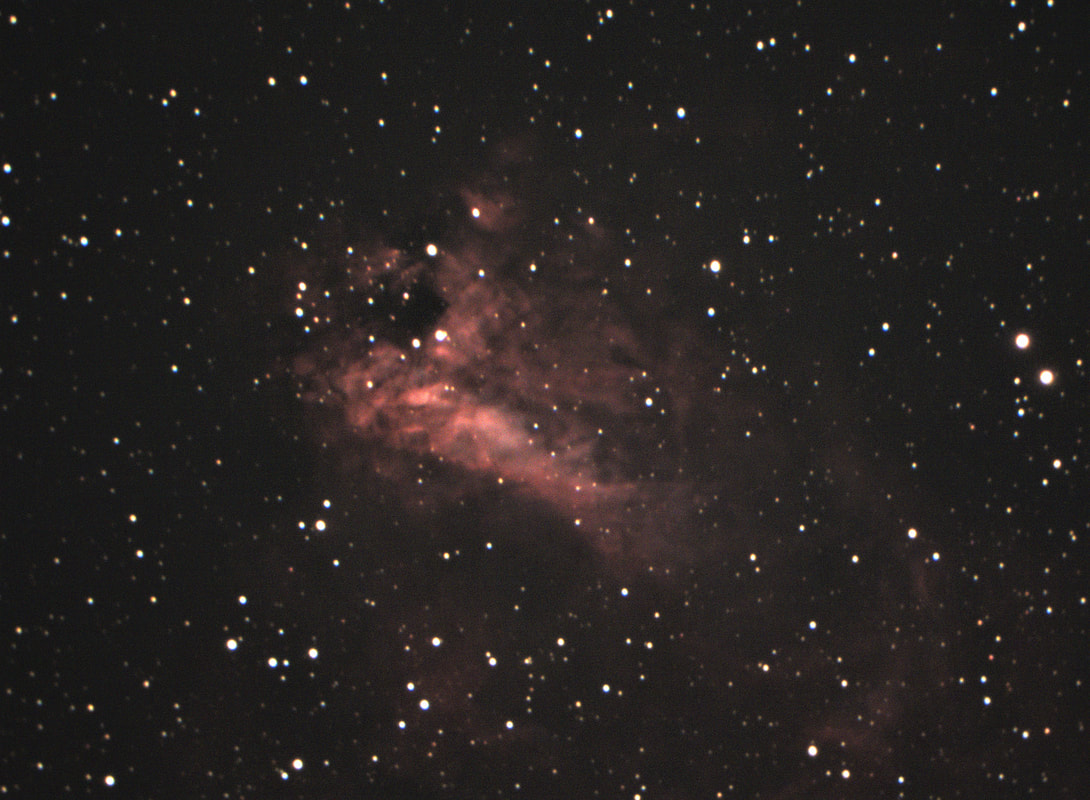
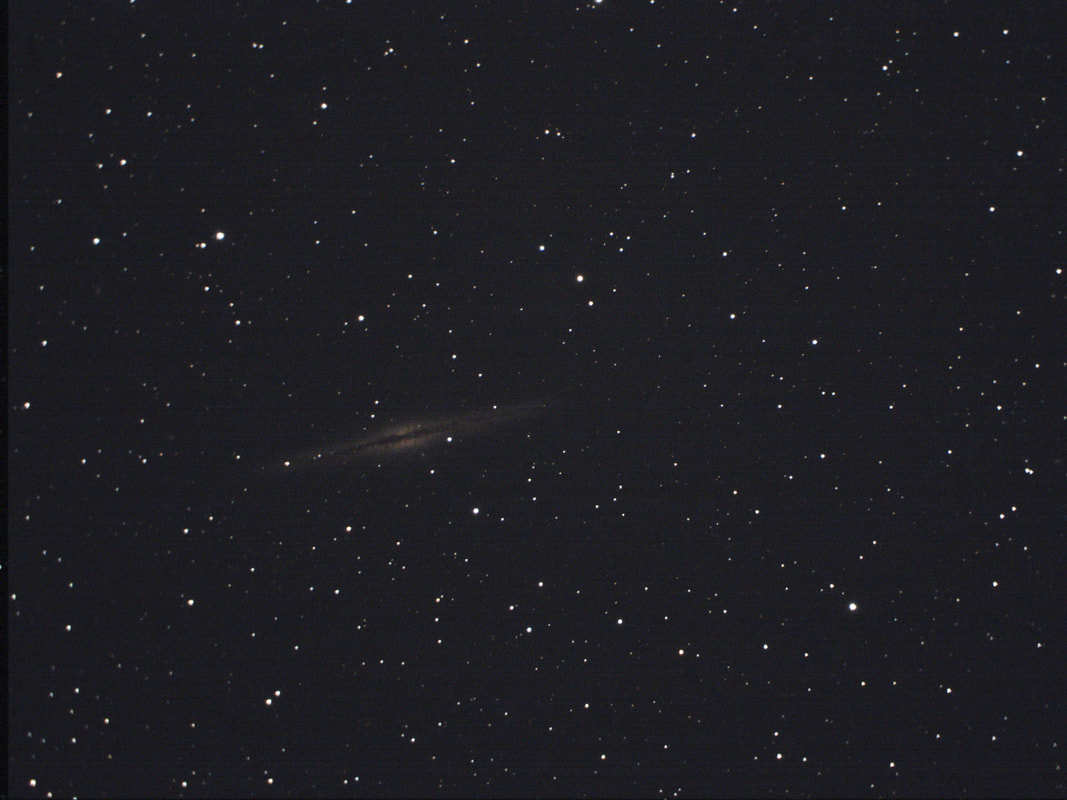
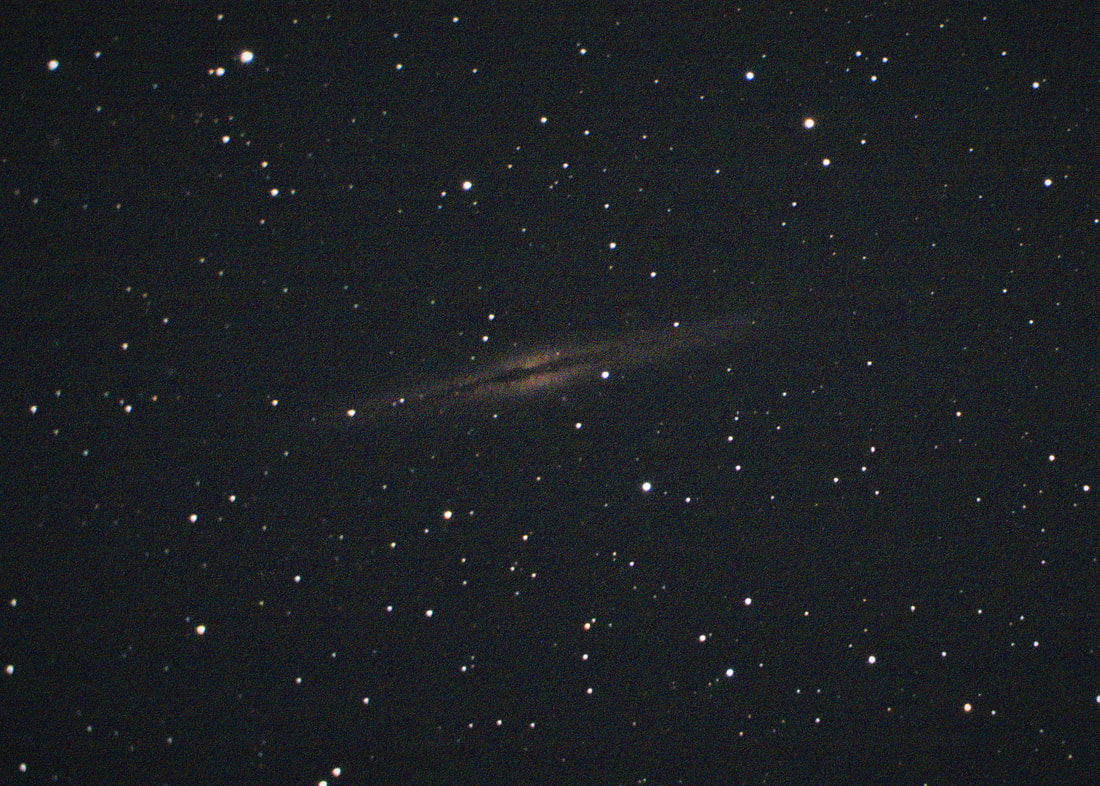
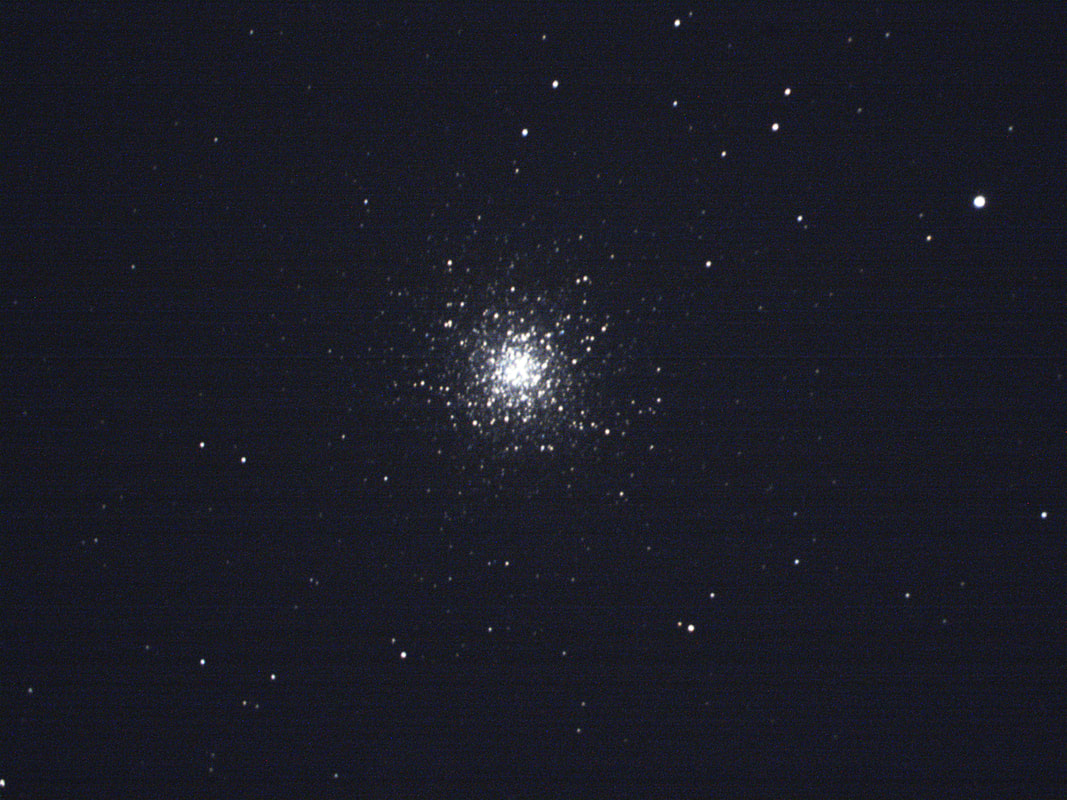
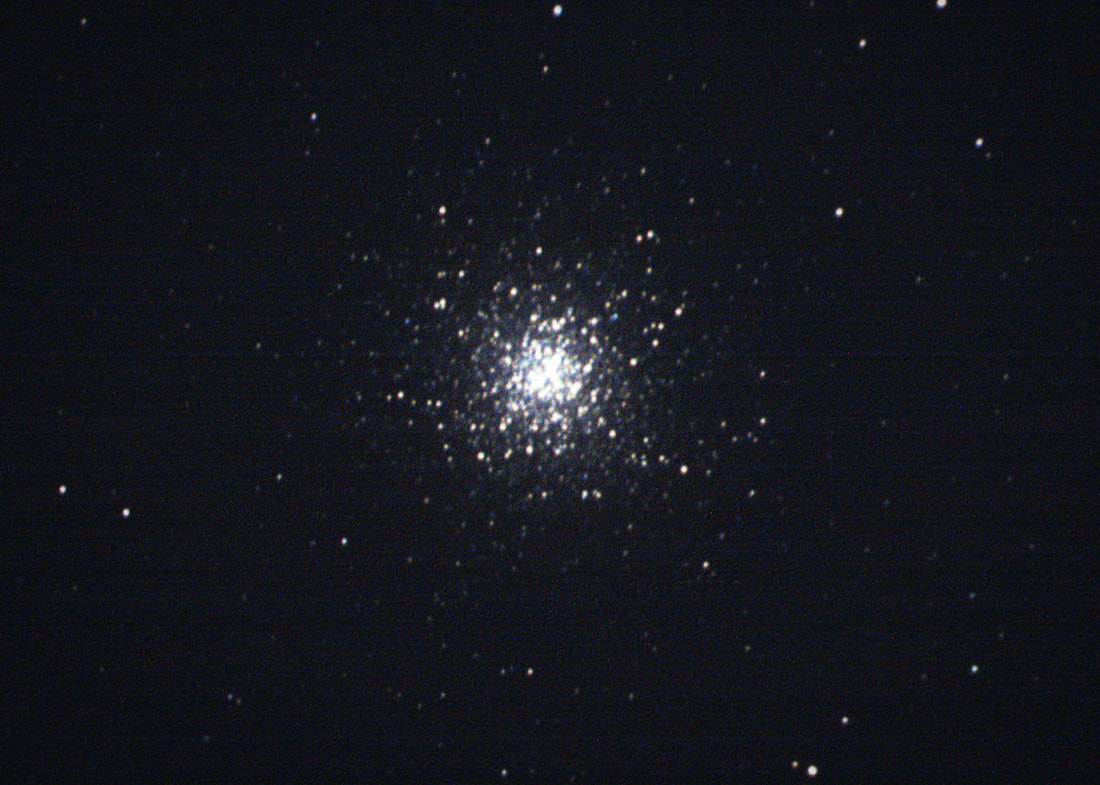
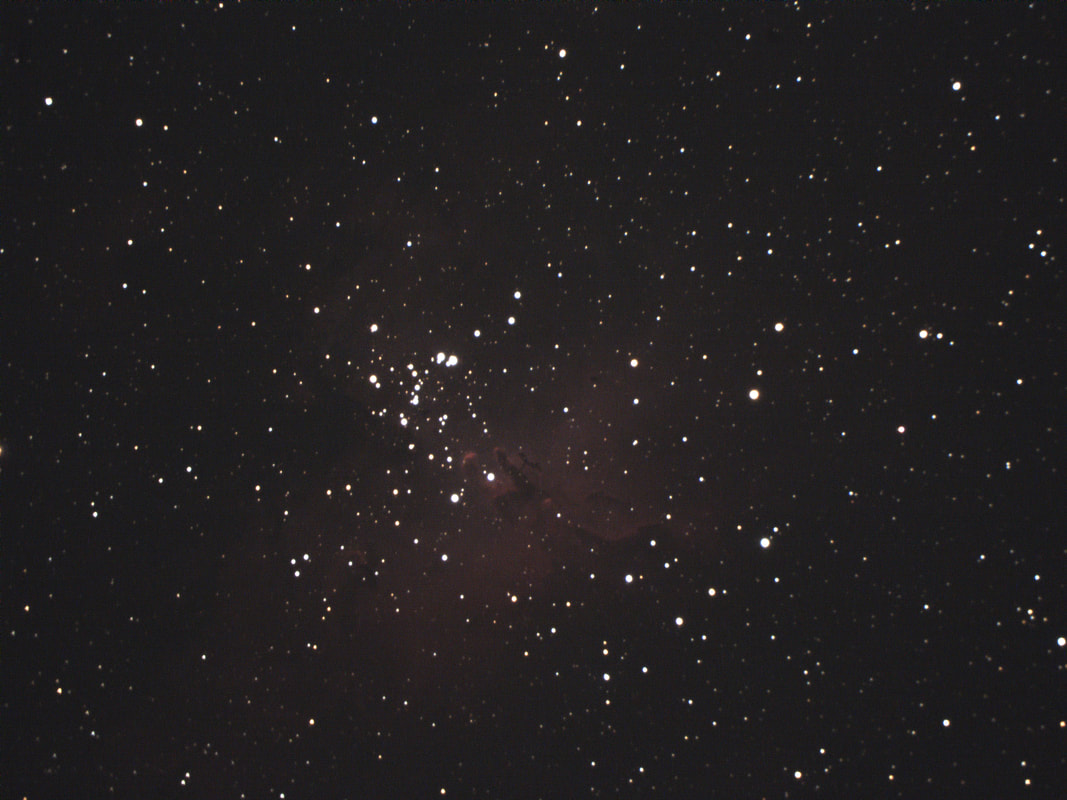
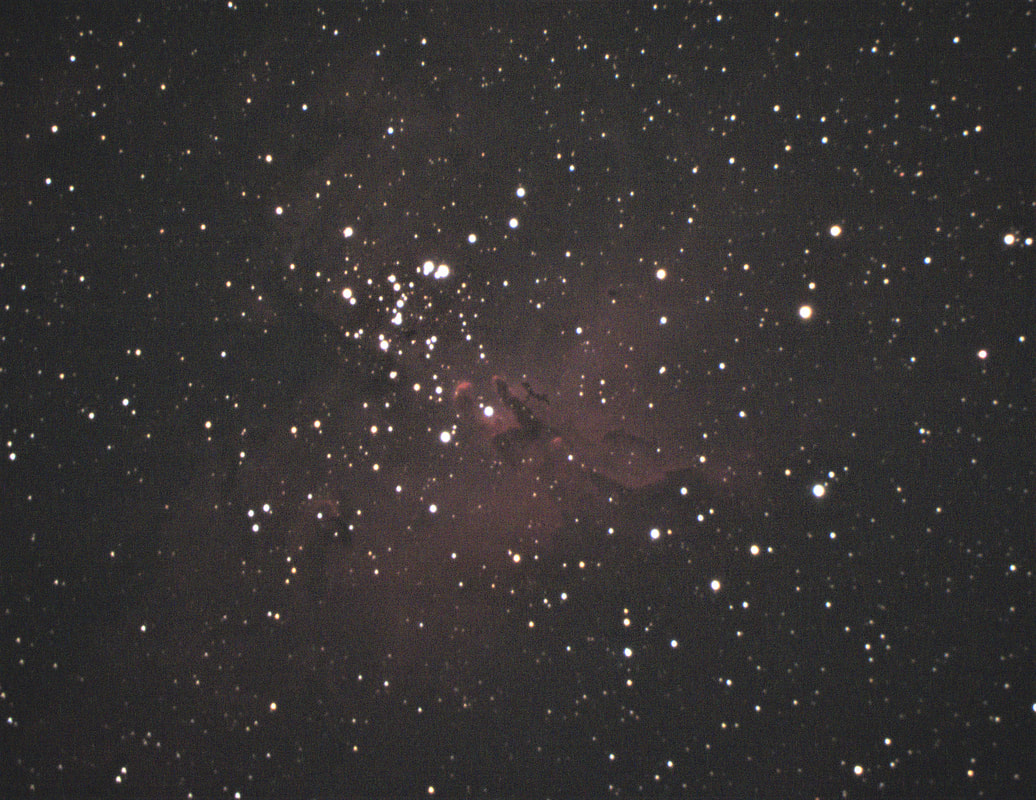
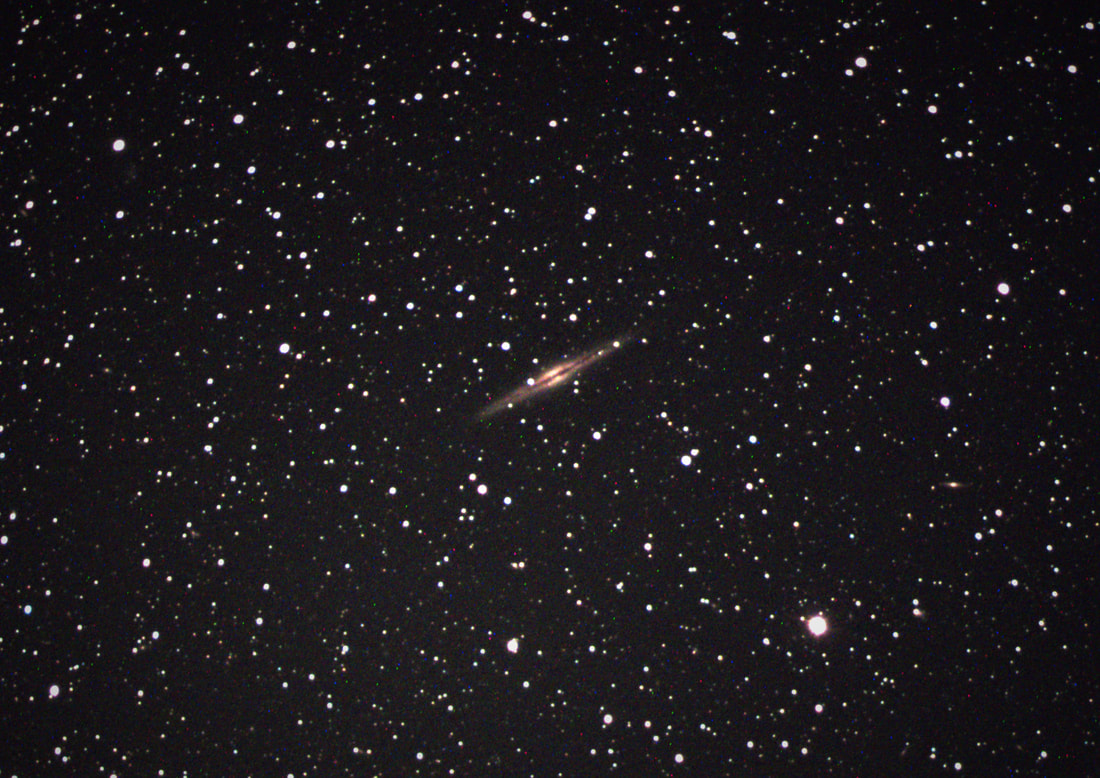
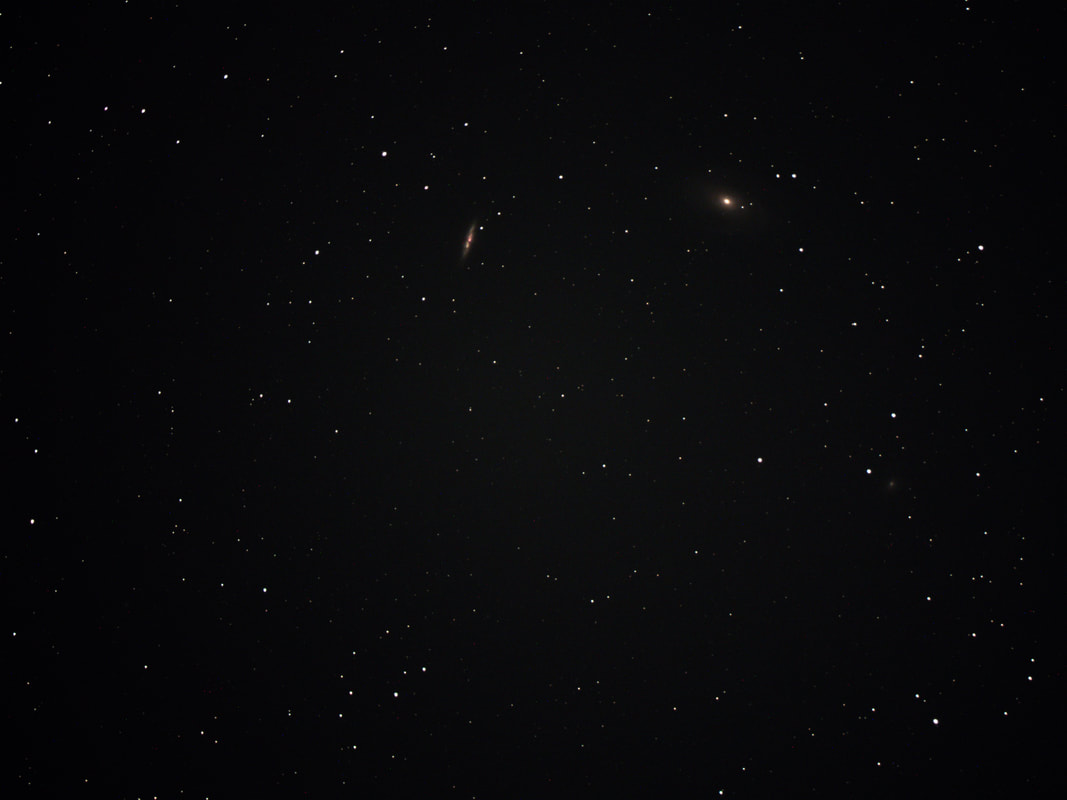
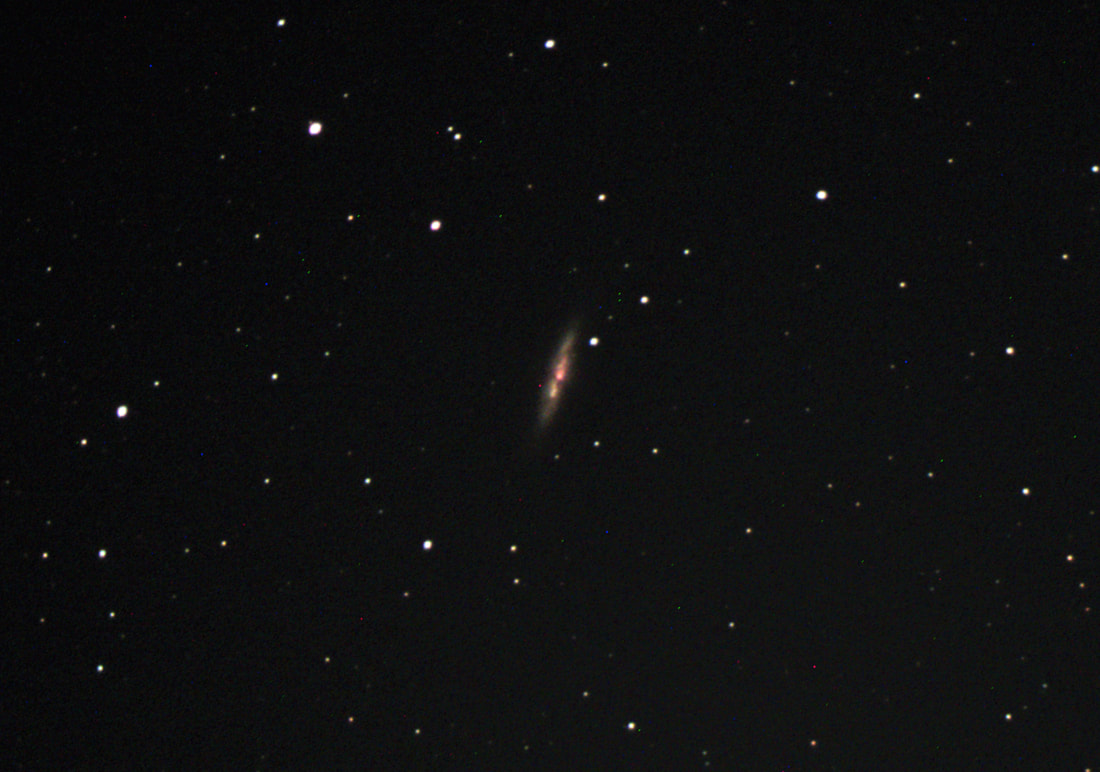
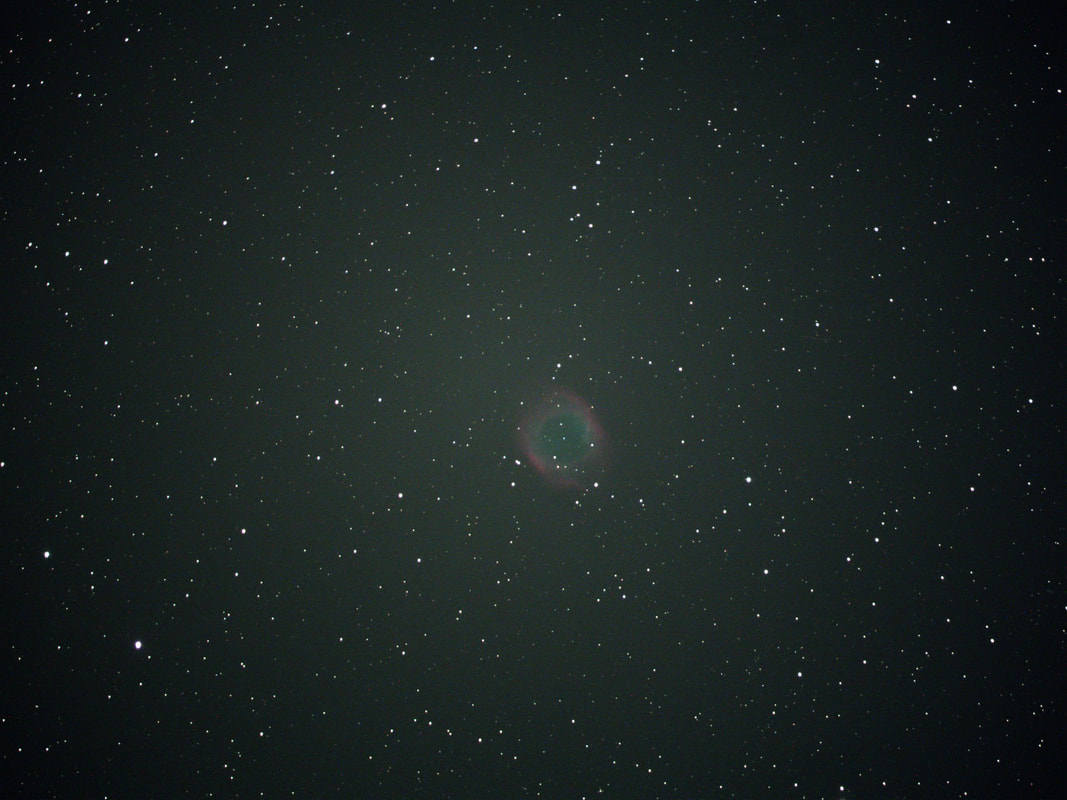
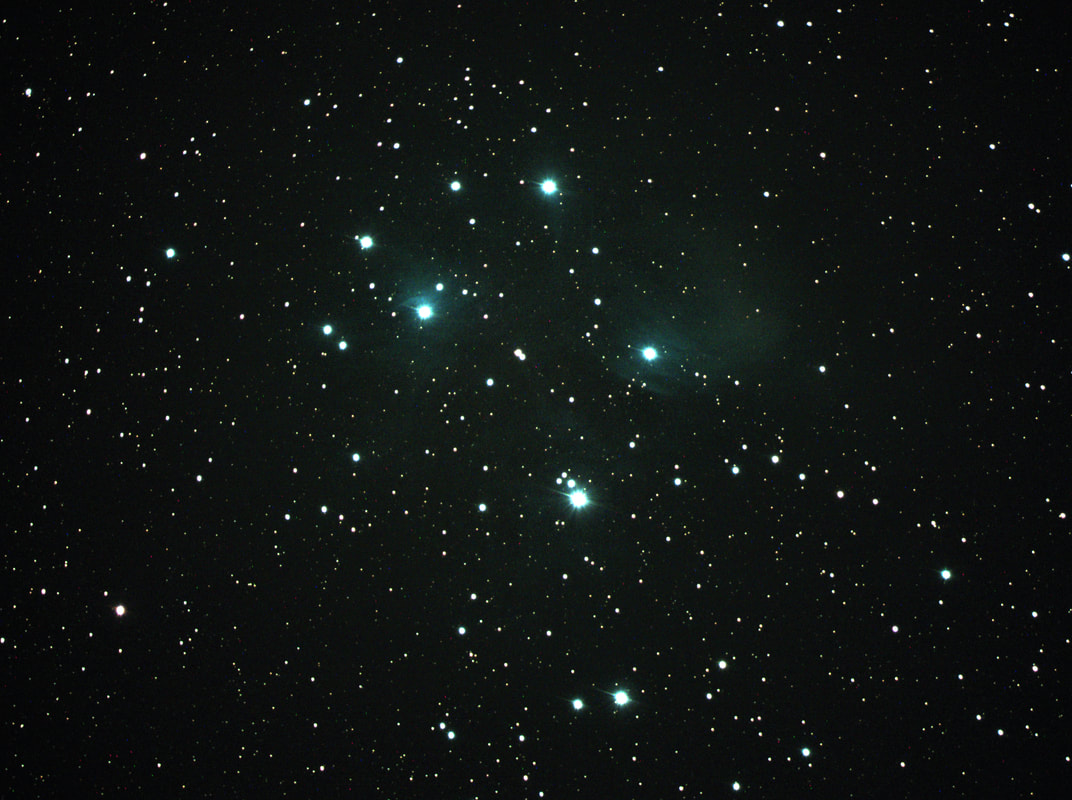
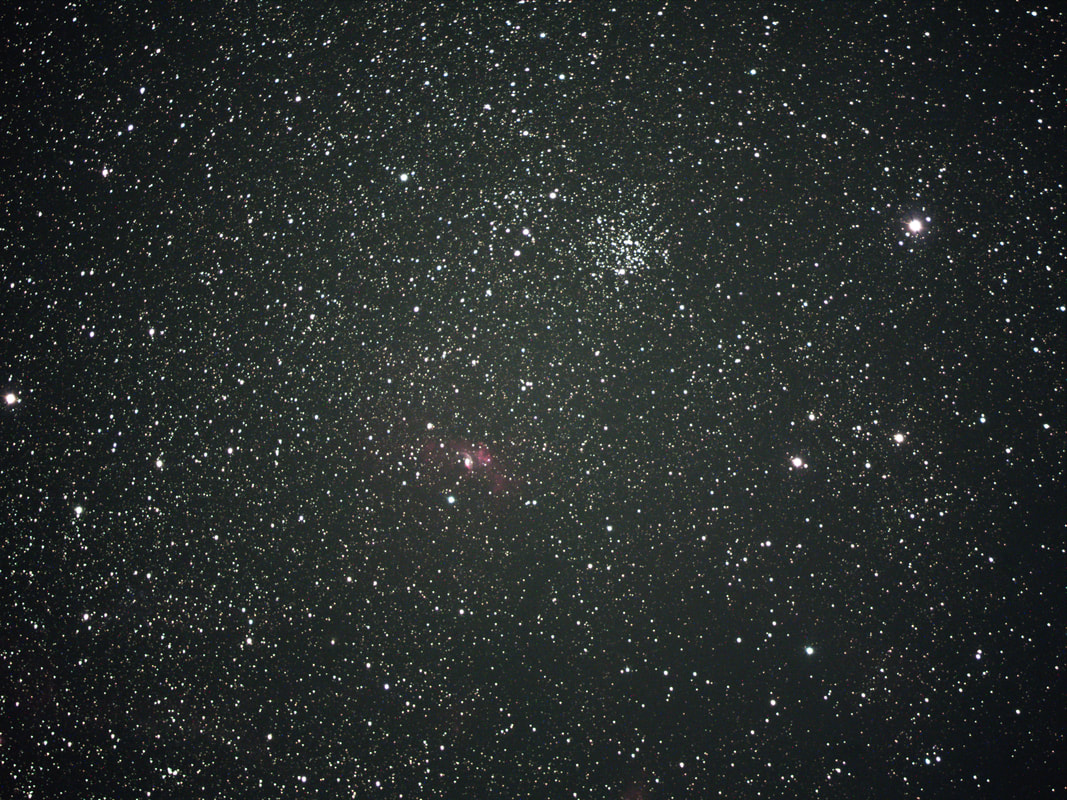
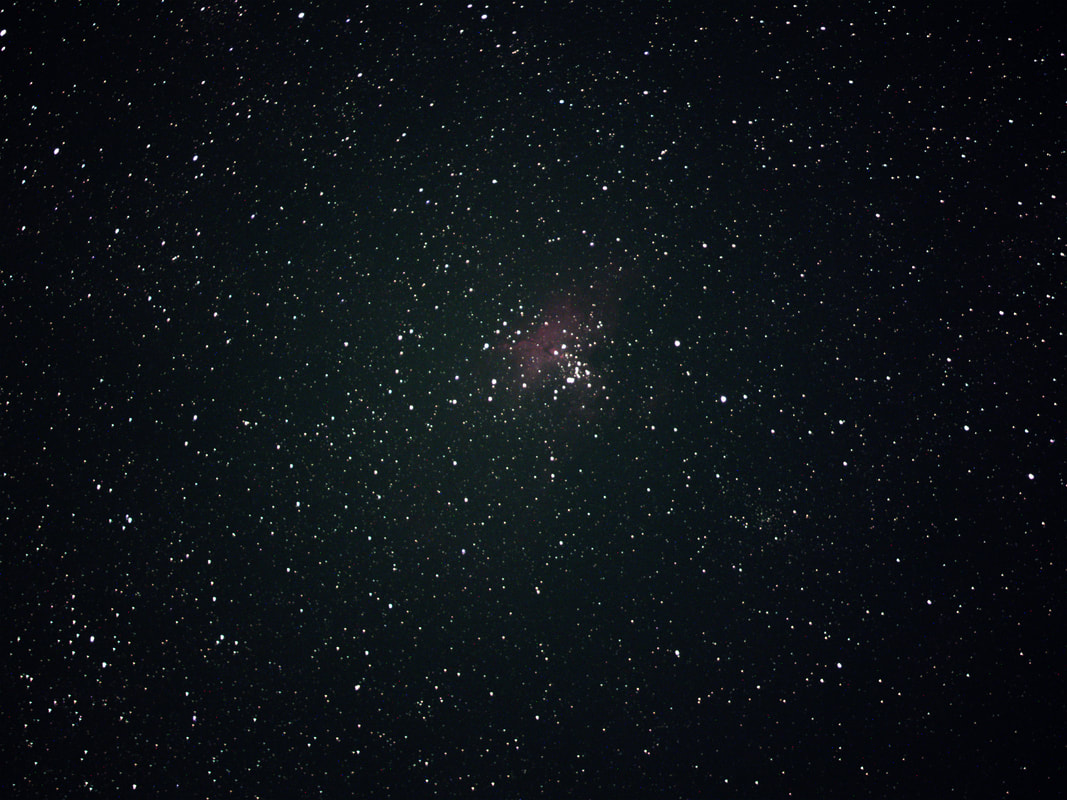
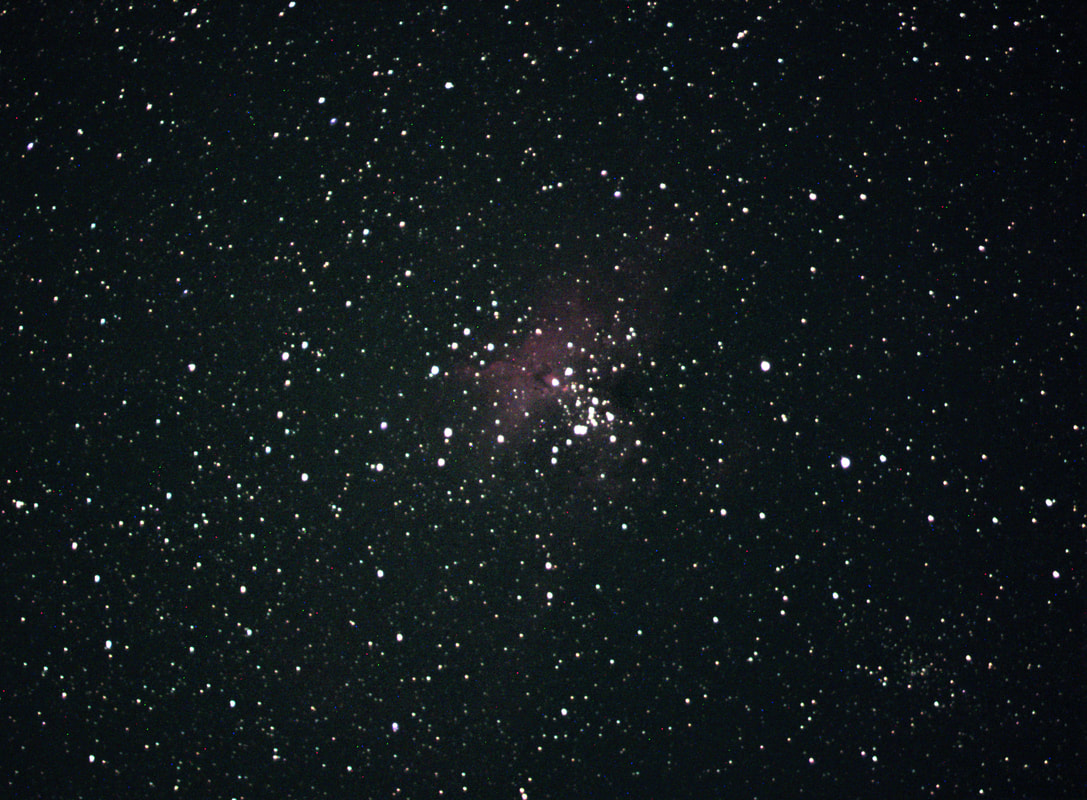
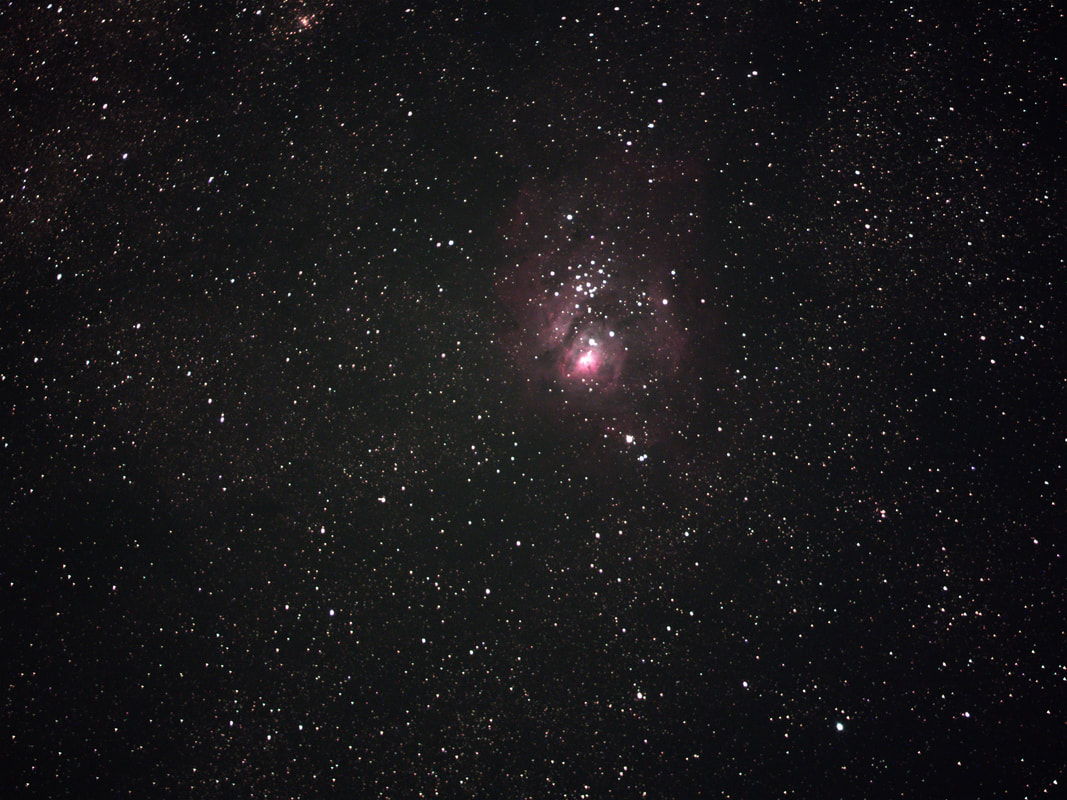
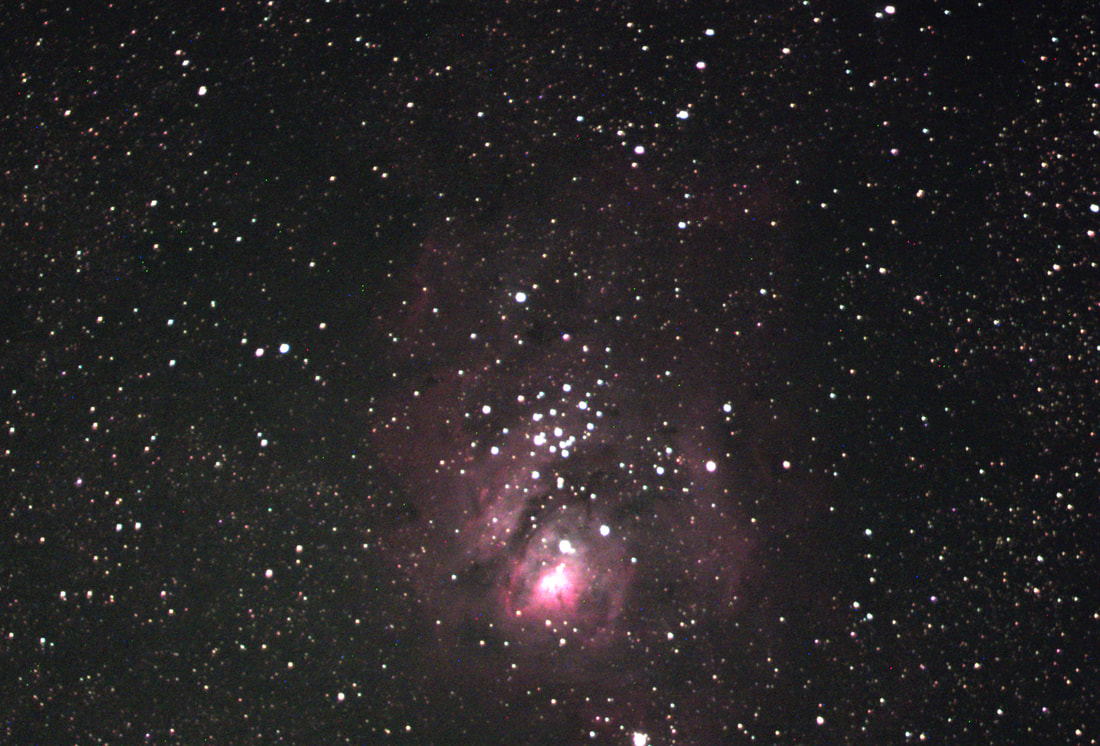
In the following deep sky images, the one on the left is what I saw on the screen (no post processing) updating every 1-5 seconds depending upon the exposure setting, and I could zoom the image to see more detail. The image on the right is cropped (like a zoom) from the left image and is a slightly enhanced image of the target. I spent less than two minutes of “post processing” using the regular Microsoft Photos Edit/Enhance/Adjust functions to crop and produced the image on the right to show up better on the web. My camera settings are noted after the target name where s=seconds, g=gain, h=histogram range, vh=the histogram values were varied while stacking for Live HDR effect, srp=sharpness, stk=#stacked with averaging, b=binning value. The distance from earth is listed at the end in lightyears (kly=thousand light years, Mly=million light years)
If you right click on an image and select Open image in a new tab, then click on the new tab you will see a bigger version of the image.
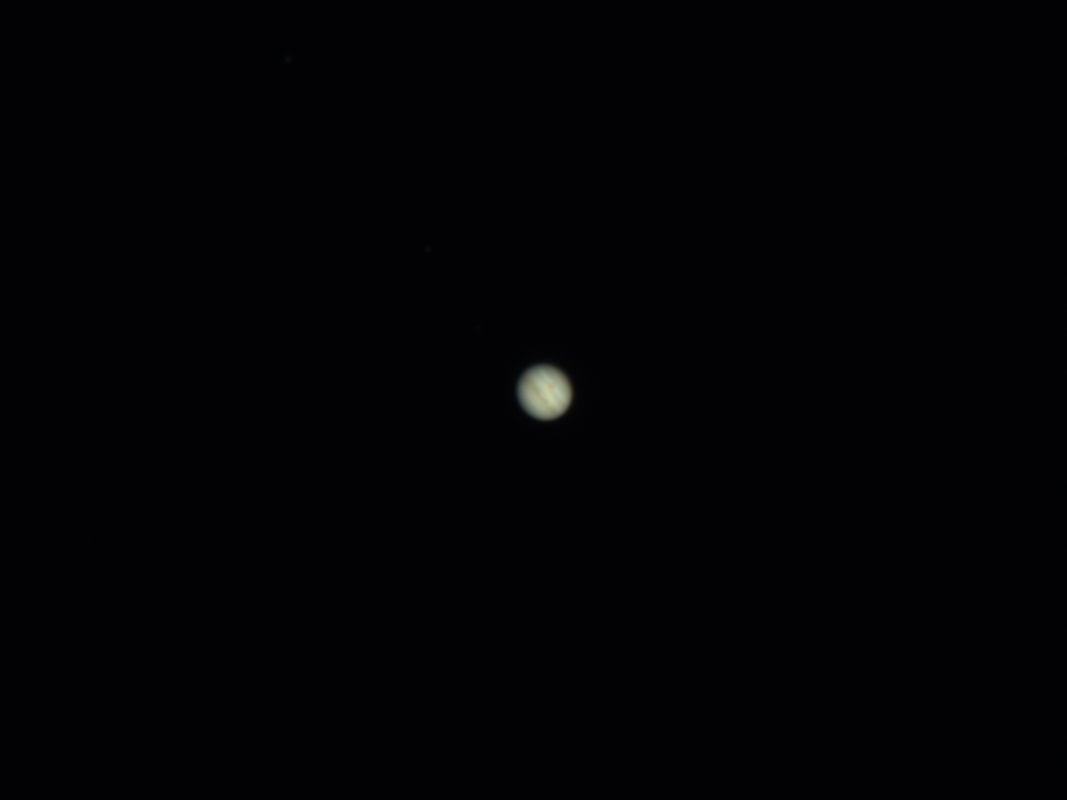
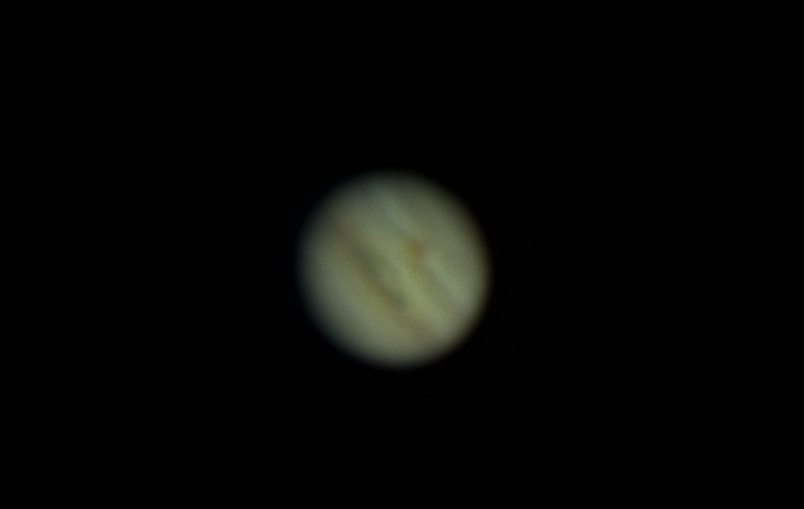
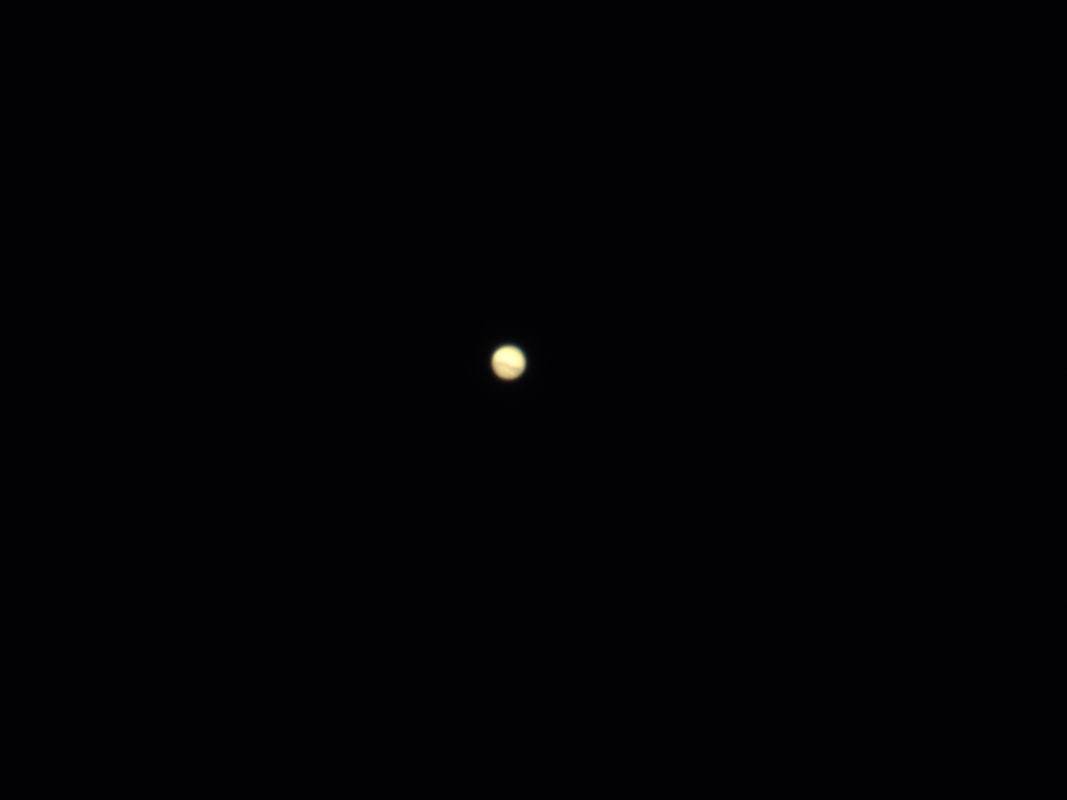
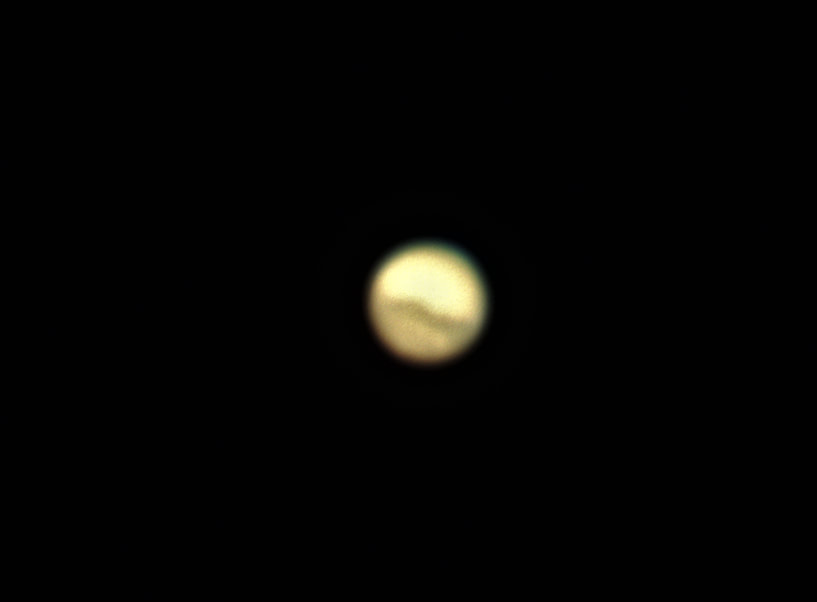
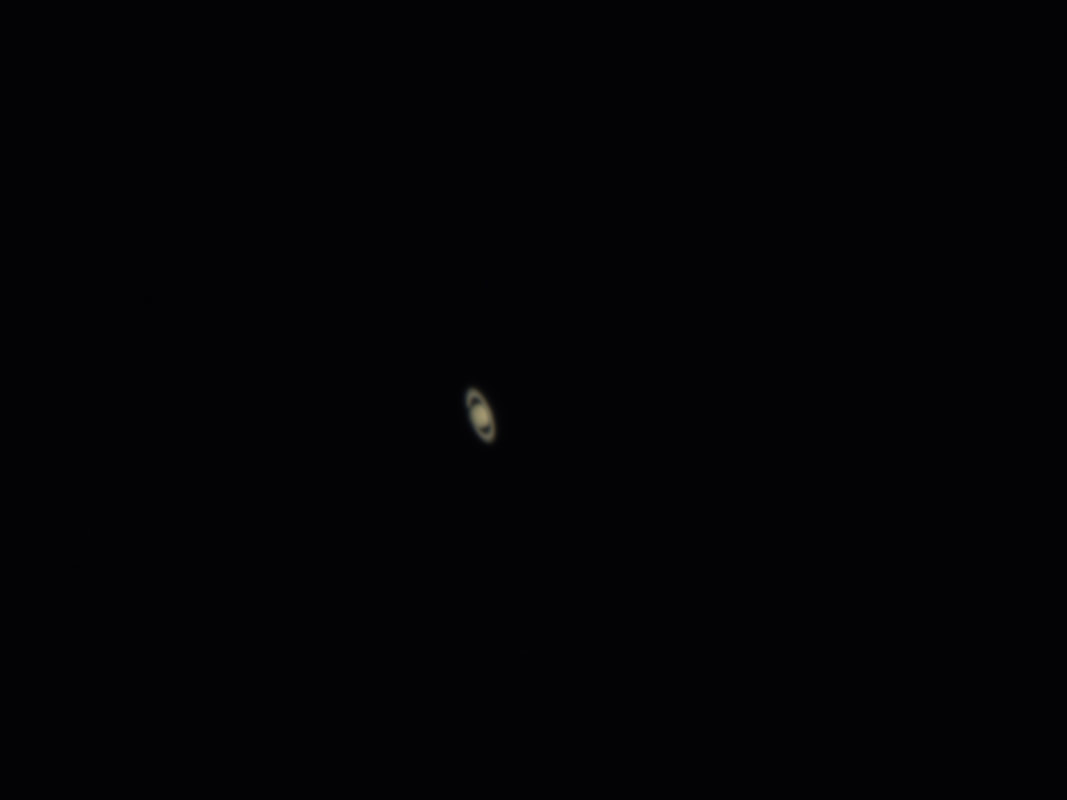
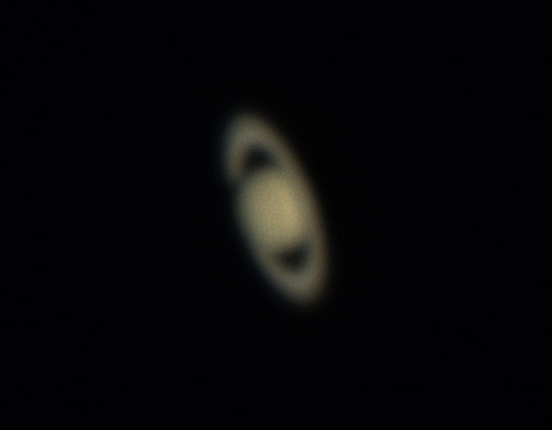
Having noticed Jupiter, Saturn and Mars shining brightly in the sky, after a couple of days I removed the Universe Focal Reducer and attached my 2.5x Barlow to check them out. These were very short exposures due to their brightness. Exposure time for planets were 2-10 milliseconds (ms) with 15-38 gain. The following images were “post processed” using the regular Microsoft Photos Edit/Enhance/Adjust functions to crop and enhance the details of the image I captured from the screen. There are really good planet post-processing applications that can scan through many images and only combine the best ones to produce much better detail. I just had fun live averaging all images and quickly seeing what I could see. The full field of view image is on the left and the cropped/enhanced image is on the right.
Later in the week, I installed my Hyperstar focal reducer which produces a nice wide Field of View at F2. With this configuration, the Hyperstar and the DS10c camera are at the top end of the telescope.
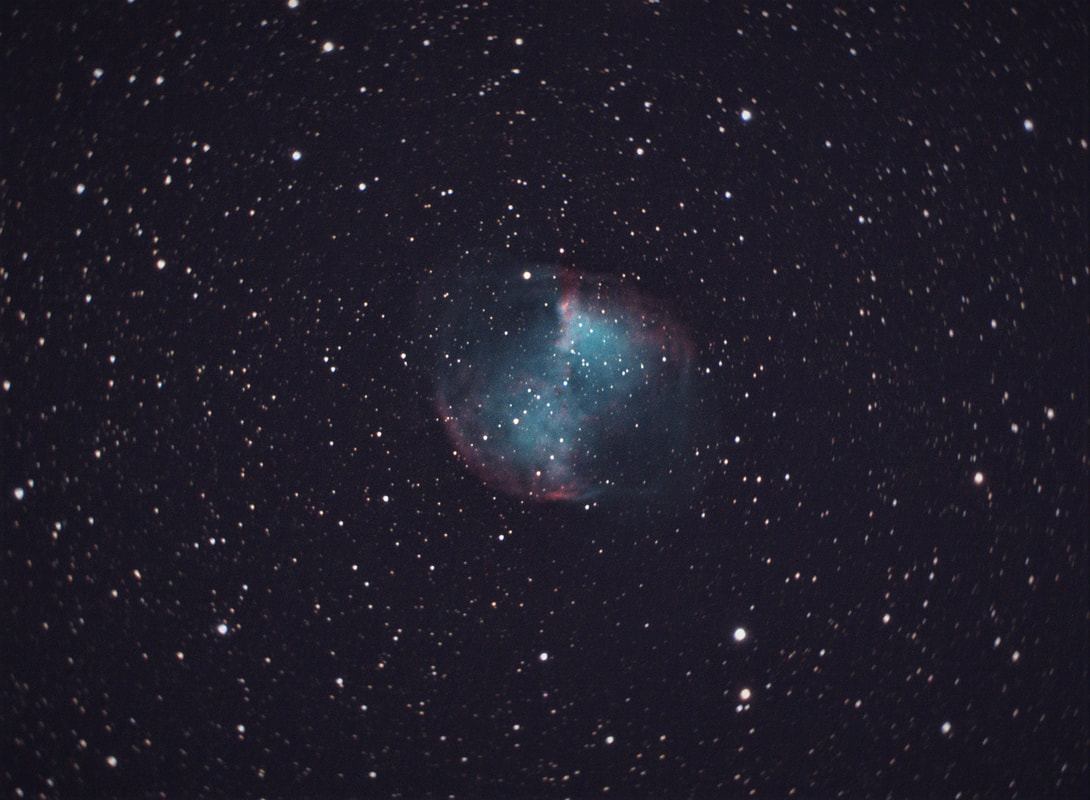
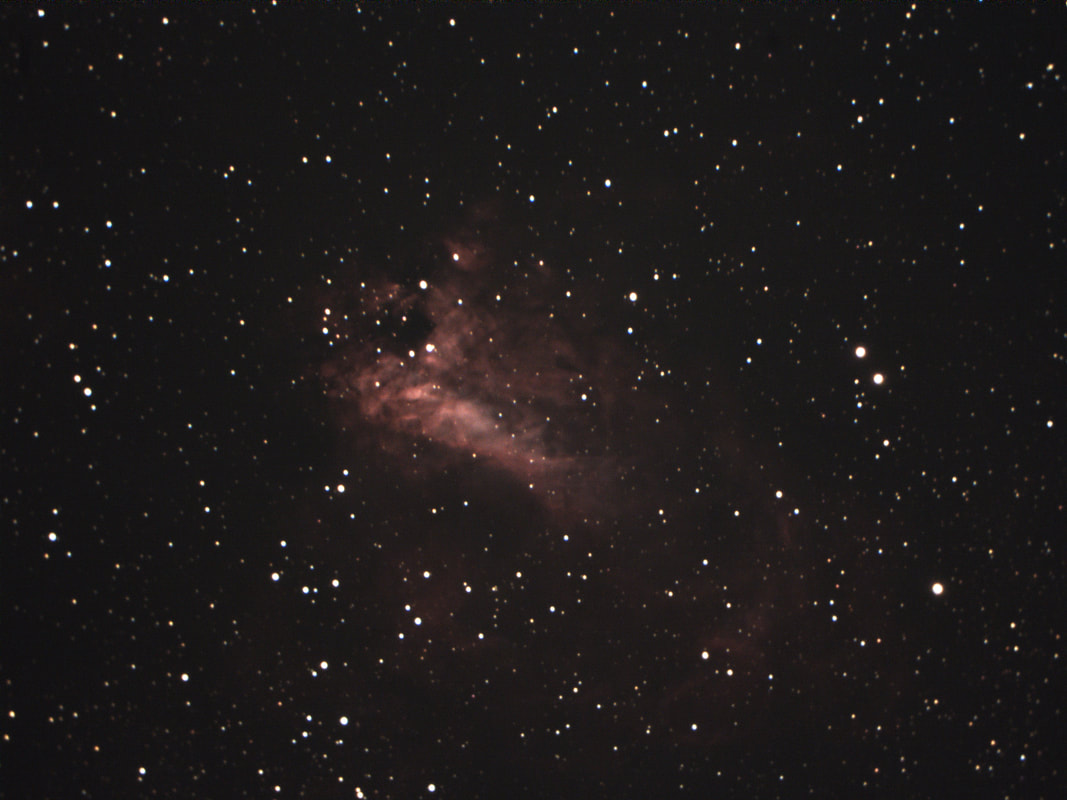
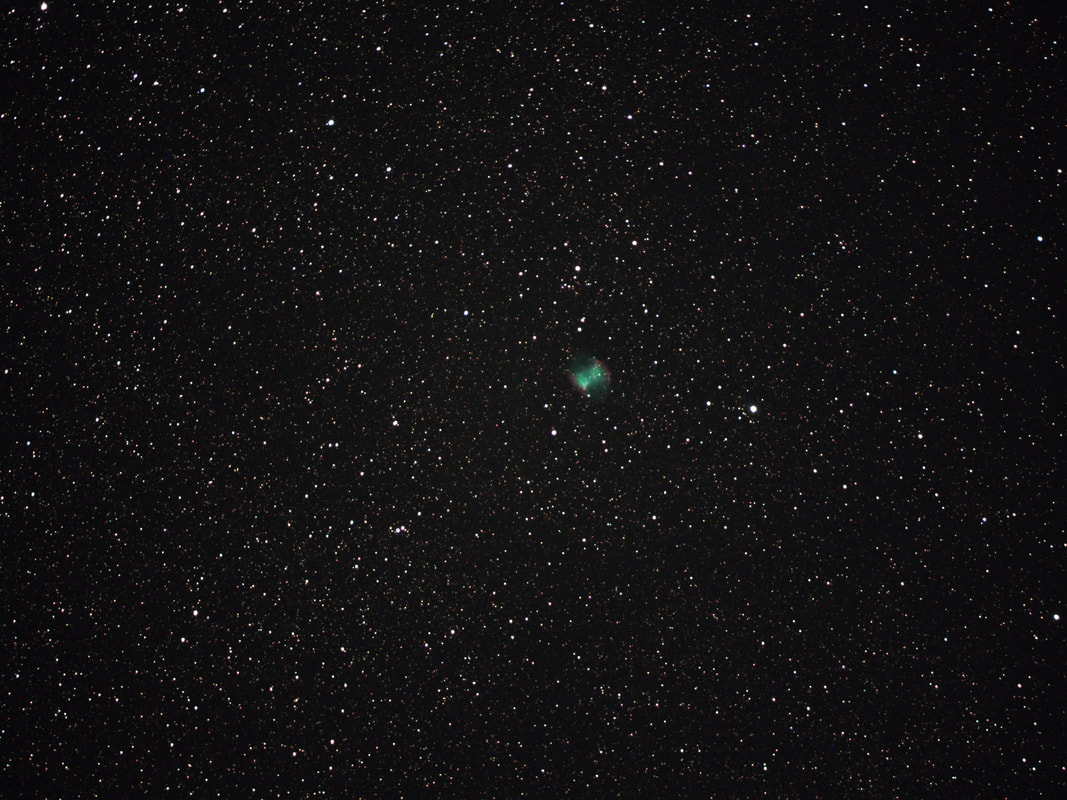
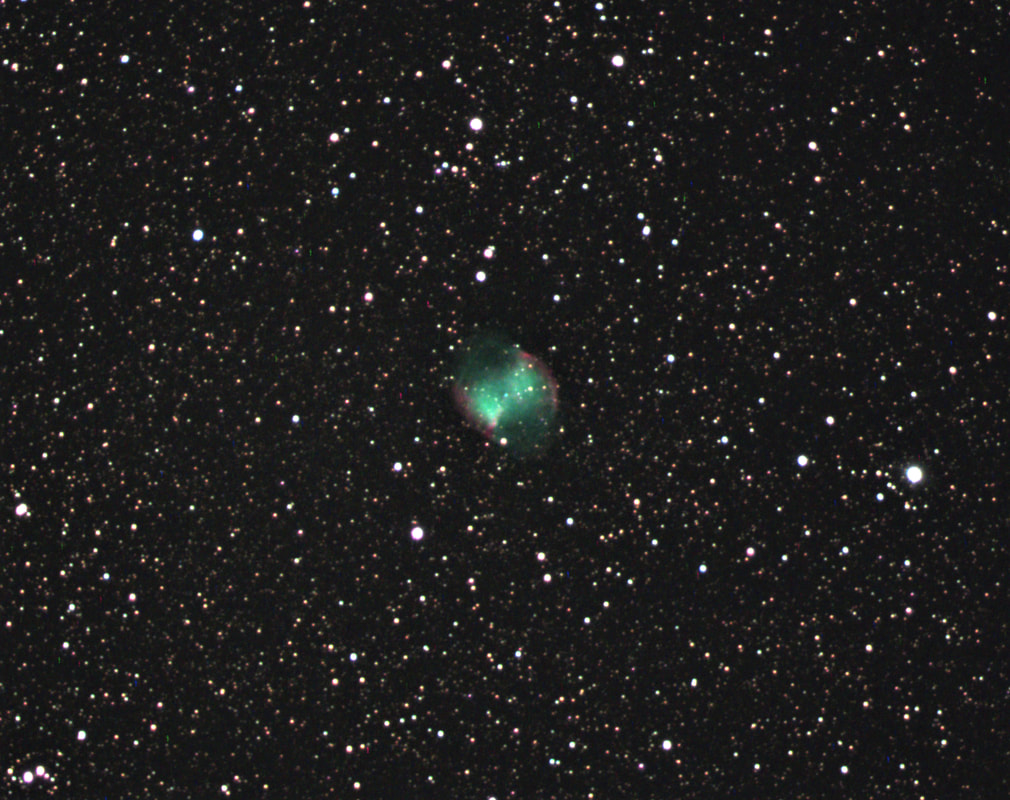
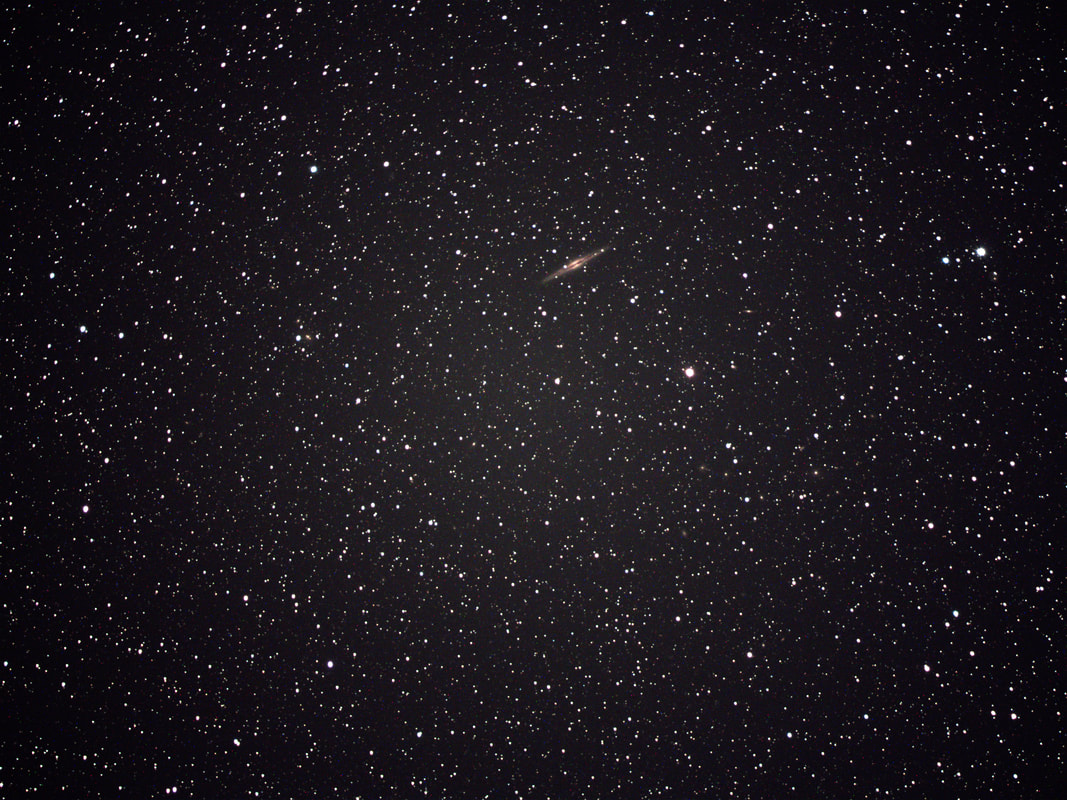
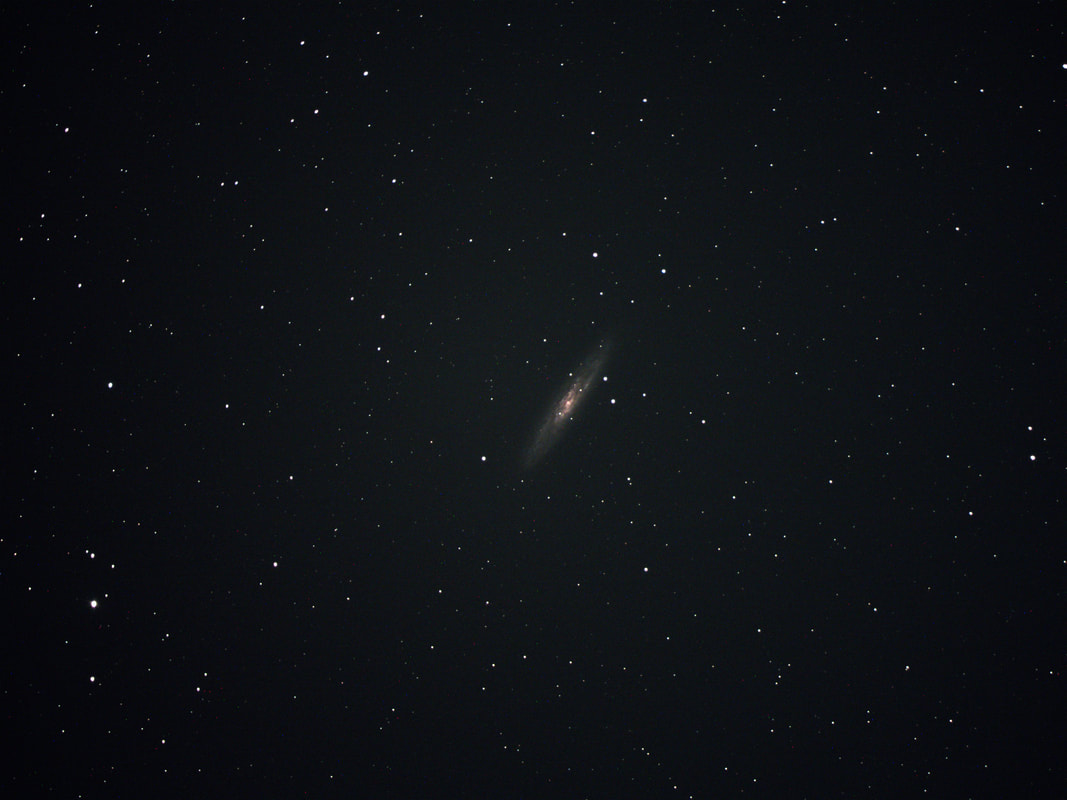
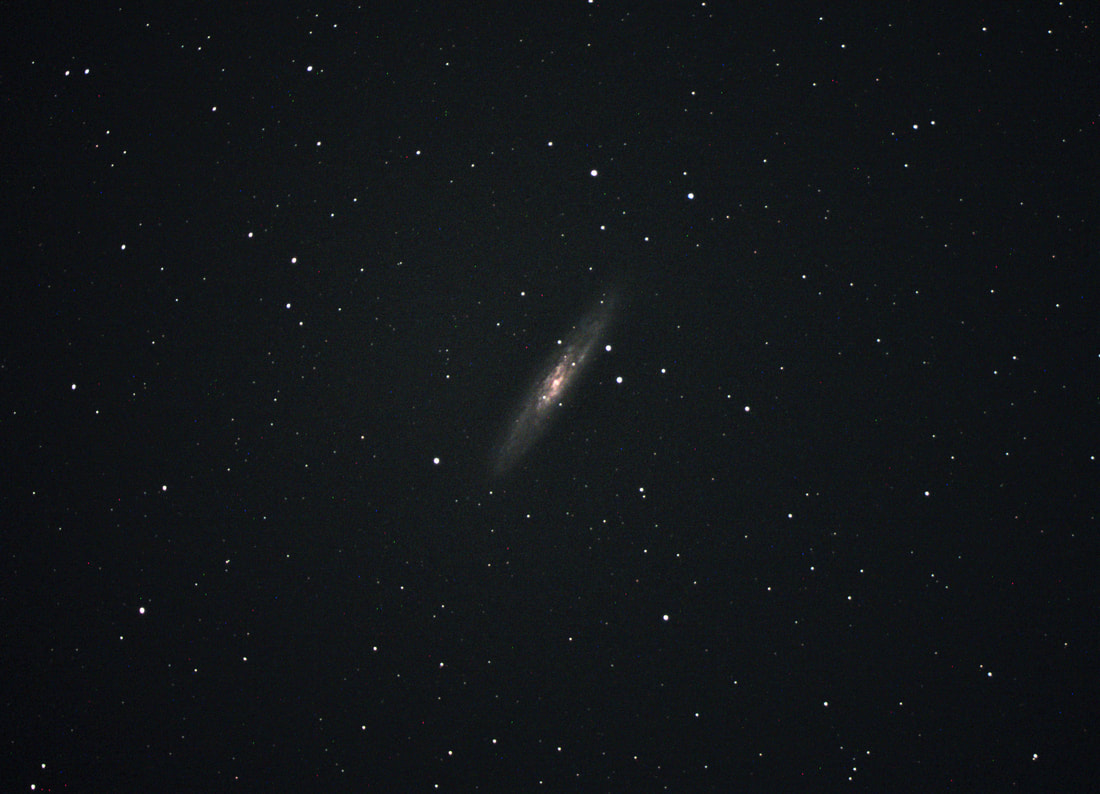
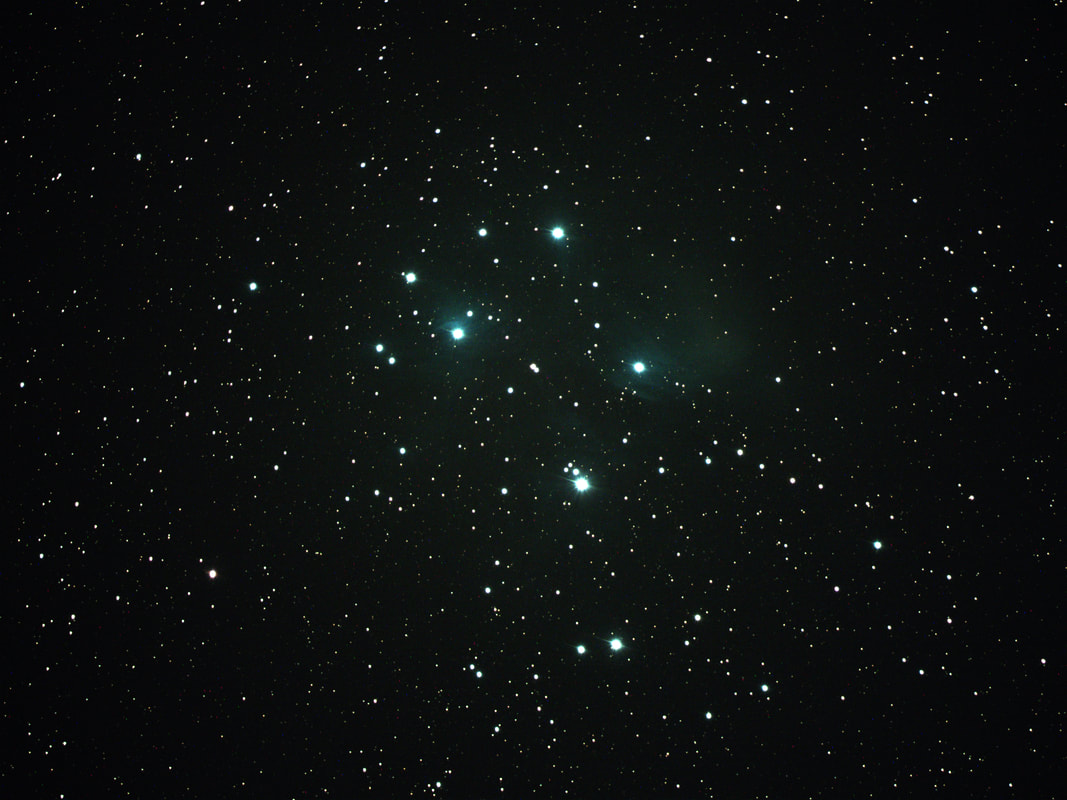
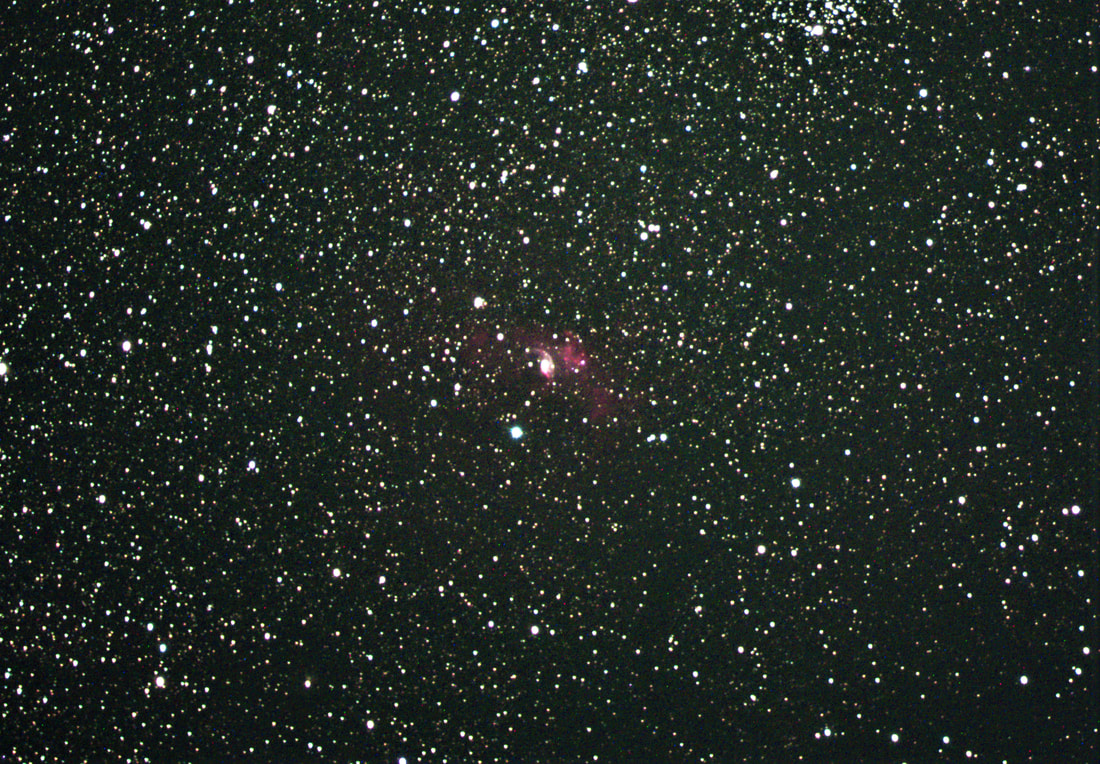
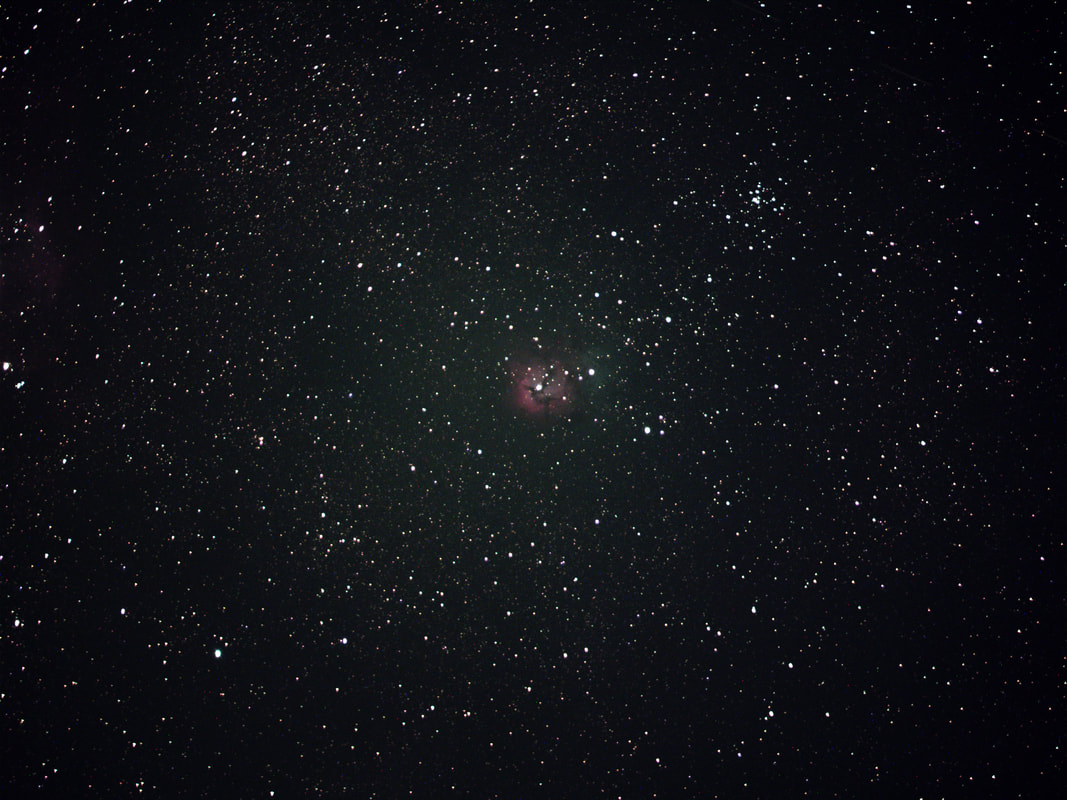
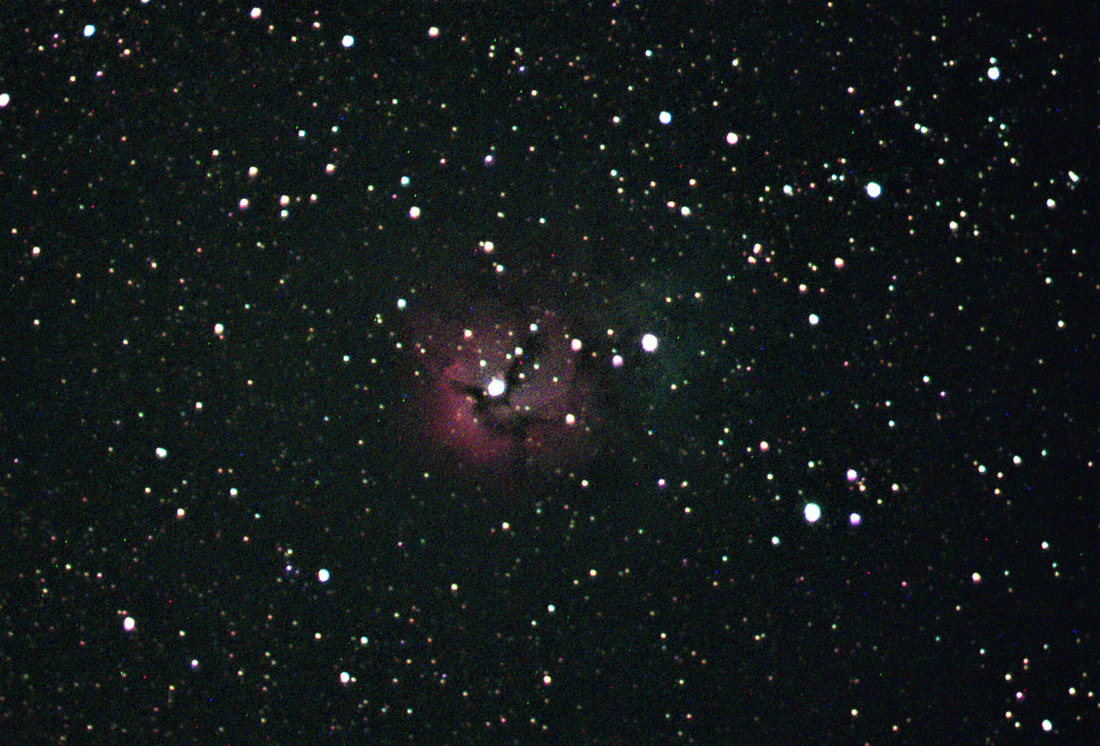
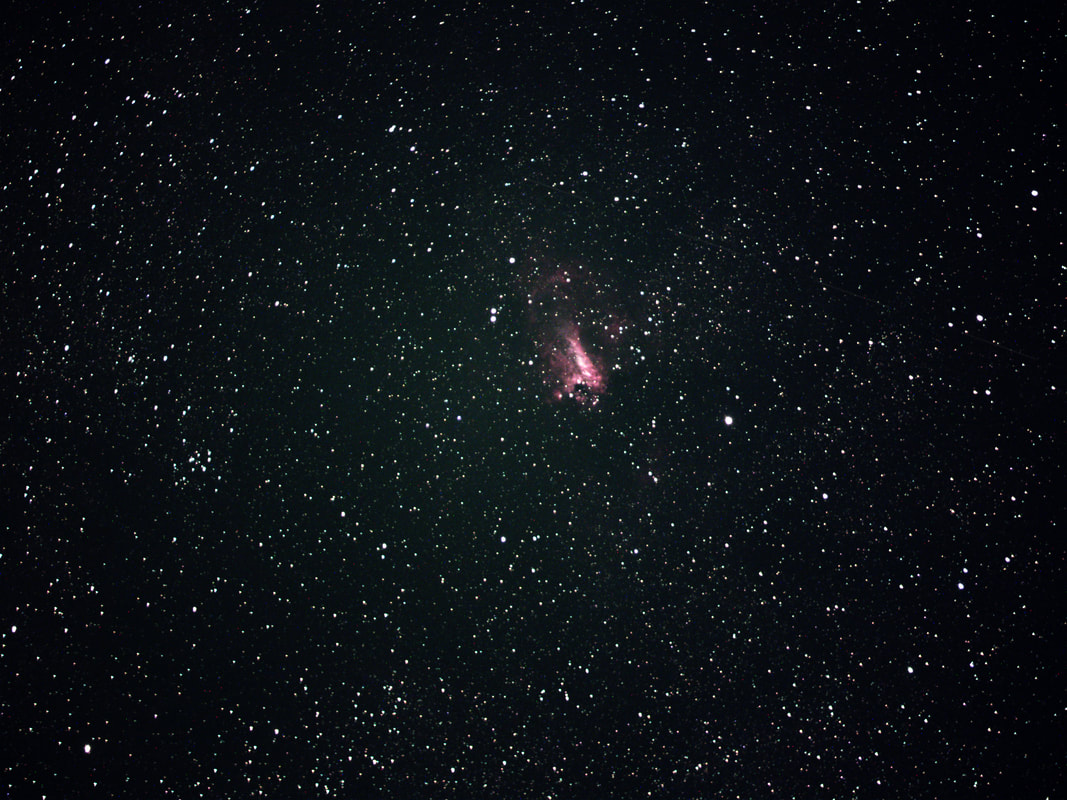
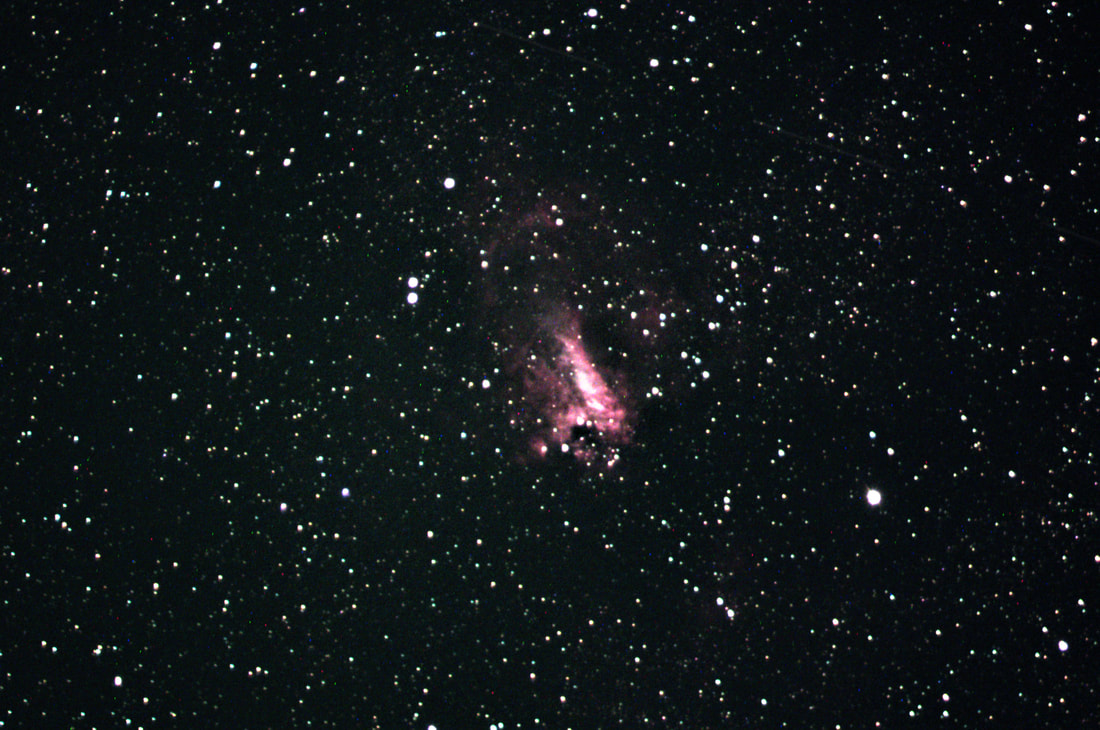
As before, the images below on the left are what I saw on the screen (no post processing) updating every 1-5 seconds depending upon the exposure setting. The images on the right are cropped (from the left image) and I only spent 1-2 minutes to quickly enhance the image using the regular Microsoft Photo viewer/editor.
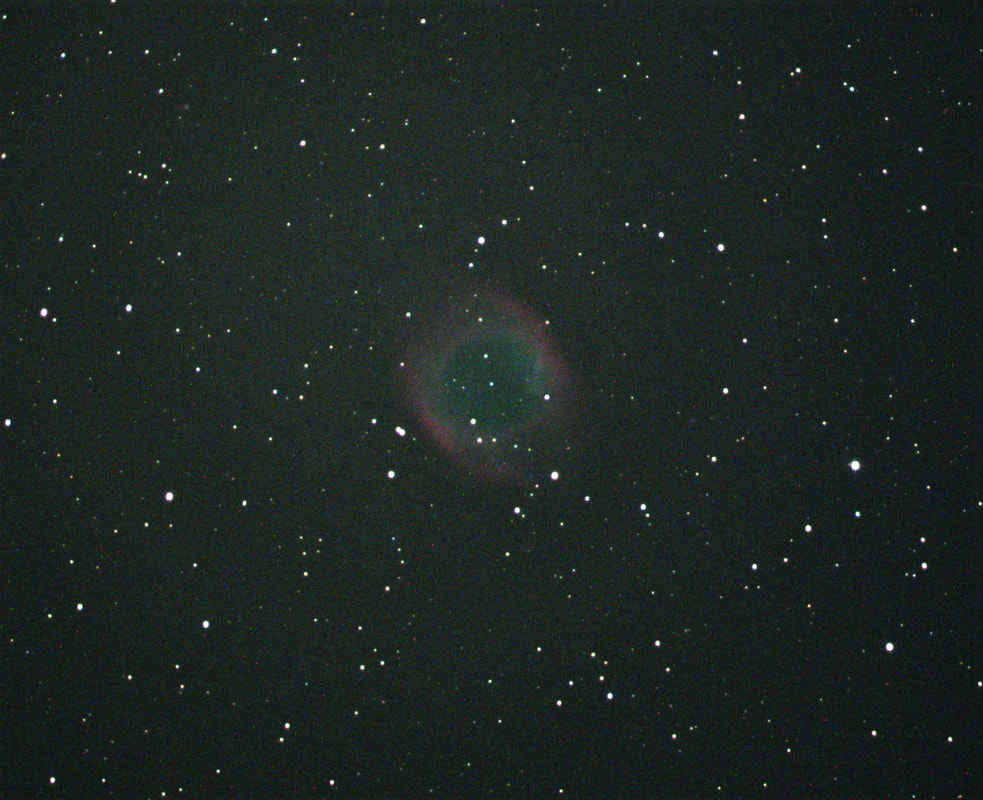
If you compare the following M27 image on the left to the previous one of M27 without the Hyperstar installed you can get a feel for how much the Hyperstar increases the Field of View.
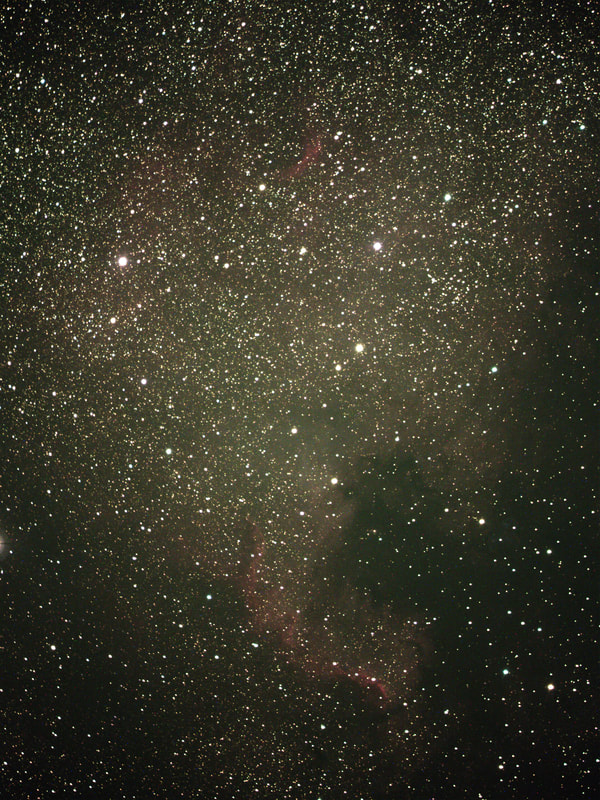
There is not much to zoom into the North American Nebula, so only the full unenhanced image is shown below.
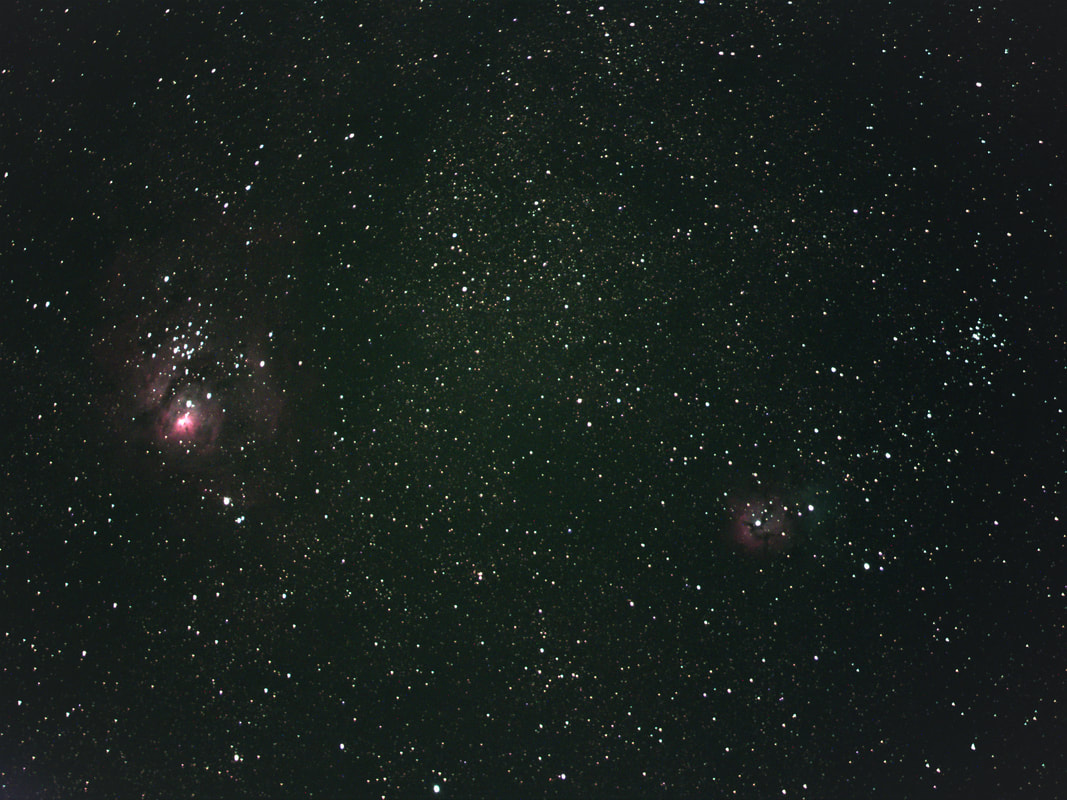
Here is another image of both M8 and M20 in the same field of view.
I wondered why I had difficulty when I tried observing the Whirlpool galaxy one night. With a little extra exposure time applied I realized why, looked up and saw how low the Whirlpool was on the horizon!
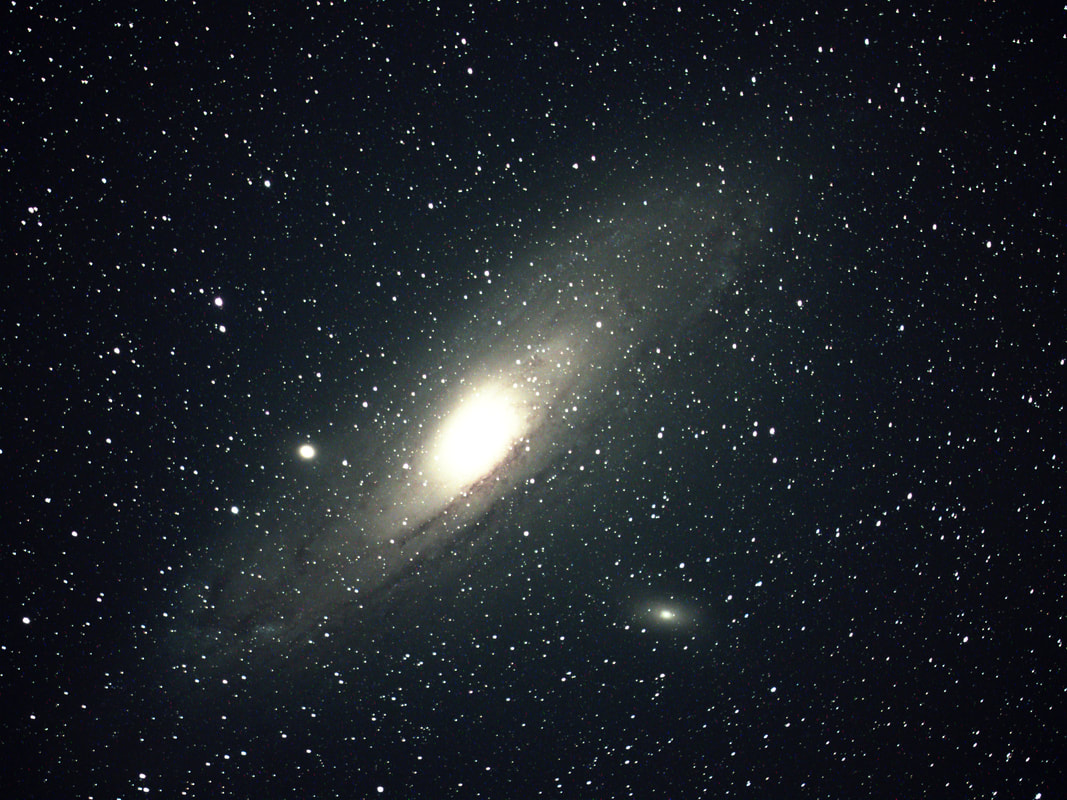
This image of the Andromeda Galaxy particularly stands out in my mind from this trip and nicely shows how big the field of view is with the Hyperstar installed. This is using a 3 second exposure time and average stacking 20 images. The initial image appeared after 3 seconds and then updated every 3 seconds averaging the next image. This is how it looked on the screen after 1 minute. Periodically I am reminded just how amazing video astronomy is and how fortunate we are to live in a time we have the tech available to see this while there are still dark skies nearby we can go to.
We liked being at this nice, quiet out of the way campground, and I really enjoyed the dark skies! It was just a days drive from our home. My wife and I have already talked about planning another trip there next year.



 RSS Feed