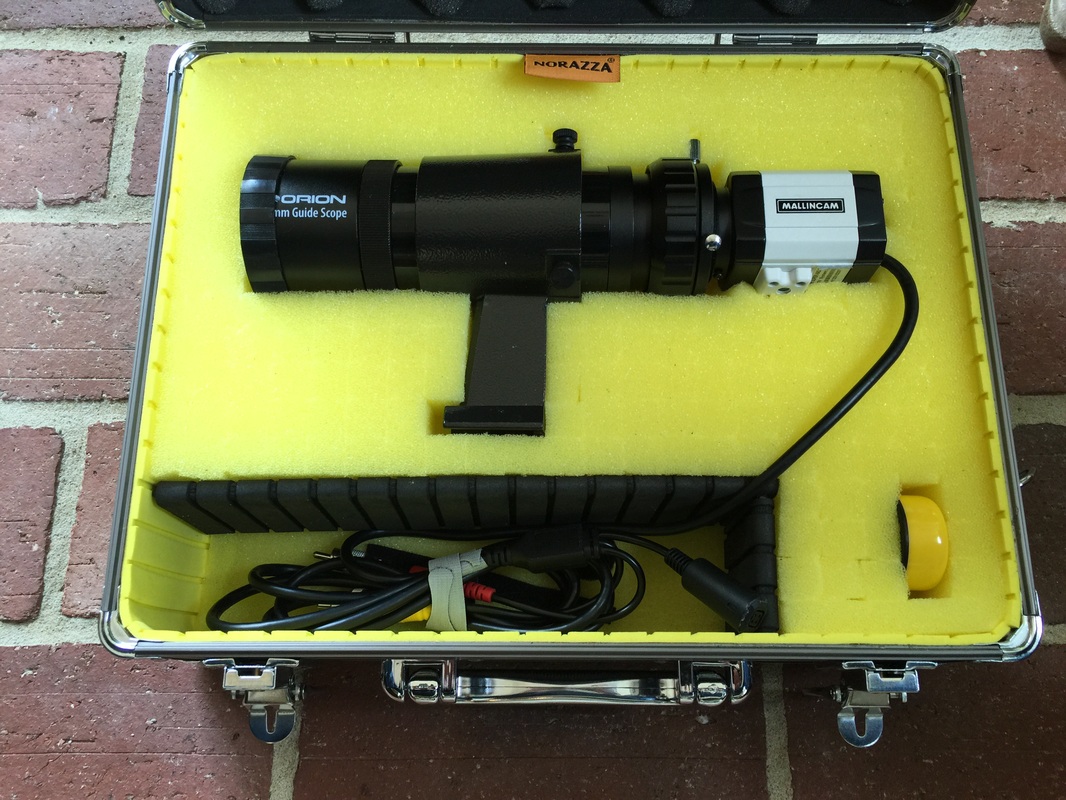
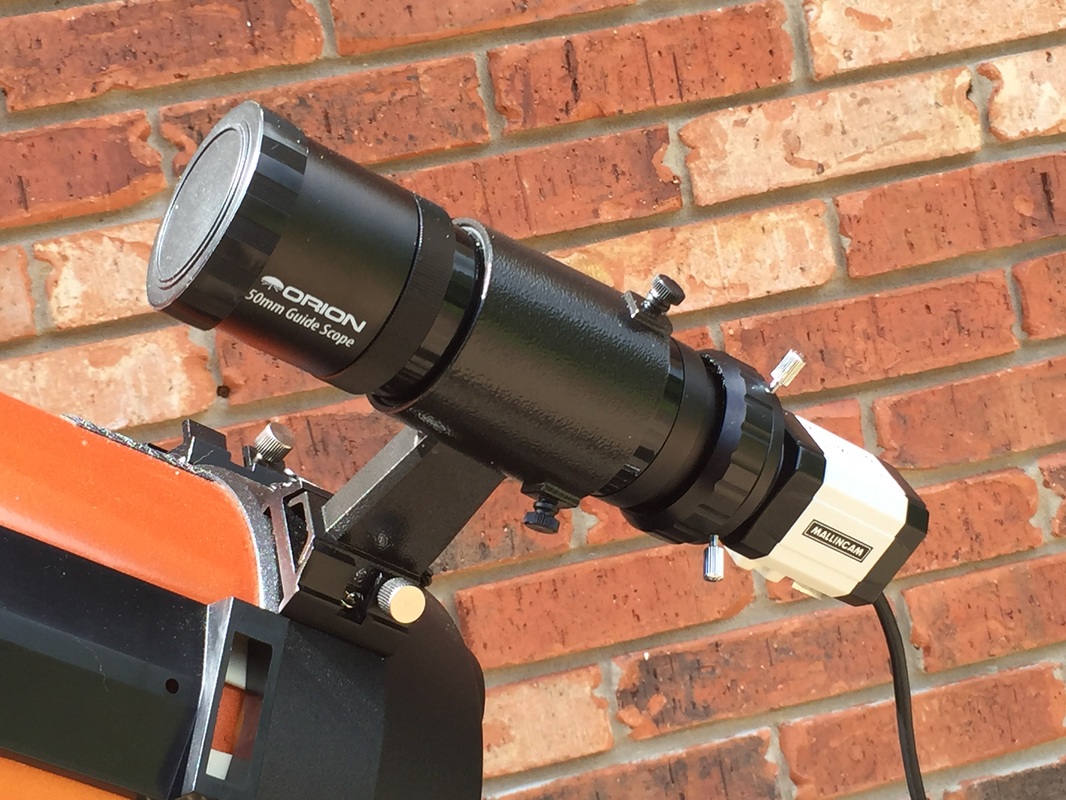
What do you do with the finder scope of a Celestron 8SE if you have to remove it to install a StarSense AutoAlign? Do you have to drill new holes if you want to use a Mallincam Micro for a video finder scope? These were a couple of questions asked by one of the readers of my book "Beginning Video Astronomy...So, what's the matter?".
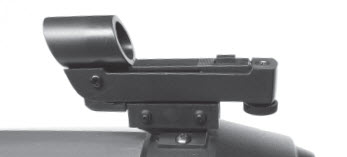
Let me first say don't drill! You can make use of existing screw holes by first removing the telescope's small plastic Star Pointer with a Phillips head screwdriver.
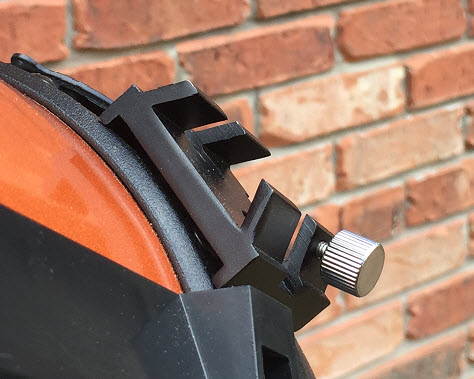
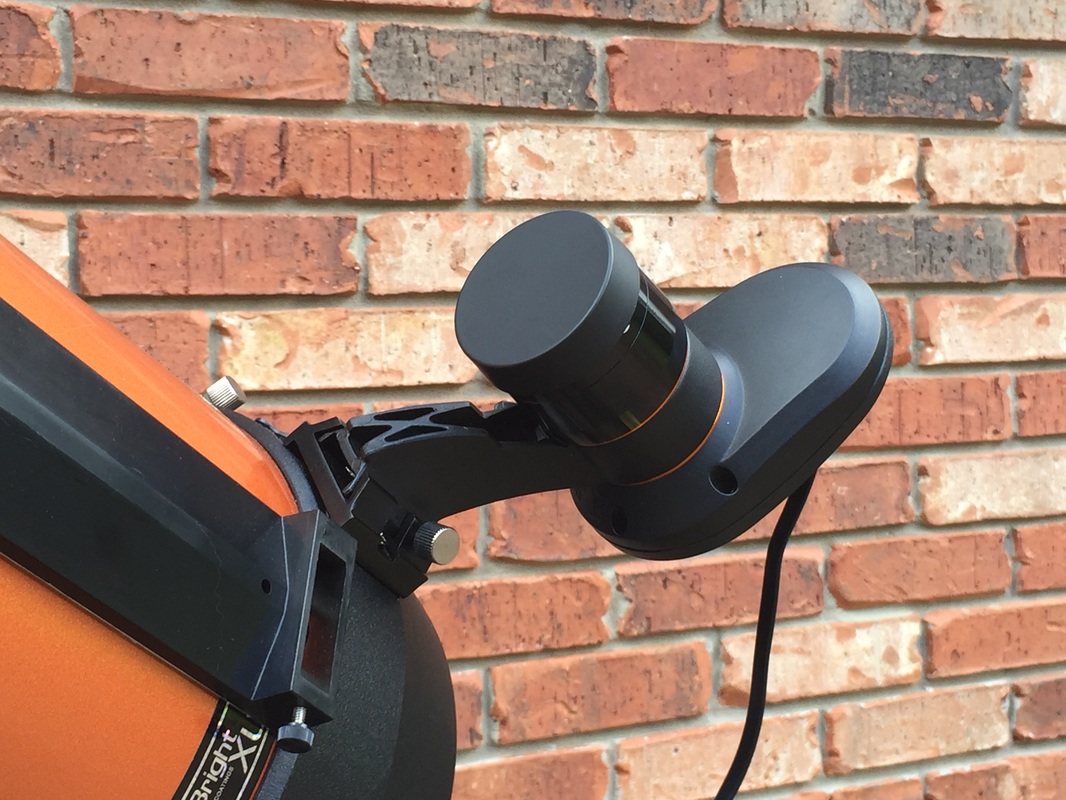
I also installed an Orion finder scope base on my Celestron C5 telescope so I can use the StarSense AutoAlign or Video Finder Scope on it as well. If you have trouble mounting a finder base on your telescope (e.g. the screws are not long enough), you can take a screw you remove from the telescope to a local hardware store to get a longer screw. Be sure you match it properly, especially if the telescope screw is metric. Also take care when screwing the base onto your telescope to insert the screws at right angles to the telescope. Since the telescope is round, the two screws will not be completely parallel to one another.
So what do you do if you miss having your simple red dot Star Pointer? I highly recommend getting a TELRAD reflex sight, which is much easier to use. The red TELRAD rings are continuously adjustable from off to full on. It is lightweight and requires no mounting screws. You use the supplied double stick tape to mount its base directly to the side of your telescope tube.
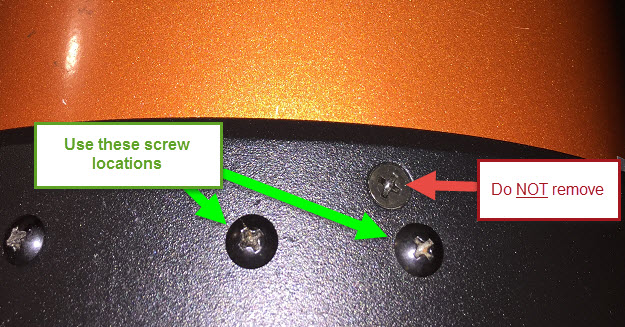
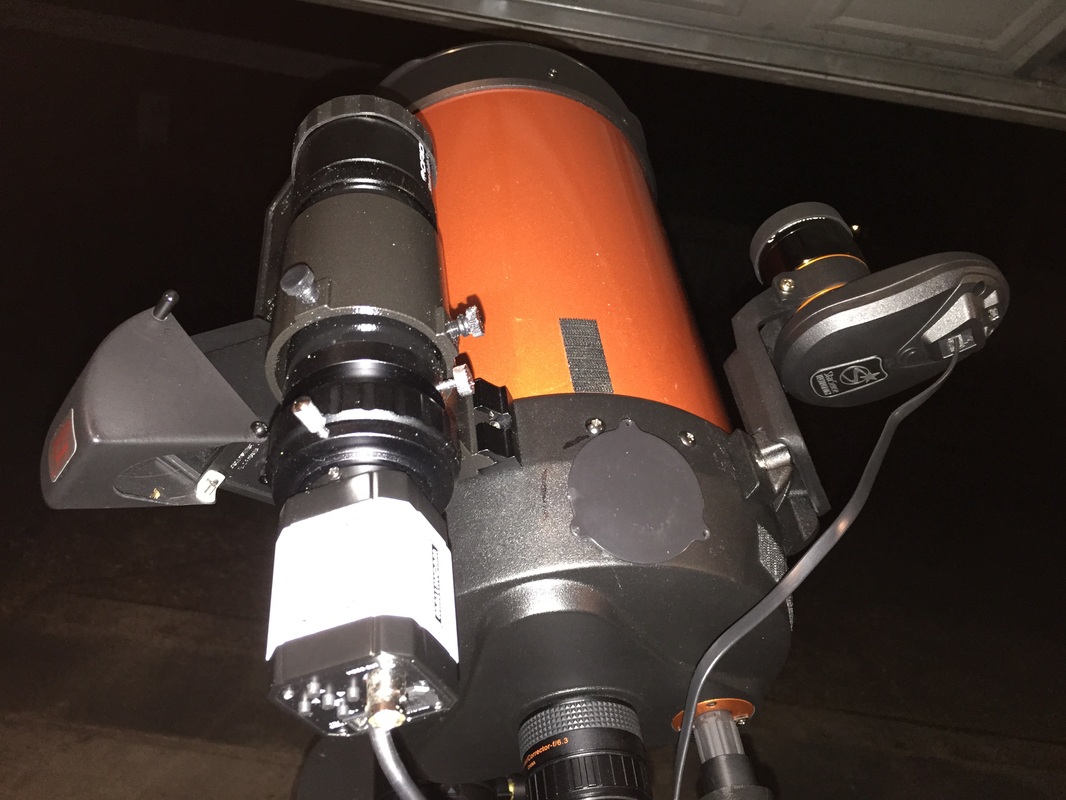
What if you want to use both the StarSense AutoAlign for aligning and the Video Finder Scope to assist finding and centering your faint fuzzy objects? After you complete your StarSense AutoAlign, you can remove it and slide the Video Finder Scope in its place. Or if you prefer to have both of them mounted on a Celestron C8, you can use the other mounting screw locations and either add an additional Orion finder scope base or install the StarSense AutoAlign large base (and keep the large bracket on the StarSense AutoAlign) since there is no need to swap it with anything. Be sure to use the holes for mounting finders – do not remove the smaller telescope assembly screws!
Here is another picture that better shows the various mounting techniques.


 RSS Feed