This past Friday night the Orion Nebula edged out from behind the pine trees in my neighbor’s backyard. This was my 1st chance using my RASA8 and DS8300c to view my oldest and most favorite video astronomy target! With this configuration, the field of view with the DS8300c was just right for M42 Orion Nebula and its neighbor NGC1977 Running Man Nebula. I have Bortle 6 skies in my neighborhood (with streetlamps) so I had an Antlia Quad Band Anti-Light Pollution Filter in place.
I used 2 different techniques. The first was a straightforward stacking of 40 images using 3 second exposure, 50 gain and 16-255 histogram.
I used 2 different techniques. The first was a straightforward stacking of 40 images using 3 second exposure, 50 gain and 16-255 histogram.

M42 Orion Nebula - DS8300cTEC on RASA8
The second image used a combination of Live HDR (LHDR) and Live Post Processing (LPP). I started with the same 3 second exposures, 50 gain and 16-255 histogram like in the first image. After 20 images were stacked, I dropped the gain to 20 for 5 images, then dropped the gain to 1 for 5 more images (30 stacked total). This was a reverse sequence of most LHDR I have done where I normally vary the gain from low to high. This time I started with the most exposed stacked images, then mixed in 5 more images at half of the gain and then 5 more at minimum gain. This seemed to produce a nice image of the core while keeping the outer nebula portion intact.
At this point I snapped an image, saved it and opened it in Microsoft Photo Viewer to quickly make some Live Post Processing Adjustments for about 2 minutes and saved the results.

DS8300 m42 Orion Nebula - DS8300cTEC on RASA8 using LHDR+LPP
Live Post Processing (LPP) is a technique I have been using for a few months as part of my viewing sessions. After I snap an image in Mallincam Sky and save it, I then click on it to open the image in Microsoft Photos and spend about 2 minutes enhancing the image. When the image opens, I click on the Edit Image icon, followed by the adjust image icon and use the sliders (for Contrast, Exposure, etc.) to enhance the image. Here is a comparison of the Live HDR image (left) that I initially captured and the final results of using LPP (right).
Live Post Processing (LPP) is a technique I have been using for a few months as part of my viewing sessions. After I snap an image in Mallincam Sky and save it, I then click on it to open the image in Microsoft Photos and spend about 2 minutes enhancing the image. When the image opens, I click on the Edit Image icon, followed by the adjust image icon and use the sliders (for Contrast, Exposure, etc.) to enhance the image. Here is a comparison of the Live HDR image (left) that I initially captured and the final results of using LPP (right).
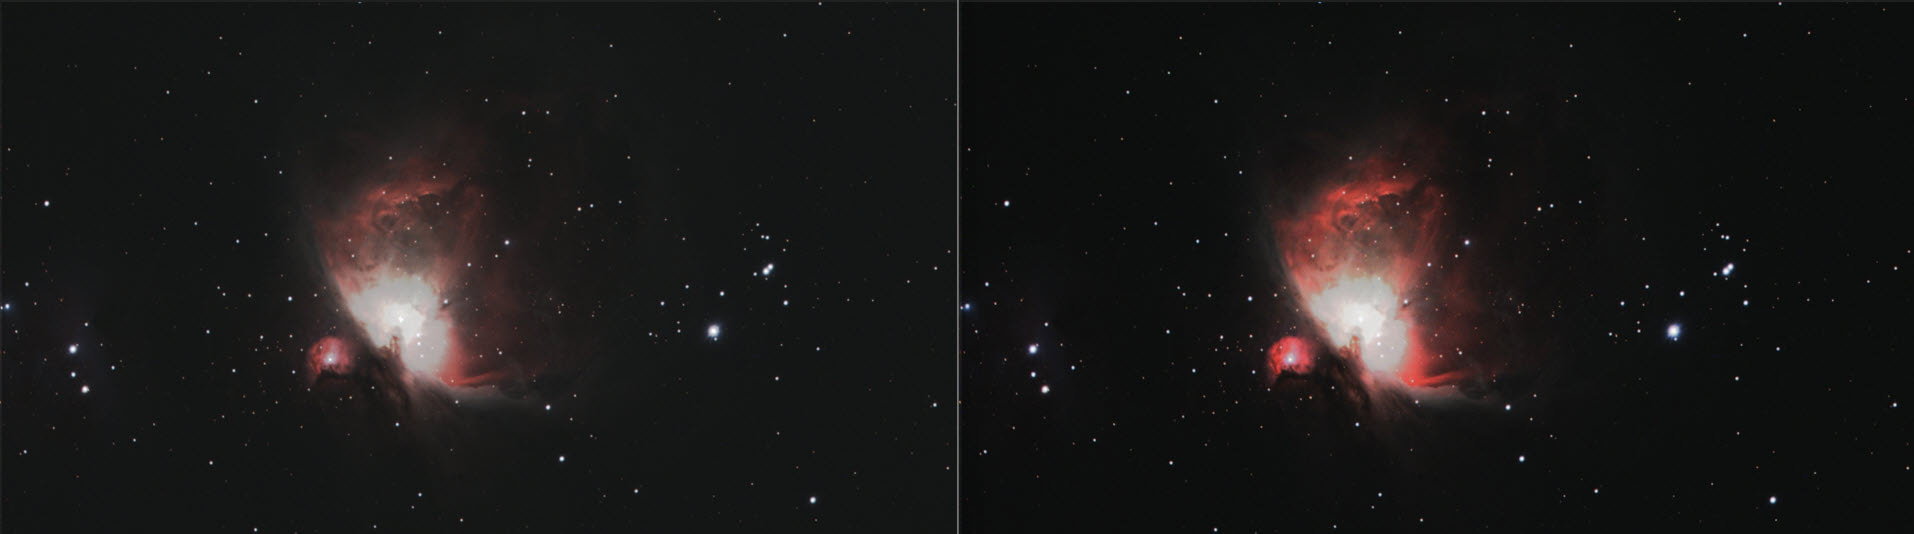
LHDR & LHDR+LPP comparison
I find that using LPP helps me bring out the data within the image a little better and is a nice visual experience as well. Overall time is still quick enough to for a viewing session and then move on to the next target. I now use LPP as part of my viewing session after every image I capture to enhance the image and the viewing experience.
I find that using LPP helps me bring out the data within the image a little better and is a nice visual experience as well. Overall time is still quick enough to for a viewing session and then move on to the next target. I now use LPP as part of my viewing session after every image I capture to enhance the image and the viewing experience.
 RSS Feed