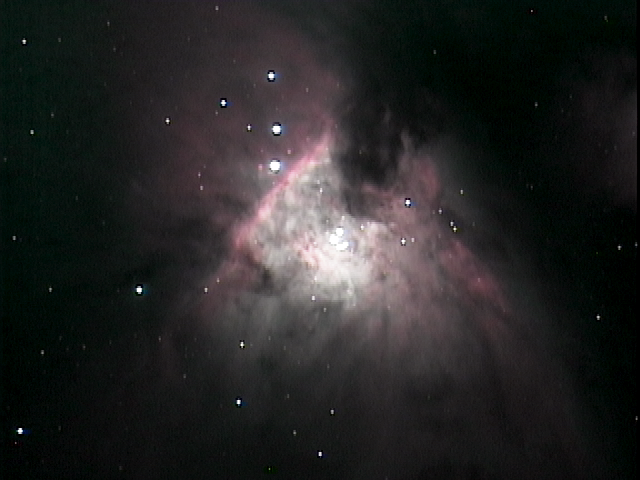
By using the MiloSlick High Dynamic Range stacking feature to combine exposures of varying length in real time you can produce a balanced image showing both inner core detail and faint nebulosity as shown in this screen shot.
Prior to turning on Frame Stacking, I adjusted the MiloSlick settings in the correct order as described in my previous 12/3/2016 post “Using MiloSlick SW with the Xterminator”. You start with the Camera tab to set your camera exposure, gain, etc. Then you move to the Video tab and adjust brightness down to produce a black background and contrast up to bring out more detail. Then you move to the Image tab to enable image functions like Dark Frame Subtraction and Frame Stacking. You have to resist the urge to adjust the Histogram controls until you have finished with the three tab settings. The Histogram controls are the very last stage in the video process. I will say the new version that is about to be released of the MiloSlick software has now combined the best of the last two releases, simplifying the user interface while also giving great visual feedback with the real time Histogram that is always displayed. The default is to display the familiar input to the histogram function and use Level sliders to bracket the information content shown in the histogram. (I have not learned how to use the Curves function yet – that’s a blog for another day). These images and the video clip are based on a pre-release of the new version.
The first step to use HDR is to select it in the first drop down option bar under Frame Stacking. Then you select how many exposures and what steps to use. In this example I decided to stack 4 frames using +1/2 stops. It will start with my initial integration level of 3 seconds, and then add 5s, 7s and 9s exposures to produce the final image, and then repeat. Once the final exposure is completed, you adjust the sliders on the Histogram as you normally would to bring out a little more detail and make the background a little blacker in this final output image.
You can click on the link below to view a live demonstration of using the HDR function. You can see the effect on the image after each exposure is completed.
youtu.be/bSWuvV7o7kY
MiloSlick also has the ability to align the images before stacking them if you select a star for it to use as a reference. Here is a screen shot of where I enabled the Correct frames for image shift, clicked Set and picked a star.
If your mount tracks well and your exposures are fairly short you may not need this enabled. It does not add noticeable processing time and is helpful if your mount tracking sometimes gets slightly off between frames. You can click on the following link to view a short video clip showing the use of Correcting frames for image shift.
youtu.be/wwP1eZ2vwcE
Here is the final image of the Orion Nebula using the DNR function to combine 3s, 5s, 7s and 9s exposures while Correcting frames for image shift.


 RSS Feed