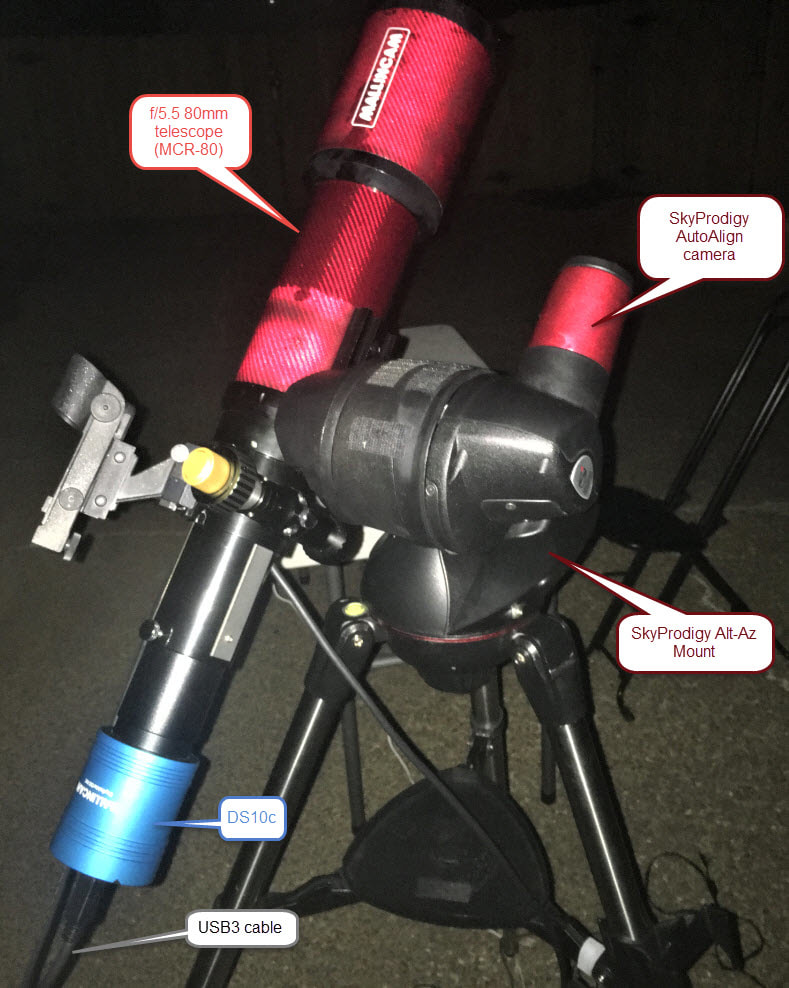
I used them on my SkyProdigy mount, which turned out to be a very lightweight and portable setup (with AutoAlign built in). I can easily set it up inside and pick up & carry the entire assembly outside to my driveway. Each component can also be carried on a trip without taking up a lot of room. I screwed the DS10c onto the 2” focus adapter of the MCR-80. Due to the Moon, I also decided use my 2” Baader Moon and Skyglow filter.
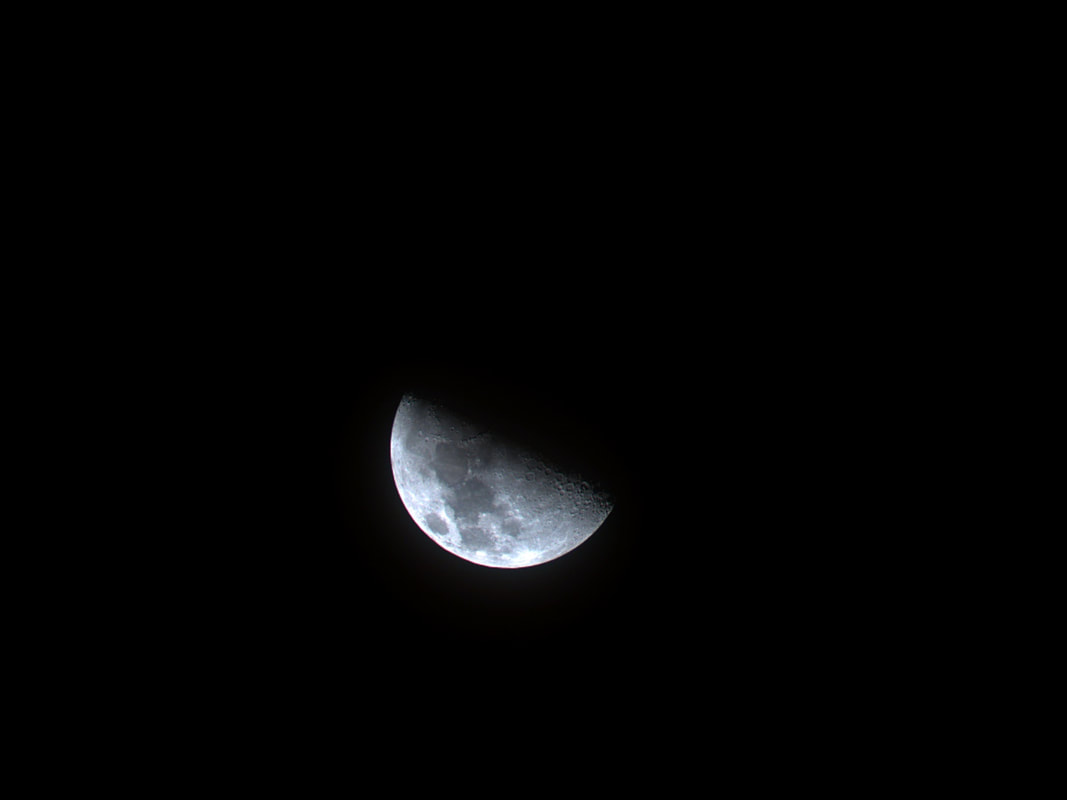
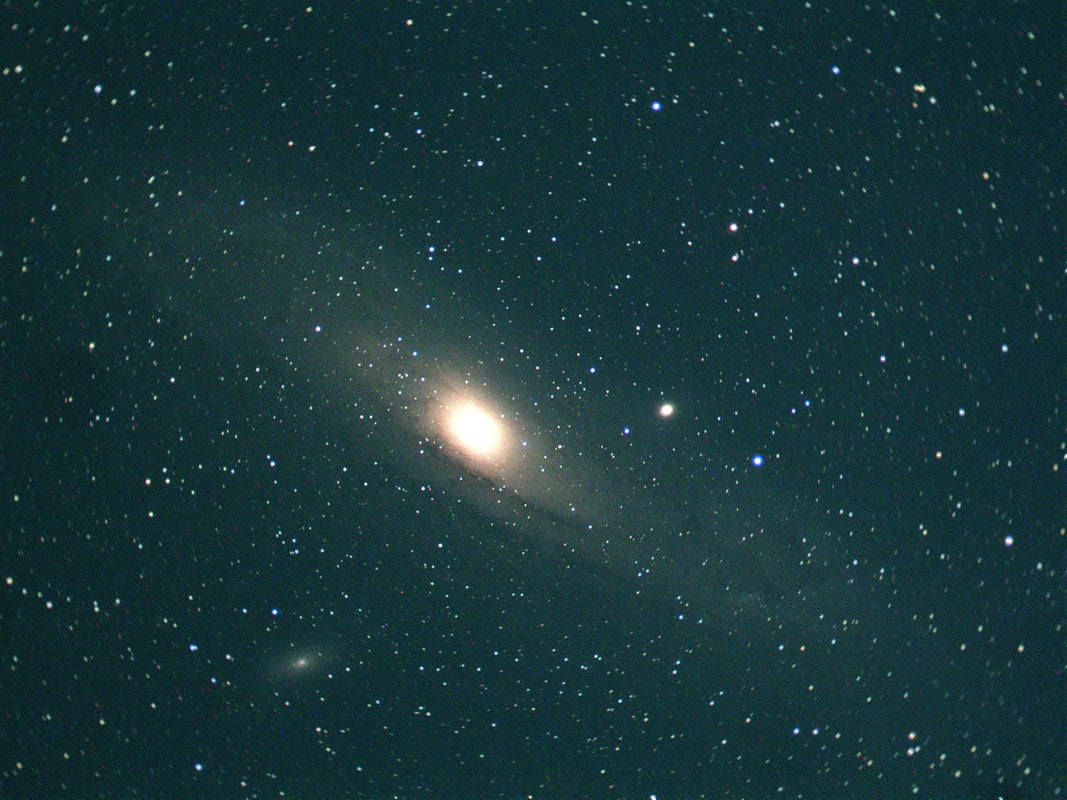
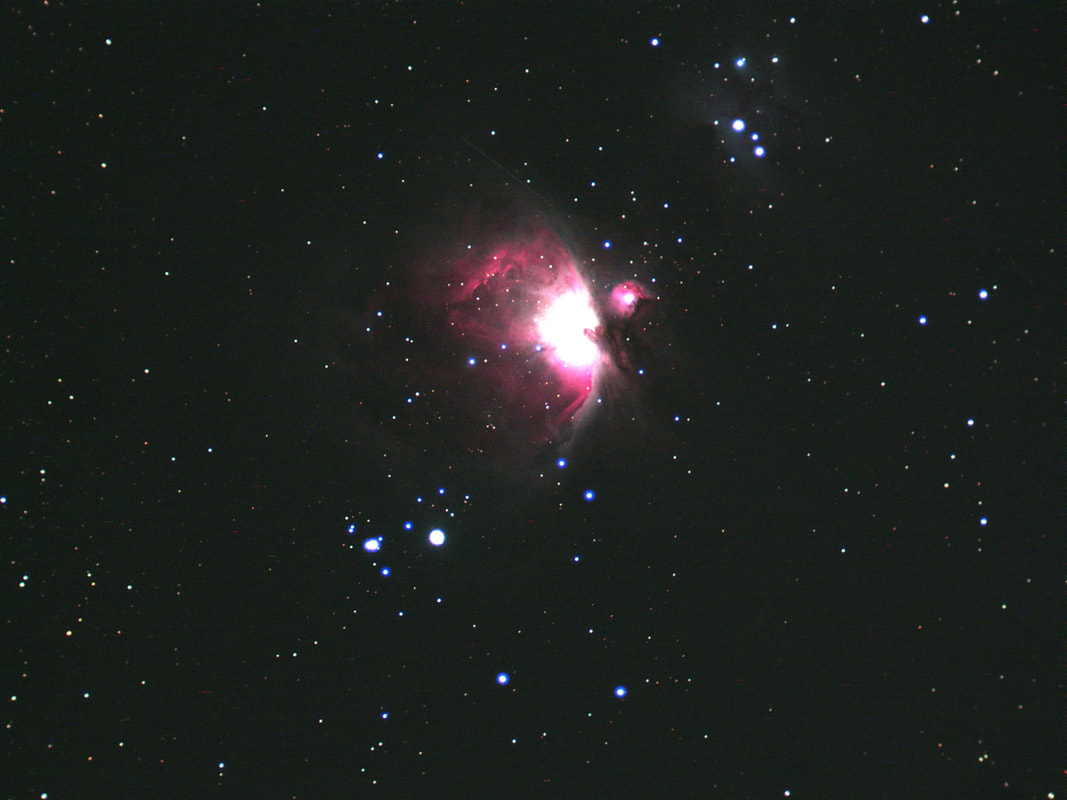
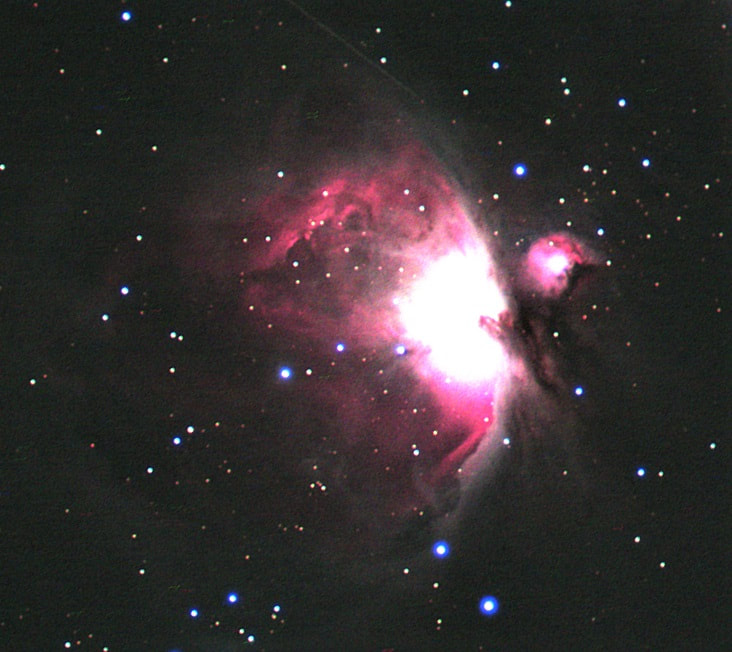
The following images show the Andromeda Galaxy and Orion Nebula from last night, and the Moon from the night before. I tried some fainter DSOs but due the conditions they did not show up as well. I plan to try again on a clear, dark night without a filter.
Here is the image of the Moon, which gives you an idea of the Moon light conditions and the field of view of the 80mm refractor combined with the DS10c 21.6mm sensor.
The following M31 Andromeda Galaxy live image capture is a 5 second exposure (video mode), bin 2, gain 40 and histogram 78-175 with live averaging of 10 frames (the image updated every 5 seconds)
This M42 Orion Nebula live image capture is a 2 second exposure (video mode), bin 2, gain 40 and histogram 20-165 with live averaging of 10 frames (the image updated every 2 seconds)!
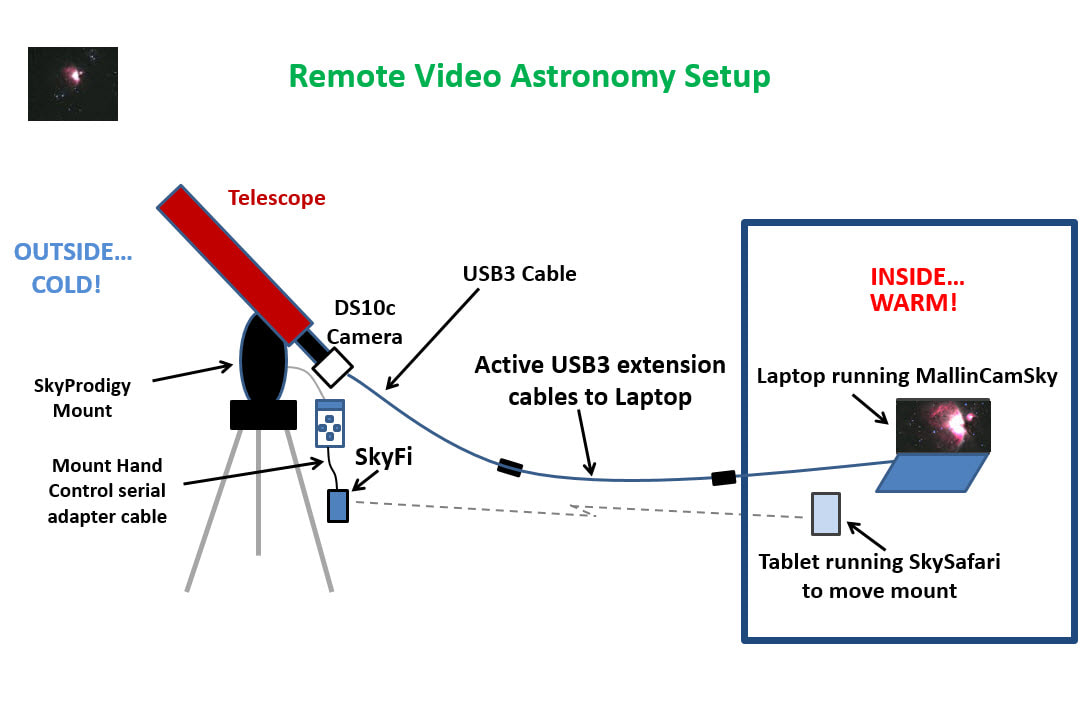
I used a Remote Video Astronomy (RVA) configuration so I could do my viewing inside to escape the cold outside. Once I carried the assembled telescope, mount and camera to the driveway and turned it on, I used the SkyProdigy Auto Align feature enabling me to be operational very quickly. I slewed to Vega and used a focus mask for focusing using my laptop at the mount. I then ran my USB3 active extension cables to extend the DS10c USB3 cable to my laptop inside (ahh, warmth). I used SkyFi at the mount and a tablet running SkySafari Pro 6 to control the mount from inside.
So far I have been very pleased with the DS10c using short exposures in video mode and live averaging of 10 frames with every telescope I have tried it on.

 RSS Feed