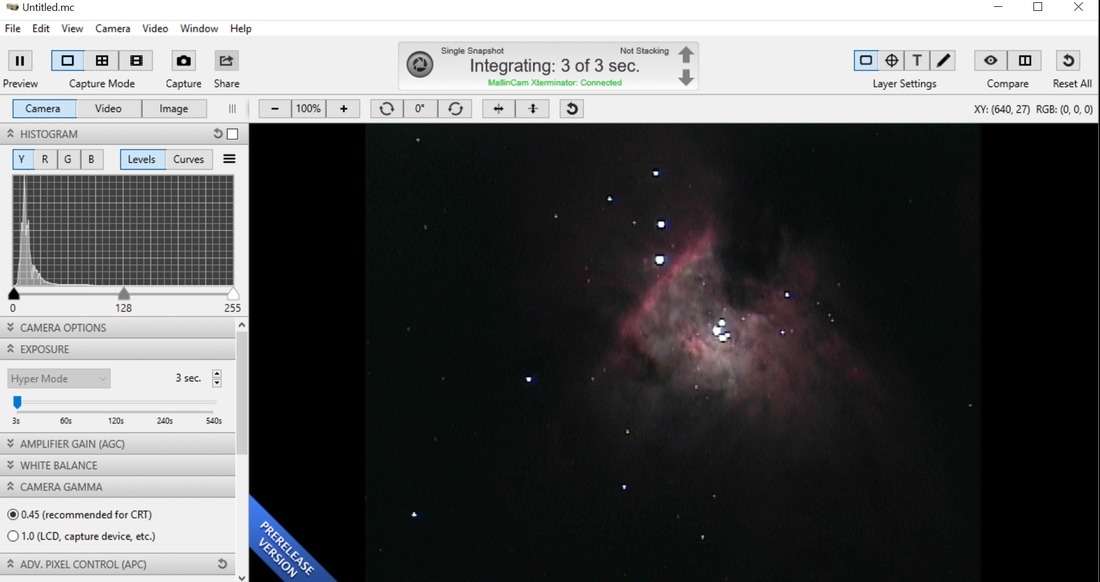
A new version of the MiloSlick software is about to be released that combines the best of the last two releases. The original Histogram function is now used as the default Histogram function. The live Histogram is always shown just below the tabs on the left like in the last release. The Frame and Image tabs have been combined into the Image tab, with the exception that the Histogram sliders are now always available beneath the Histogram itself. Here is a screen shot of the new layout.
You can click on the following link to view a video of a pre-release of the new version showing how to use this revised interface.
youtu.be/x5pDNYlf954
The MallinCam Xterminator continues to be the most sensitive video camera for video astronomy, and it allows you to view deep sky objects using either a monitor or a computer. I upgraded my X2 to an XT828 giving it the same functionality as the Xterminator. When using it connected to a computer, I like using the MallinCam Control software by MiloSlick which has several powerful real-time adjustment functions. The latest version uses a different histogram technique though than earlier versions, and I found it required relearning how to use it.
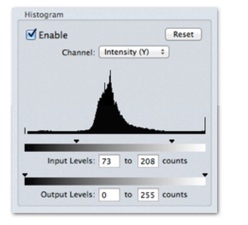
The original histogram function displayed a graph of the image contents and allowed you to move sliders to bracket the most useful portion of the image content.
I have prepared a few video clips that illustrate using some of these features. These clips were all taken on the same night from my backyard. I live just north of a city, so SkyGlow is an issue. However, I have found that I can use the MiloSlick software with the Xterminator without any filters. I also did not apply any dark frame subtraction during these video clips (that is a topic for another day). I use my F10 8” Celestron telescope on a CG-5 Equatorial Mount, with a Celestron F6.3 focal reducer on the back of the telescope. I also use a 0.5x focal reducer on the nosepiece of the Xterminator so that my setup operates at F4.4.
The key to using the MiloSlick functions is to adjust the tab settings in order from left to right, beginning with the settings that affect the camera and finishing with the settings that affect the final output image. The first video clip shows my typical camera settings and how to adjust the Video controls. The Pinwheel Galaxy is the target object using a 10 second exposure.
youtu.be/NIkBwSHs3Sc
The second video clip goes into detail on how to adjust the final output image using the new histogram controls.
youtu.be/uXuQ7fBYIyU
The third video clip shows how to use the image stacking feature.
youtu.be/j8RGeXjNCgI
I then switched to the Sculptor Galaxy which was very low on the horizon as you can see from this picture of the telescope.
youtu.be/QJlzVubmbsk
The final video clip uses the Crab Nebula to show how you can stack 20 second exposures and adjust the histogram to best view the detail with a black background without using filters.
youtu.be/25gmLUujyGk
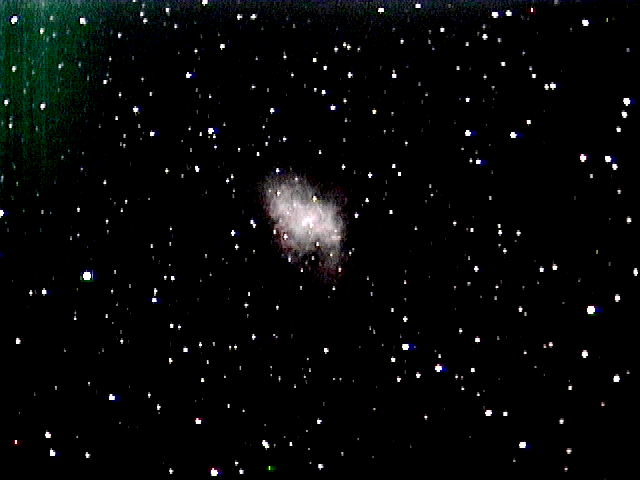
Here is an image capture of the Crab Nebula displayed on my screen.
I like to capture images during my viewing sessions as a reminder of what I was able to see. But this is different from astrophotography where you capture long exposure images for later post processing. Even with the powerful real-time processing tools of the MiloSlick software, the object of Video Astronomy is not to produce astrophotography level pictures. With the short exposure times possible with a highly sensitive Video Astronomy camera, you can truly experience the thrill of finding and seeing multiple deep sky objects during your evening viewing session.


 RSS Feed