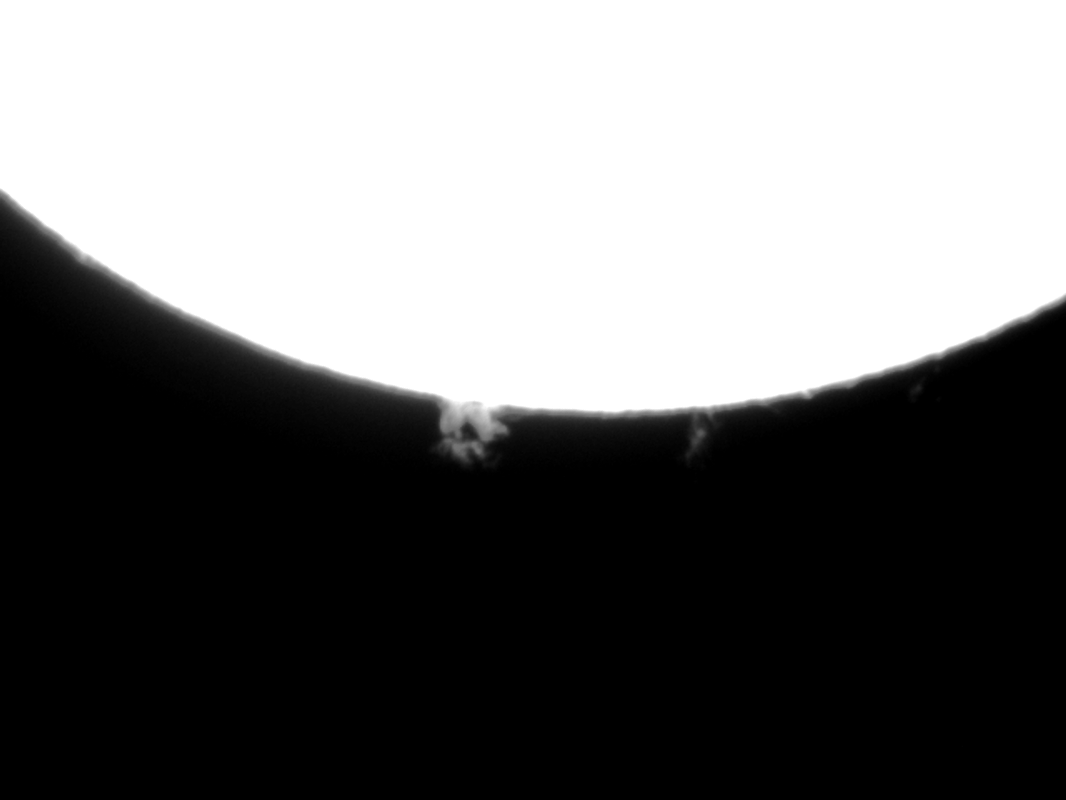
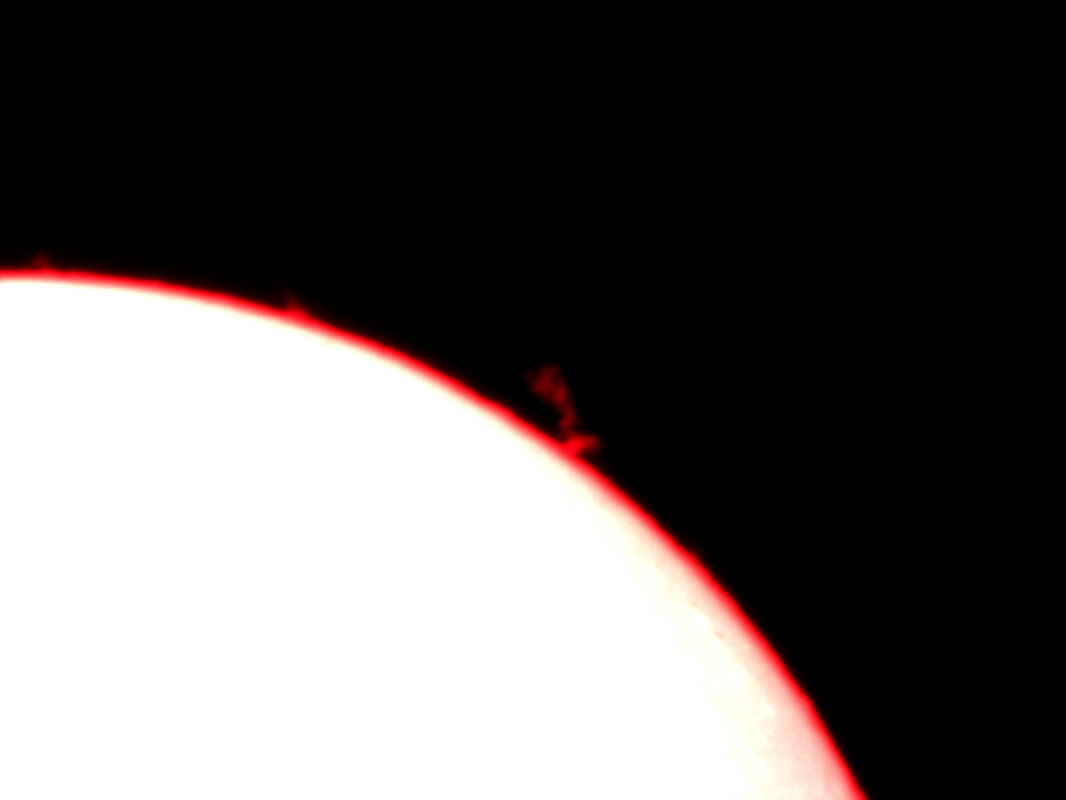
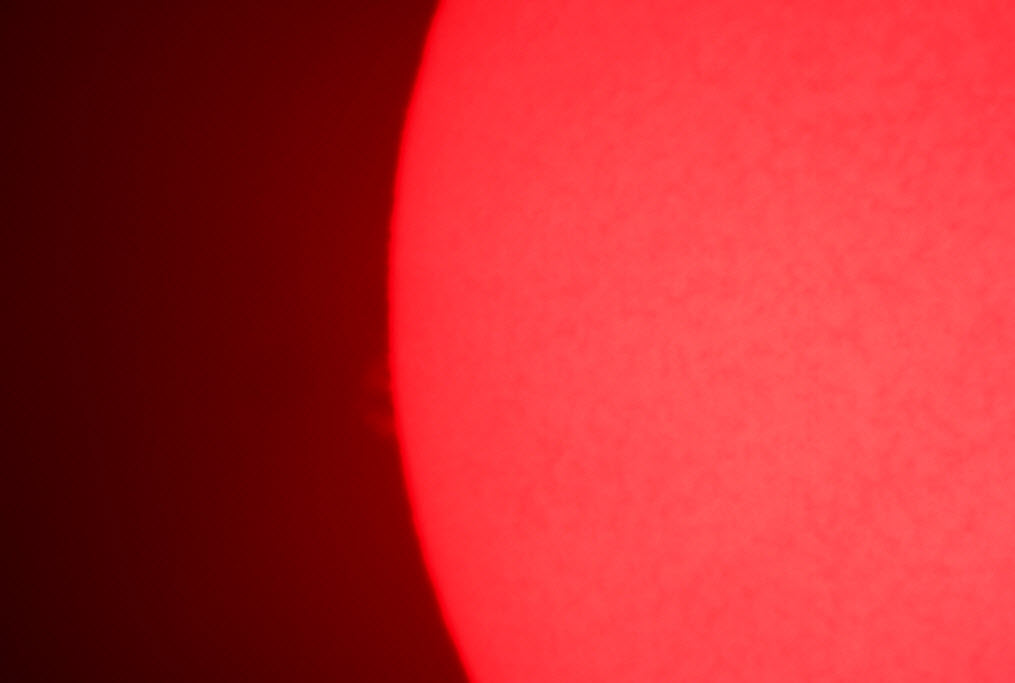
And here is the AGc in gray scale mode.
|
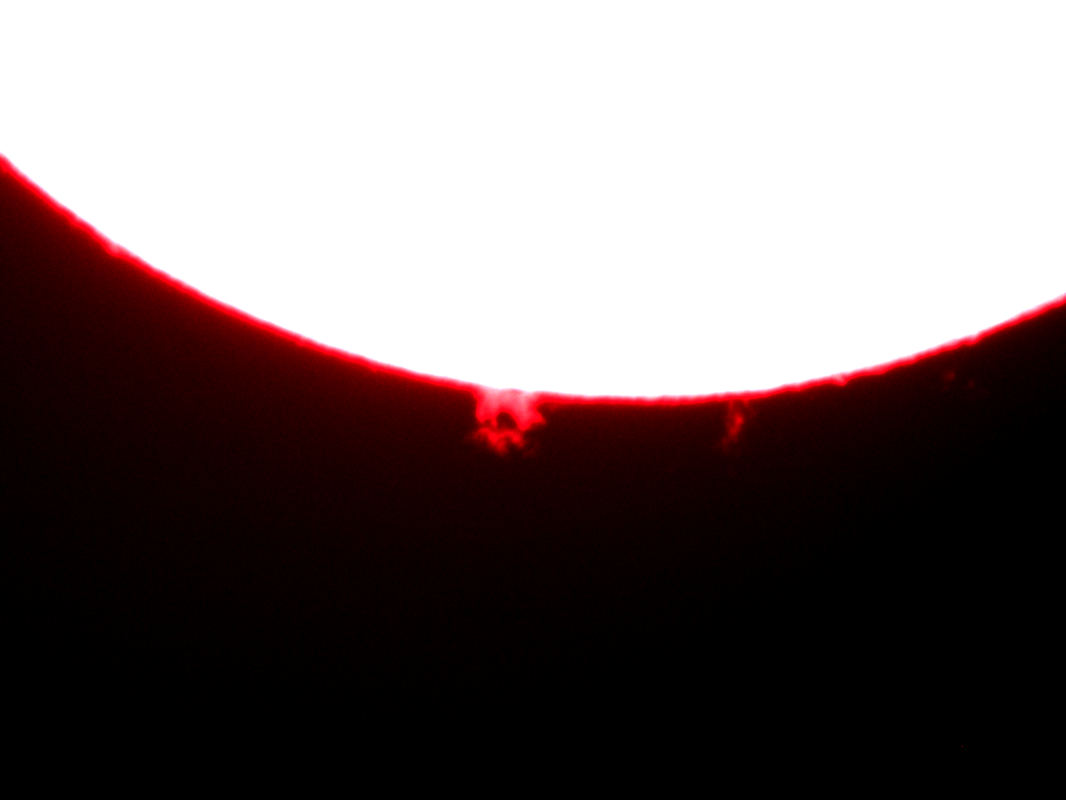
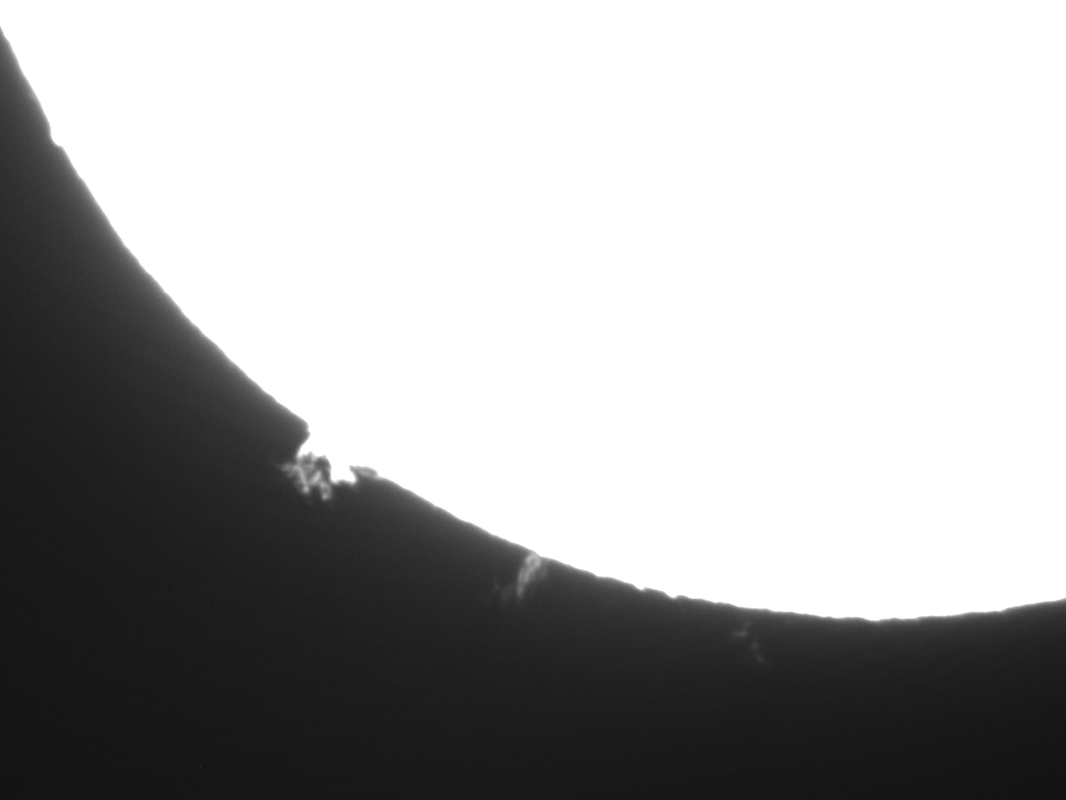
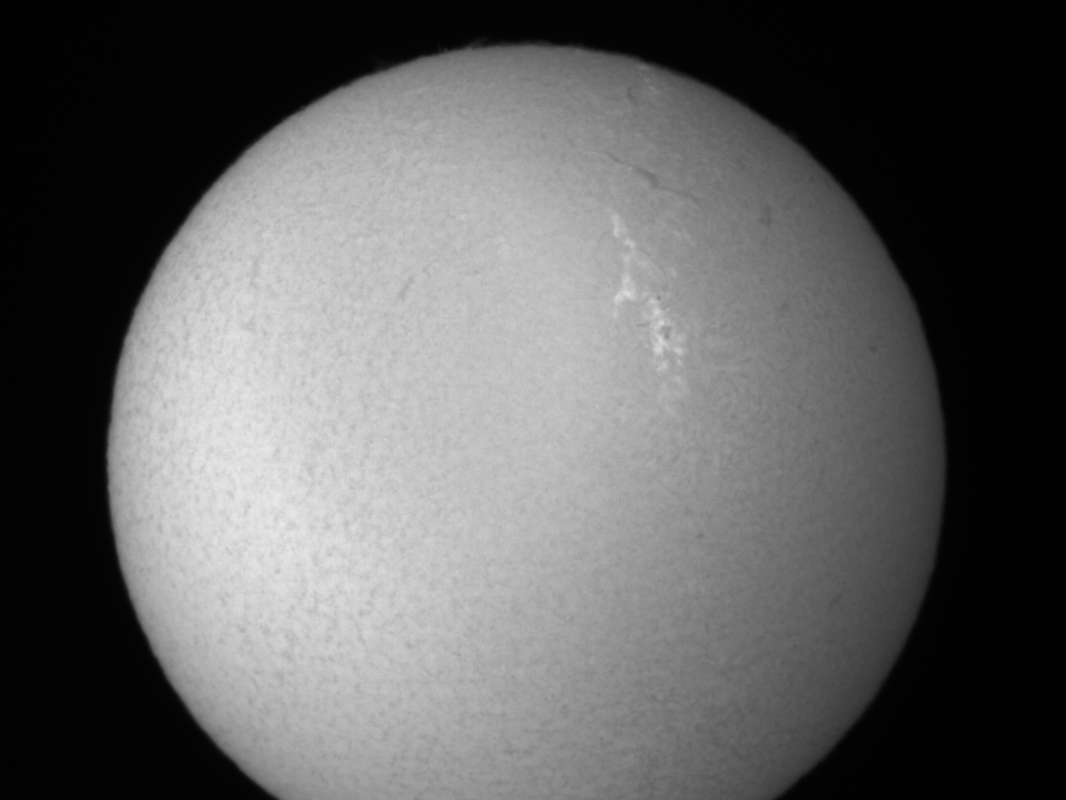
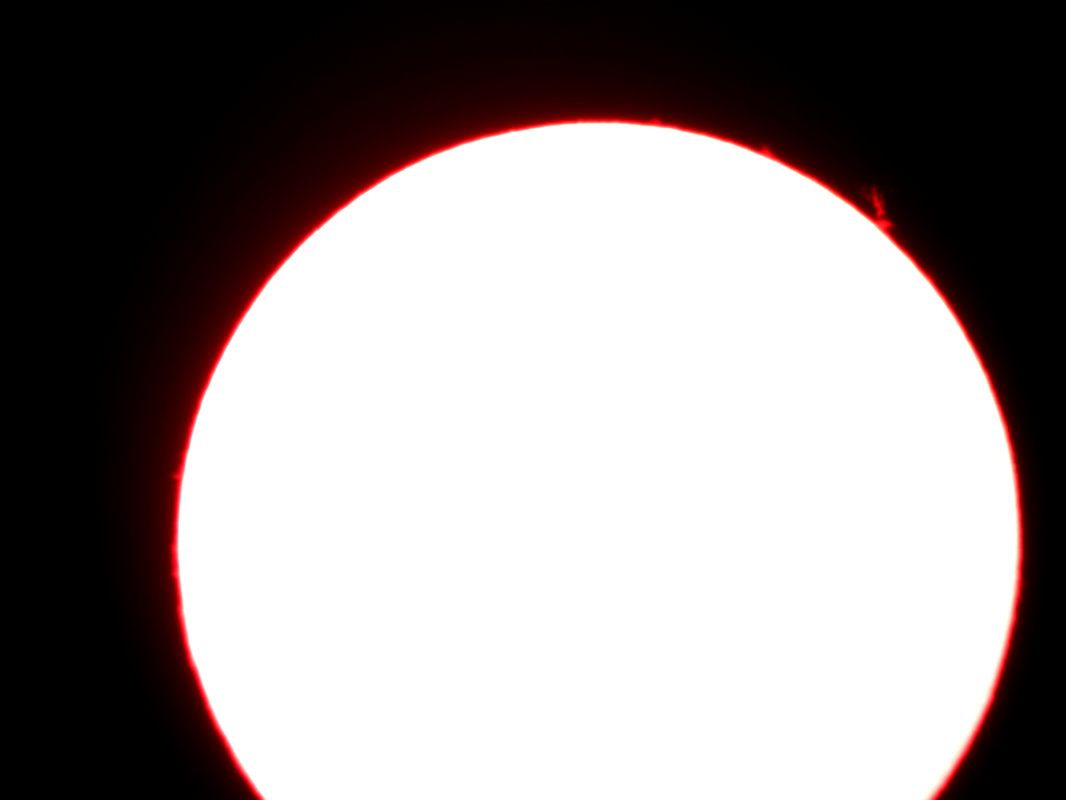
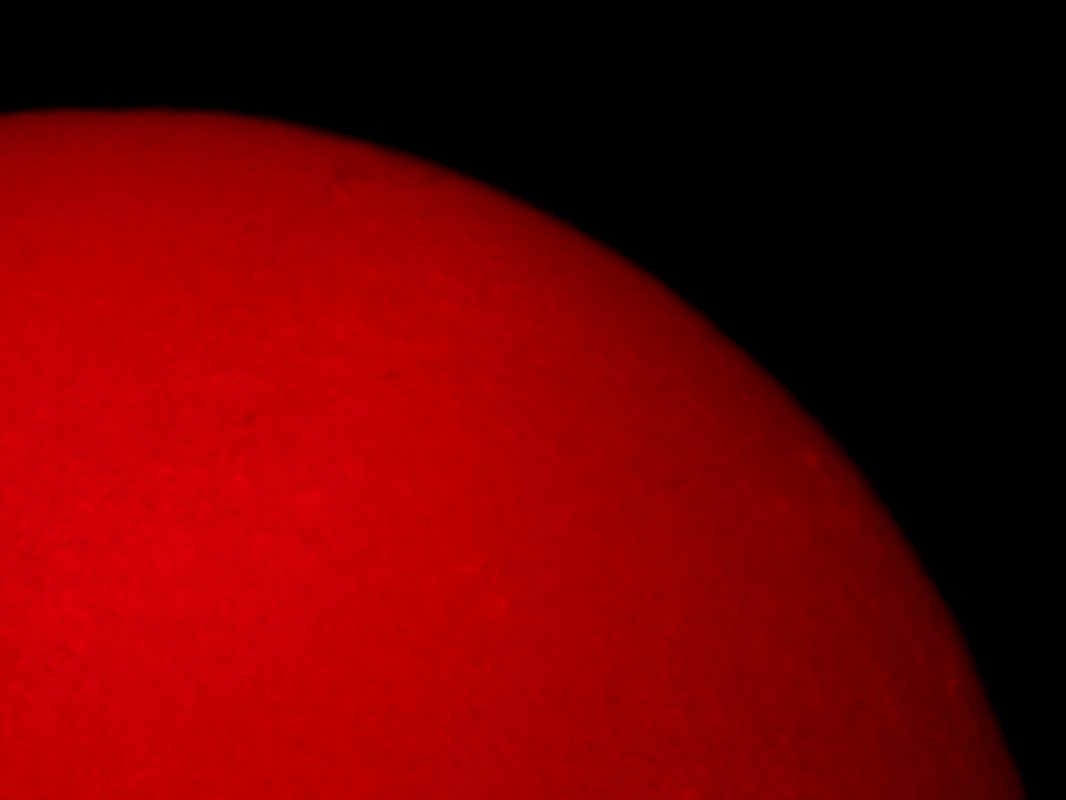
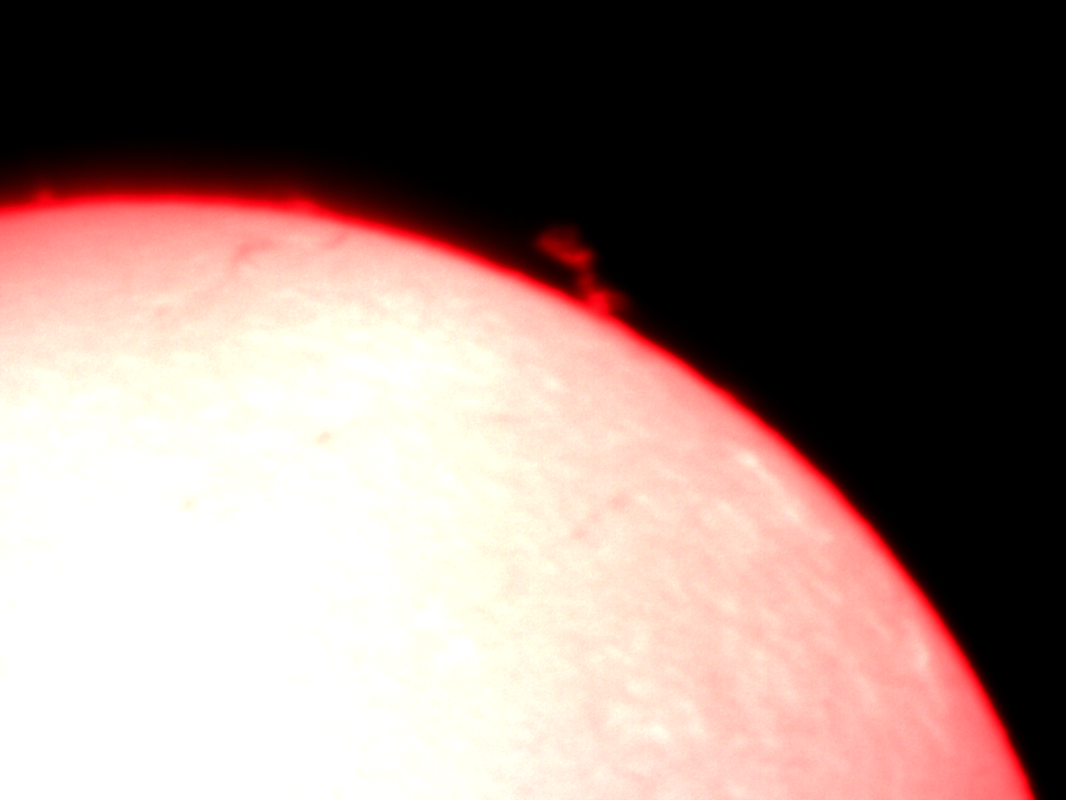
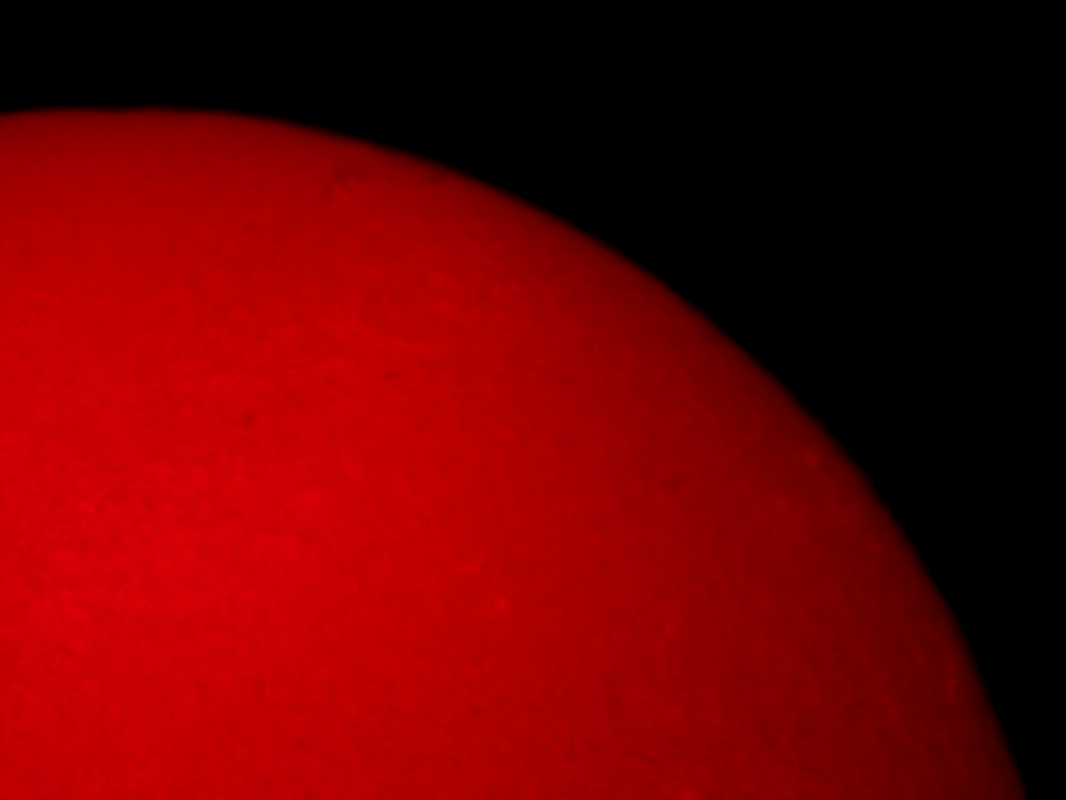
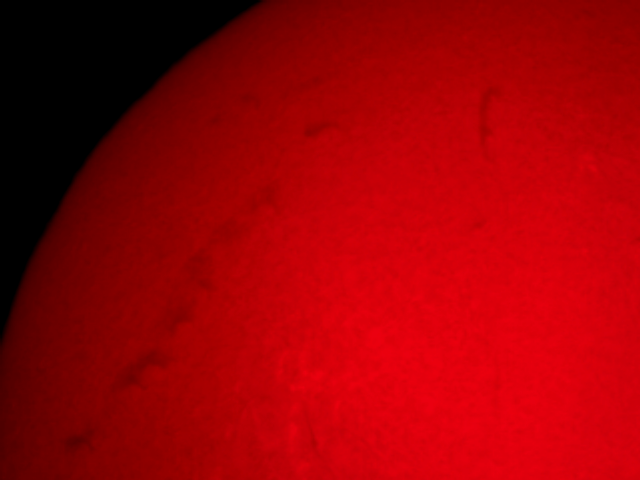
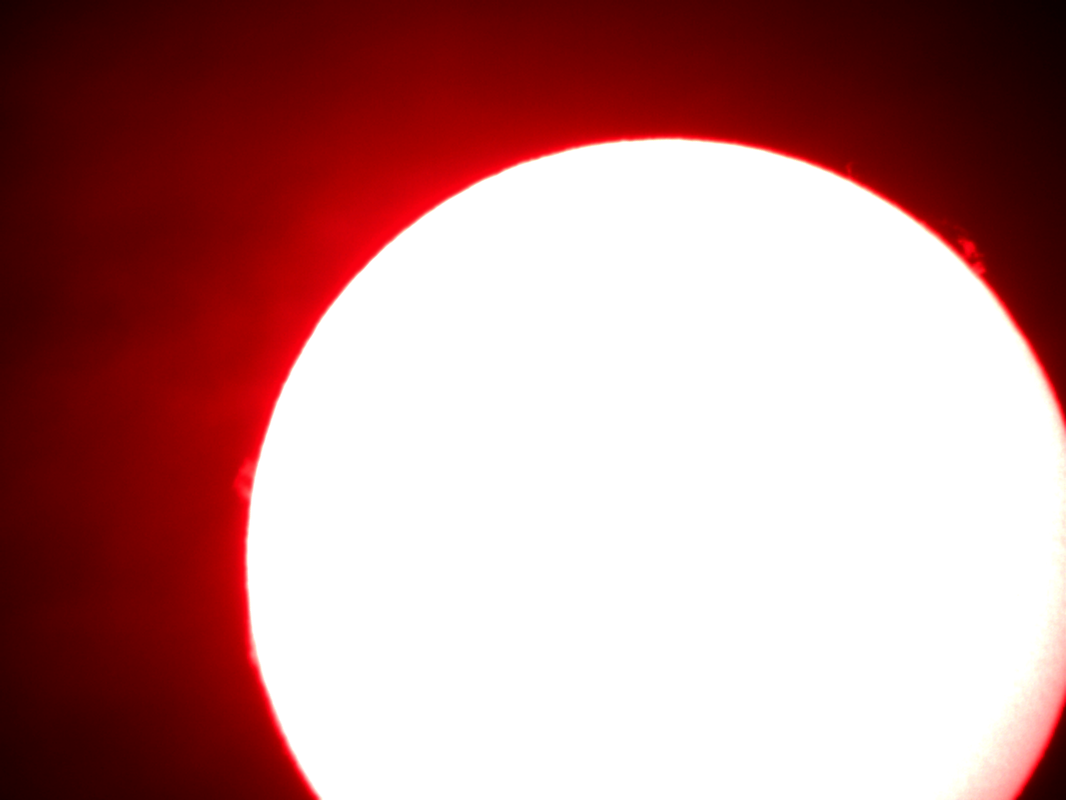
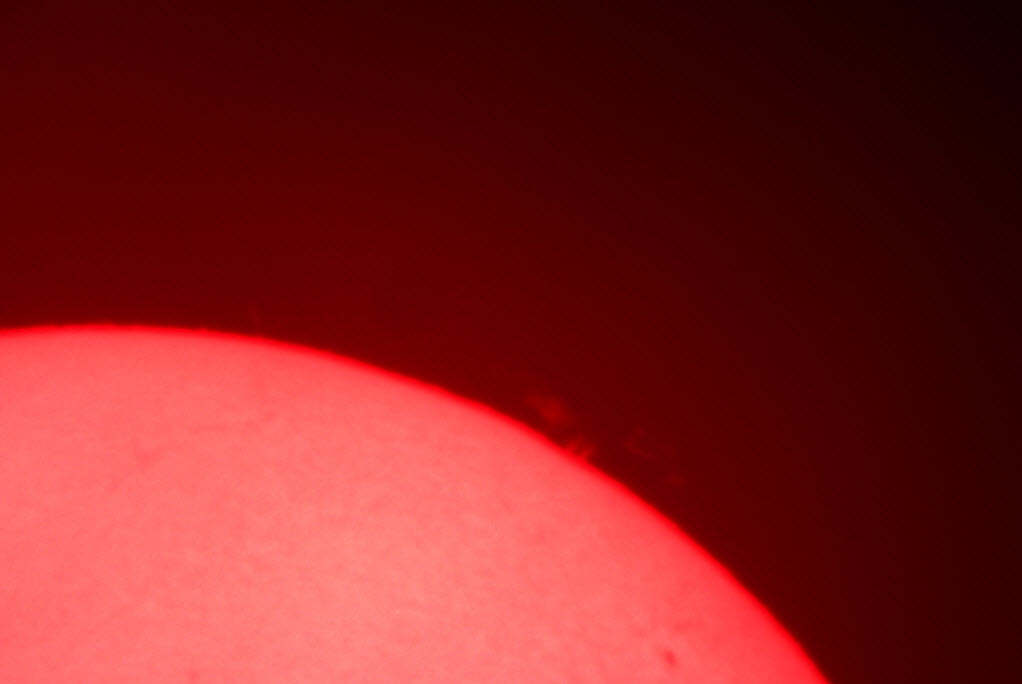
I recently had a good clear day to use my PST while on a camping trip. The PST and my SkyProdigy mount make a nice portable Solar viewing setup. I now have both the color and the monochrome versions of the MallinCam AutoGuider camera (AGc and AGm), and decided to try both of them on the same day. Since viewing the sun through Hydrogen-Alpha filters is essentially viewing with a single color, a monochrome camera works quite well. I viewed prominences using the 2x Barlow with the AGc in color and in gray scale mode, as well as using the AGm, all at 1280 x 960 resolution. Here is an image using the AGc in color mode. And here is the AGc in gray scale mode. This is a few minutes later with the AGm (monochrome) camera in place. As you can see, the AGm provides very good detail. Here is an image of the surface detail using the AGm without the Barlow in place. All I need to do now is learn how to colorize the gray scale images!
2 Comments
Getting the best focus of the Sun with the PST is very important for seeing the fine surface details. However the PST focus knob is somewhat small and it can be a little challenging to obtain a good focus.. You can make this easier by getting a CMC large focus knob for the PST from Agena AstroProducts. Unfortunately, when I checked they were on backorder, so I am on their waiting list. Then I received a suggestion from Brian Straight (that he learned from Mike Weasner’s ETX site). You can clip a spring-loaded clothes pin at a right angle to the focus knob on the PST to give you better fine control of the focus. You first use the PST knob for coarse focus, then clip on the clothes pin to make very fine adjustments to the focus by moving the end of the clothes pin in small increments.
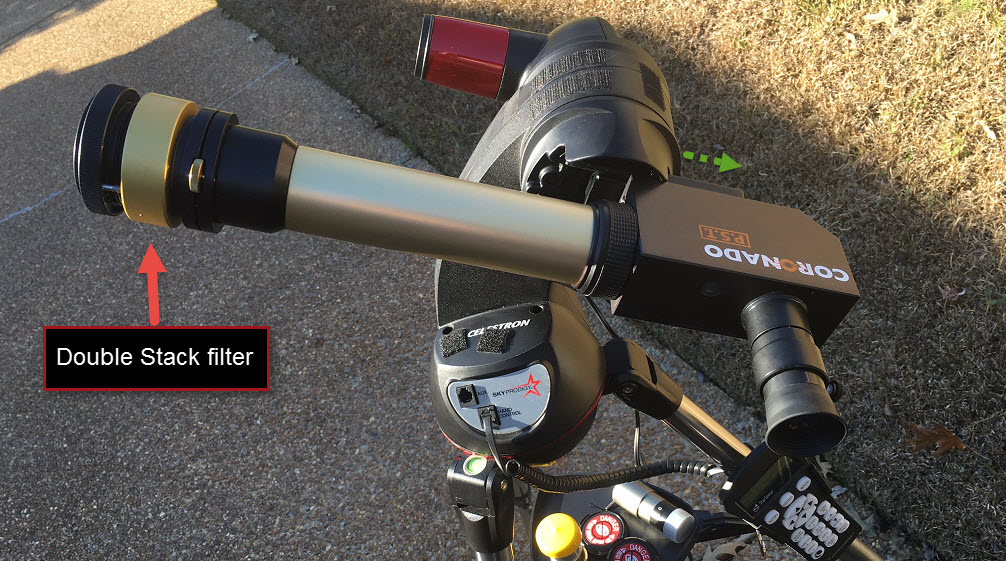
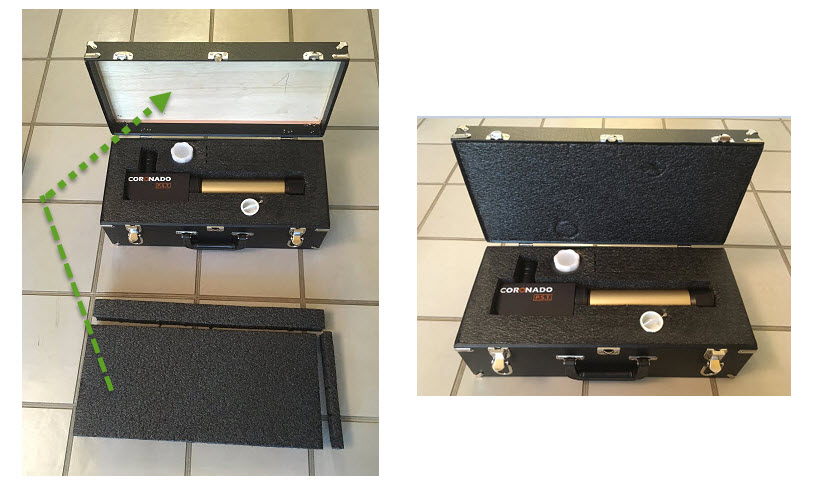
Sometimes simple really works well! Today was a clear sunny day, which meant I just HAD to try out my PST + AGc again! (See the 1/16/2016 post for Day 1 results). I began with the same setup as yesterday, starting with visual viewing through the eyepiece followed by using the MallinCam SkyRaider AGc instead of an eyepiece. I continue to be amazed at what I am seeing both visually and on my laptop screen. Prominences were clearly visible at the edge of the disk. And I could easily see surface detail ... The SkyRaider AGc provides a nice high resolution 1280x960 real time image of the Sun. I really like the SkyRaider software which can control any of the SkyRaider cameras. Here is a screen shot of the SkyRaider application screen showing my settings for the AGc. When using the AGc for autoguiding it is normally set at 640x480, but for viewing I have it set to 1280x960. I have been using Gain = 1 for solar viewing with exposures in the 10ms-200ms range depending upon the detail I’m viewing and whether it is double stacked or not. Speaking of double stacking, when I got the PST, I actually ordered the double stack version. And no, it is not something you put syrup on. Double stack means it has an additional filter you can put on the end of the PST to “double stack” it and increase the PST performance to a bandpass of 0.5 A, which enables you to see details even clearer. It comes with a price tag though of an additional $500. Is it worth it? I obviously am not going to say one way or another after only using the PST for 2 days, but I will provide some initial results. All my viewing yesterday was with the standard PST. Today I also used the second filter some. First of all, the second filter is heavy, and placing it on the end of the telescope changes the center of gravity of the telescope noticeably. When I put it on, the telescope slowly started rotating downward. It was too much weight on the end of the telescope for the SkyProdigy arm to hold it in place…or so I first thought. Thinking about the change in center of gravity, I was able to slide the PST backward on the SkyProdigy arm to better balance it, and it held OK. Next I learned how to use the tilt mechanism on the second filter for maximum brightness and how to tune its etalon filter in a similar manner as the one built into the PST to see even more detail. Here are some images I captured with the PST double stacked. The double stack filter definitely provides more detail, and I am sure I’ll learn how to use it even better. And I have not even tried any post processing yet. My initial thoughts are the standard PST is a great beginning telescope for Solar Viewing and Solar Video Astronomy! The PST is lightweight and very portable and provides amazing views of the Sun at the lowest price point you can find for this type of performance. And you can add the second filter later on to double stack it if you want improved performance. I’ll continue to post more as I gain more experience with the PST with and without the second filter. I recommend you get a case for storing and carrying the PST. Be sure to not damage your packing foam from the box your PST comes in. If you order the PST case you will find it does not come with foam, but the packing foam from your PST box has cut marks so you can easily remove portions of the foam to use in the case. In the picture on the left, I had already placed two of the foam pieces from the PST box into the bottom of the case to hold the PST, and I am getting ready to put the remaining foam into the top of the PST case. I removed the two side pieces and inserted the last large foam piece into the top of the case. The PST fits snugly into the case foam, is well protected, and the foam has places for accessories. I have the Coronado eyepiece and 2x Barlow stored in the case with the PST. The MallinCam AGc camera will easily fit into the other eyepiece foam slot for a nice, portable Solar Video Astronomy setup.
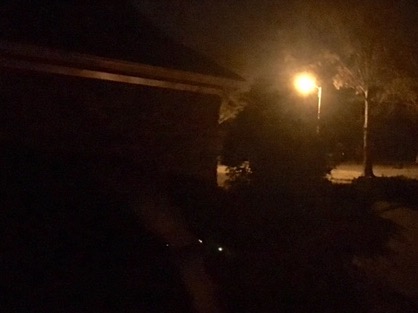
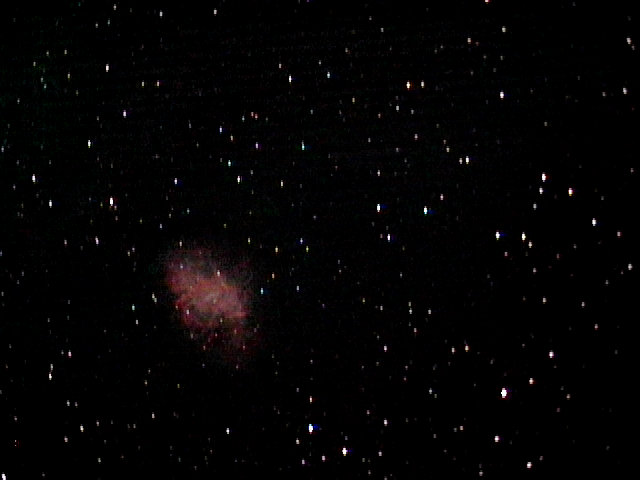
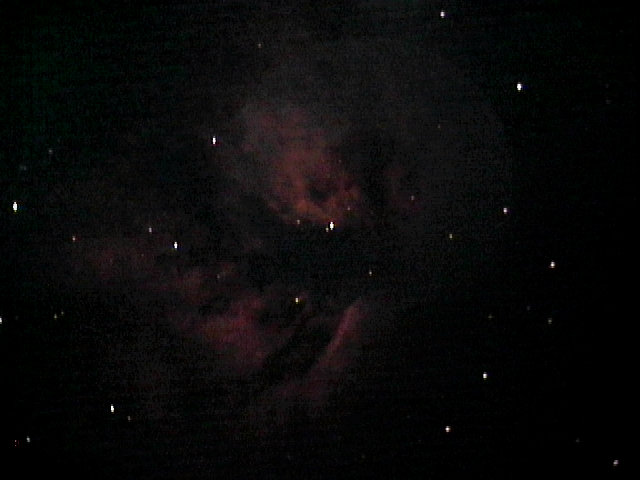
I have tried solar filters on my different telescopes to see sunspots ... but that is about all I could see. Then I learned that this is called white light solar observing, and it is about all you will see this way with amateur level telescopes. If you want to see things like prominences along the edge of the Sun's disk or surface features you really need a Hydrogen Alpha telescope that is especially made for viewing the sun. At ECVAR I saw impressive results where the SkyRaider AGc was being used on a Coronado SolarMax H-a telescope. Recently I bought a book about viewing the Sun with Coronado telescopes and learned there is a nice entry level Solar telescope called the PST (Personal Solar Telescope - $699). I already have a SkyRaider AGc, so I began thinking the PST was a way I could expand my Video Astronomy into real Solar observing. I decided to supplement some Christmas gift money and get one. I also ordered a SkyView Pro adapter that would allow me to easily slide the PST into my SkyProdigy Mount. When mounted, the eyepiece is horizontal rather than vertical. But I realized this was fine - I could just sit in a chair next to the scope and easily look in the eyepiece. Today I tried this out for the first time. The PST has a built in Sol Ranger Sun spotting device that makes it easy to get the Sun in the eyepiece field of view. I started up the SkyProdigy and did a Solar System Align using the Sun, set the telescope tracking to Solar and then learned how to focus the PST by watching the edge of the Sun’s disk. I put a black T-shirt over my head and the eyepiece so I could see better (strange looking I know, but it really made a BIG difference). I immediately found out I was going to be able to see more solar detail than I ever had been able to see before! I then learned to use the RichView tuning ring for the internal Etalon that allows you to better see different features (some features are moving toward you and others away from you). I could actually see surface features, and then with a little more tuning I saw two major prominences at the edge of the disk! I had also bought the Coronado 2x Barlow and gave it a try and could see the prominences even better. I really only intended to visually observe today to learn how to focus and tune it to see if I could see the different features. But I was so excited at what I could see I couldn't stop there. I went back inside and got my SkyRaider AGc and Surface Pro laptop and took it back to the telescope. I removed the Barlow and eyepiece and inserted the AGc and connected it to my laptop. After figuring out I needed very little gain and only a few ms of exposure to get a good image, I found a sunspot and further adjusted the PST focus for the best image. I also set the AGc resolution to 1280 x 960. I realized putting a dark lightweight jacket over my head when viewing the laptop screen also helped see more detail (Yeah, this looks strange too … but it is worth it). By adjusting the internal Etalon I could see surface features on the sun on my screen. But I was disappointed that I couldn't see any of the prominences that I saw through the eyepiece. After a little more thinking about this, I realized our eyes have a very good automatic gain control as you move your eyes to different features … but I manually set the exposure on the camera. So I cranked up the exposure time some more, which washed out the surface detail somewhat, but then the prominences were visible on the screen! I also gave this a try using the Coronado 2x Barlow with the AGc and had good results as well. Here are some screen grabs I captured on this first time trying out the PST. And this was with some wispy clouds passing by from time to time. Clouds continued to move in, so I finally had to stop. But now I am no longer just a night time Video Astronomer. How do you see a star in the daytime? Check out our closest star using a Coronado PST and a MallinCam AGc! Last night was a good clear night (for my location) so I decided to give my XT-828 another try. I am VERY pleased with the results! Due to the cold weather, I did all my “viewing” from inside by the fire! I rolled my CG-5 mount and C8 telescope out to my marked place on my driveway and did a basic polar align using my polar scope. The XT-828 was already in place with a focal reducer and Lumicon Deep Sky Filter. I turned on the mount and started a Star Sense Auto Align. While it was aligning I unrolled my active USB cable connected to my powered hub at the telescope, routed it through the garage into my den next to the fireplace. When I went back outside the Auto Align had finished. The time from beginning to roll out the telescope to Auto Align completion was less than 15 minutes. Then using the hand controller I slewed to Capella, put my Bahtinov focus mask on the end of the telescope and adjusted the focus using a display at the scope. I removed the focus mask and returned inside for my viewing session. I used the MiloSlick MallinCam Control software to control the camera, view and adjust the image in real time and capture screen images. Using the MiloSlick control software, I turned on the MallinCam color bars and adjusted the video capture brightness until the black bar turns from light gray to black (48). I then adjusted the contrast until the white bar is a nice white color (87). I set the XT-828 cooling to -20c (I use fans on my XT-828) and put it in hyper mode. Gain is set to zero (yes, gain=0)! During the 3 minute startup wait, I went back outside and put a dark cloth over the end of the telescope. I came back in and set the exposure to 20 seconds and let it process a few images, and then used the MiloSlick software to capture a 20 second dark frame and saved it. I went out and removed the dark cloth and came back in to being my viewing session. Below are untouched screen grabs of what I saw on my laptop inside (and you will see that something was generating faint noise interference lines that I need to track down and eliminate). The only real time processing used was MiloSlick’s histogram and dark frame subtraction. I used 20 second exposure time all evening. So these are the actual images I saw on my screen, updated in near real time every 20 seconds. M1 - Crab Nebula (Magnitude 8.4): NGC 891 – Galaxy (Magnitude 9.9): NCG 1514 Planetary Nebula (Magnitude 10.9): NGC 2024 - Flame Nebula (Magnitude 10.0): IC 434 - Horsehead Nebula (Magnitude 7.3): M33 – Pinwheel Galaxy (Magnitude 5.7 – was low in the sky near street light area): Although it was a clear night, I do not live in a dark sky area. As I have said before, I live near a city with notable sky glow to the south, and I am in a neighborhood with street lights. My house blocks direct light from hitting my telescope, but if I walk 10 steps down my driveway from the telescope, here is what I see. Street Light (Magnitude Very Bright): It is amazing what you can see with Video Astronomy under these conditions! For more information on the XT-828, see my December 12/22/2015 post "MallinCam X2 camera upgrade to XT-828". MallinCam has released a new kit - it is a great beginner's kit for video astronomy at an excellent price ($240)! I have been saying the micro is a really good camera for getting into video astronomy, and now it is even easier by providing everything in this kit you need to get started. If you want to connect it to your computer so you can control it remotely, you can add the RS 485 cable assembly (49.99). All of the micro cameras are compatible with my MallinCam Micro Extended Control (MMEC) software which is available for free on my download page. It makes using the Micro even easier through the use of presets and extended controls. Here is a link to my post about how to use the Micro remotely.
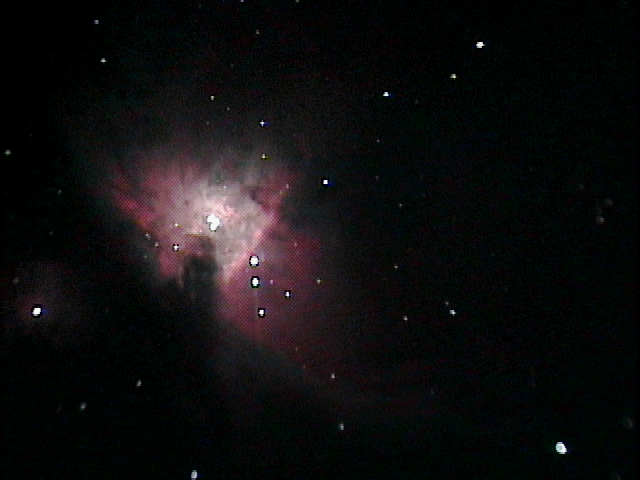
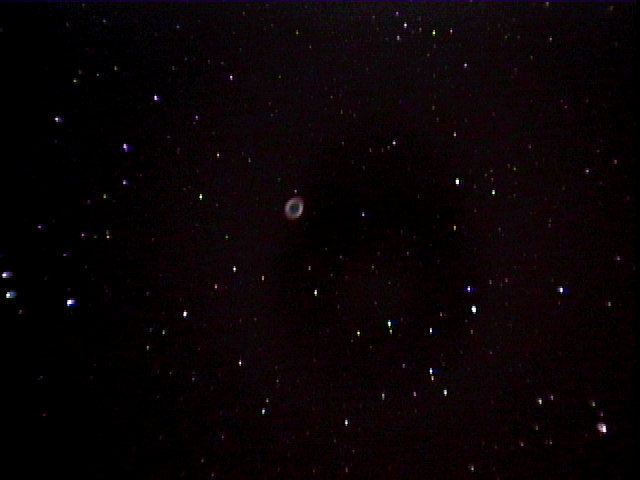
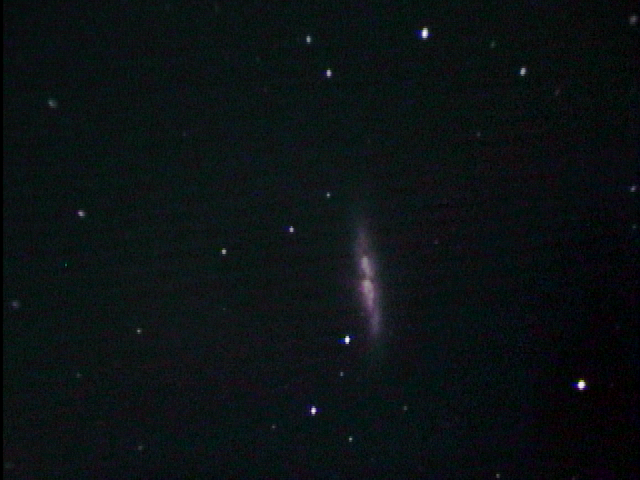
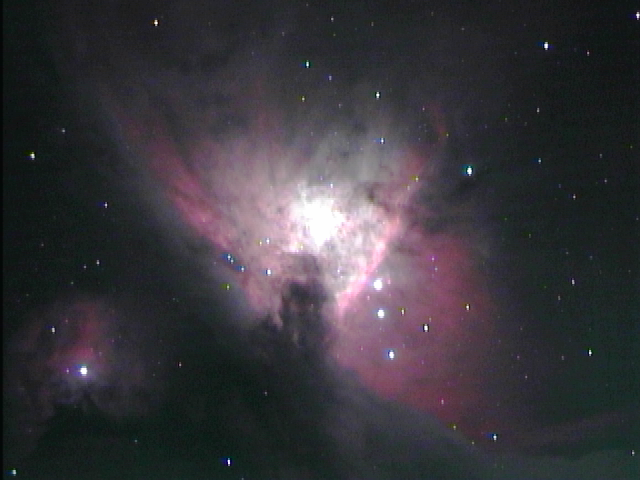
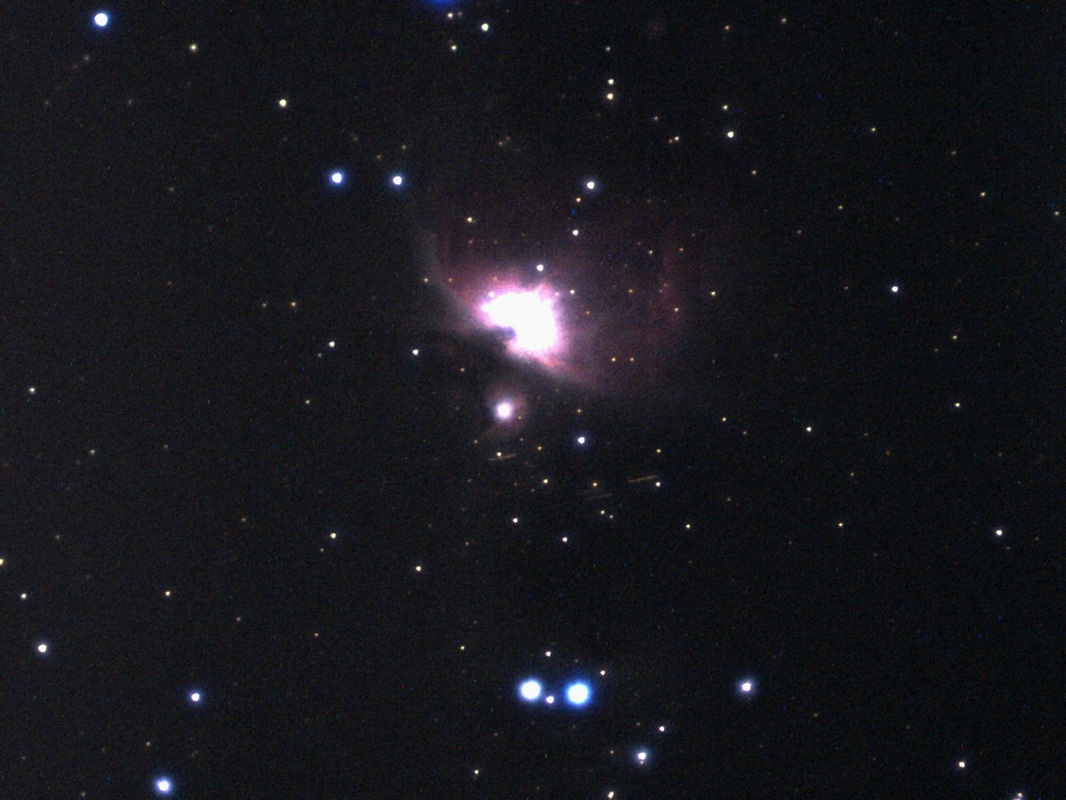
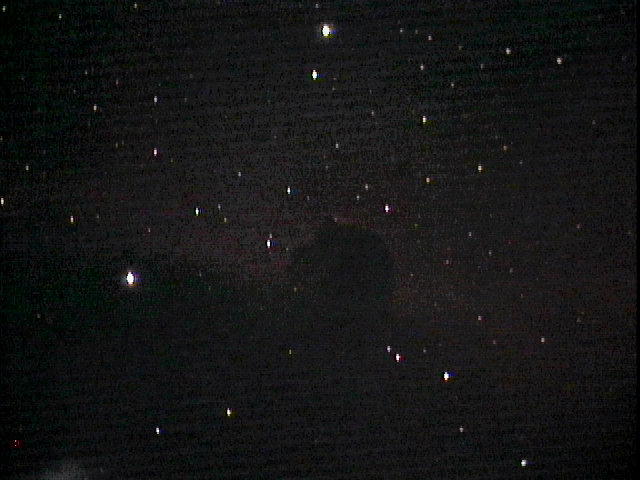
http://remotevideoastronomy.com/1/post/2014/12/-portable-remote-video-astronomy-setup.html I wish this had been available when I began Video Astronomy. This is a great kit! Here is the MallinCam link for more information about the kit. http://www.mallincam.net/micro-series.html As I indicated in my previous post on 9/30/2015, I had a great time at ECVAR in VA this year. While there, I rediscovered how great it was to “view” deep sky objects with my Mallincam X2 deluxe camera. MallinCam has a newer analog video camera called the XTerminator, and offers upgrades to some of the MallinCam cameras to have their electronics and other components upgraded to features similar to the XTerminator, including a sealed sensor chamber. So I sent my X2 in for an upgrade, and decided to include upgrading the sensor to the EXview HAD. It was upgraded and returned to me quickly (about 3 weeks, including shipping to and from Canada!). I was very fortunate to get a special upgrade to the ICX828 EXview HAD II sensor and electronics (which is the same sensor used in the XTerminator). So my upgraded camera is now called an XT-828, and essentially functions the same as the XTerminator camera !! As soon as the weather cleared, I used the XTerminator setting in the MiloSlick MallinCam Control software to try out my newly upgraded camera. The moon was half full and I live near a city, so I was eager to see how it did under these conditions. Here is an image of the Orion Nebula at 3 sec using a Celestron 8” and the MFR-5 reducer with a Lumicon Deep Sky Filter - this is at about F/5. AGC is set to off! The only thing I adjusted was Miloslick's real time histogram settings. This is a live screen capture with no post processing of the screen that updates every 3 seconds. Here is the Ring Nebula using 10 seconds. And this is an image capture of the Bode Nebula. This chip is definitely more sensitive than my prior one. I covered the end of the telescope and used Miloslick to check for hot pixels - there were none! (I had cooling set to -5c). I also really like having the sealed chamber that is filled with High Grade Industrial/Medical Grade Argon. Here is an image showing the glass in front of the sensor in the new sealed chamber . This sealed chamber has already been helpful. One time after I changed reducers on the XT-828 and was refocusing, I noticed an odd object in the out of focus image. A particle had dropped into the XT-828 while changing out reducers. Since the chamber was sealed, the particle was resting on the chamber glass - not the sensor itself. All I had to do is remove the reducer, use a bulb to blow the particle off, reattach the reducer and finish focusing. In addition to keeping the sensor dust free, the sealed chamber also protects from dew and moisture forming on the sensor. Since the sealed chamber comes somewhat close to the camera opening, I use a 5mm spacer between the camera and reducer to make sure the reducer does not come into contact with the glass chamber when screwing it in. There is also a switch on the back of the camera that can turn on an Amp Glow Reduction (AGR) circuit to help reduce amp glow. This is especially useful when viewing the video output of the camera directly on a monitor when you need to reduce the background glow. If you are using a computer and the MiloSlick software, you can leave the AGR circuit off which keeps the sensor sensitivity at maximum and just use the real time MiloSlick histogram and/or dark frame feature to reduce the background glow. To turn the AGR on, slide the switch on the back to the right. Since I use a computer most of the time I leave it to the left so AGR is off. The MallinCam HCHP, VSS, Xtreme and X2 cameras can all be upgraded. Here is a link describing what is included in the upgrade. https://groups.yahoo.com/neo/groups/mallincam/conversations/messages/61601 My X2 did not need the copper cooling upgrade since it already has that feature. I already had the cooling fans as well. You may not need to use cooling fans if you run the camera at -5C and the outside temperature is below 80F. If you want to use the -20C setting or the temperature is above 80F you will need the fans. The camera draws more power than the X2 did so I also purchased the New 5 Amps Fully Regulated Switching power supply with 5 outputs and the 25 foot MALLINCAM 75 Ohms 100% Shielded Video Cable with 18 Gauge DC wire. Over the next several days I continued to work with various settings and focal reducers. For these I added the Celestron f/6.3 Focal Reducer & Corrector to the back of my Celestron C8. Here is another image of the Orion Nebula using the combination of the Celestron f/6.3 Reducer and the B portion (the part nearest the camera) of the MFR-5 screwed into the 5mm spacer on the XT-828. I have Advanced Pixel Control set to zero (Horiz & Vert) and video capture device sharpness set to zero to produce better star images. This is a 10 second exposure. On a different note, I have a SkyRaider AGc on my 50mm finder scope, and one night I decided to capture its much wider field of view of the Orion Nebula using a 10 second exposure. Just below the Orion Nebula in this image you can see several geosynchronous satellites that appear as short horizontal lines due to the 10 second image capture. The satellites are fixed in position above the earth, but appear as lines because the mount is tracking the earth's movement. Now back to some more XT-828 images. Here is the Crab Nebula at 20 seconds and gamma of 0.45. I did use MiloSlick’s Histogram real time adjustment and Dark Frame features, but no stacking. Here is the Flame Nebula using similar settings. (Unfortunately I picked up a slight circular reflection in the image). And I could even see the Horsehead Nebula using just 20 seconds … with Gain = 0, AGR off, no stacking, Miloslick real time histogram adjustments and using only the Lumicon Deep Sky Filter (I plan on trying an H-Beta filter sometime). And all this from my backyard, near a city, in a neighborhood with street lights (and Christmas lights)!
I have to say a note of thanks to MallinCam for making a great product to begin with (the X2), and then being willing to provide upgrades that make it even better!!! Having packed up two of my telescopes, my wife and I embarked on a two day drive pulling our camper to Cool Breeze campground in Virginia. The end of the second leg of the drive took us a little longer than expected...our GPS took us the "scenic route" over a mountain. Great scenery, but late arrival! We arrived at the campground for ECVAR late Tuesday afternoon, and we proceeded to settle in for a week of video astronomy! Tuesday night Later as it got dark, we stepped outside, looked up and were amazed at what we saw. The Milky Way was painted from one end of the sky to the other! I was able to set up my portable mount (after midnight) and try out my Remote Focus Mask and Dark Mask using the following equipment:
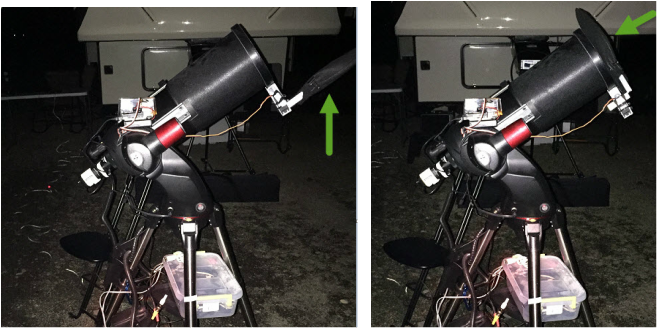
I turned on the mount and started an AutoAlign while getting my laptop powered up. I then slewed to Vega, entered the command to close the Focus Mask over the end of the dew shield, and clicked on the focus setting on my MMEC app. Then I remotely adjusted the focus until the mid-line was between the X of the other two diffraction patterns. Next I entered the command to open the Focus mask for normal viewing. I slewed to M27 and clicked on an MMEC preset useful for centering faint objects, and then used the Starry Night manual mount controls to get M27 centered. I clicked on the MMEC DSO preset (which uses x1024) and waited for the screen update. Here is the image of the Dumbbell Nebula that I saw using my 5" telescope and MC Micro-Super entry level video astronomy camera. Then a thought occurred to me ... whether it might be useful to have a dark frame image at x1024 for the Super. So I got my felt pouch and put it over the focus mask, entered the command to close the Mask over the end of the dew shield, and waited for the image to appear. Here are pics of the Remote Dark Mask open and closed over the end of the dew shield. Now with no light entering the telescope, the next image I saw was dark. I mean really dark. The Micro Super has virtually no amp glow! And to my surprise I did not see any hot pixels either (camera pixels that are stuck on and look like small stars)! It was about 50 degrees outside at this time. I even used the MiloSlick software to scan the image for hot pixels and it did not find any. This just reinforced my opinion that the MallinCam Micro is a great entry level video astronomy camera, especially the Micro-Super! I also felt good about how the Remote Focus Mask and Remote Dark Mask concept actually worked in the field. But by this time it was way past my bedtime and I had to defer its further testing to another night. Thursday and Friday nights Unfortunately Wednesday night at ECVAR had some clouds, but Thursday and Friday evenings were great and made up for it. On Thursday I had my main telescope set up with the following equipment:
The NexGen Focal reducer essentially converts my C8 F10 telescope to F3.3. The single USB cable from the powered hub at the telescope enables me to operate underneath a nearby canopy, or using an active USB extension cable I can move inside for warmer viewing. Here are some of the screen grabs of the near real time images I saw on my screen. Keep in mind these are "live" views at 10-20 second update intervals with no stacking or post processing.  M27 Dumbbell Planetary Nebula  M57 Ring Nebula  NGC6946 Fireworks Galaxy  M92 Globular Cluster in Hercules  M103 (Can you see the "Micro dipper")  NGC891 Edge-on Spiral Galaxy  M33 Pinwheel Galaxy  NGC 6888 Crescent Nebula  NGC6992 Veil nebula Thursday and Friday nights at ECVAR were the best skies I have ever been under for Video Astronomy! More on Friday night Later Friday night I also tried out the SkyRaider DSc with a MFR-3 focal reducer and 5mm spacer on my Celestron 5" with my SkyProdigy Alt-Az mount. After using my Remote Focus Mask to achieve a good focus, I placed the black felt pouch over the mask to convert it to a Remote Dark Mask. I typed my close command on my laptop to move the Remote Dark Mask over the end of the dew shield, and captured three (quality=3) 60 second dark exposures as suggested by Chris A (even though my planned viewing exposures were 15-20 seconds). Chris has found that these initial set of dark exposures typically are good for the evening, unless the temperature changes drastically over 5 degrees or you go over 2 hours of viewing. If new darks are needed later, I can just type the command to close the Remote Dark Mask and take a new set. I left the histogram and other settings at their default values for the dark capture process. I then typed the open command on my laptop to remove the Remote Dark Mask from the end of the dew shield for normal viewing. I enabled the Dark Field Correction for viewing all images and adjusted the real time histogram as needed for each target. Here are some image grabs (no stacking or post processing) using the MC DSc on my smaller 5” Celestron.  M27 Dumbbell  M57 Ring Nebula  NGC 891 Galaxy  M33 Pinwheel  NGC 6992 Veil  NGC6888 Crescent
|
AuthorAstronomy was my favorite hobby many years ago, but was gradually set aside due to work, family and life in general. In recent years I resumed my hobby looking forward to using the new technology that is now available. Then I discovered Video Astronomy. Then I learned how to do it Remotely. I wrote some books, and decided to set up this web site to continue to pass on what I learn. Categories
All
|















 RSS Feed